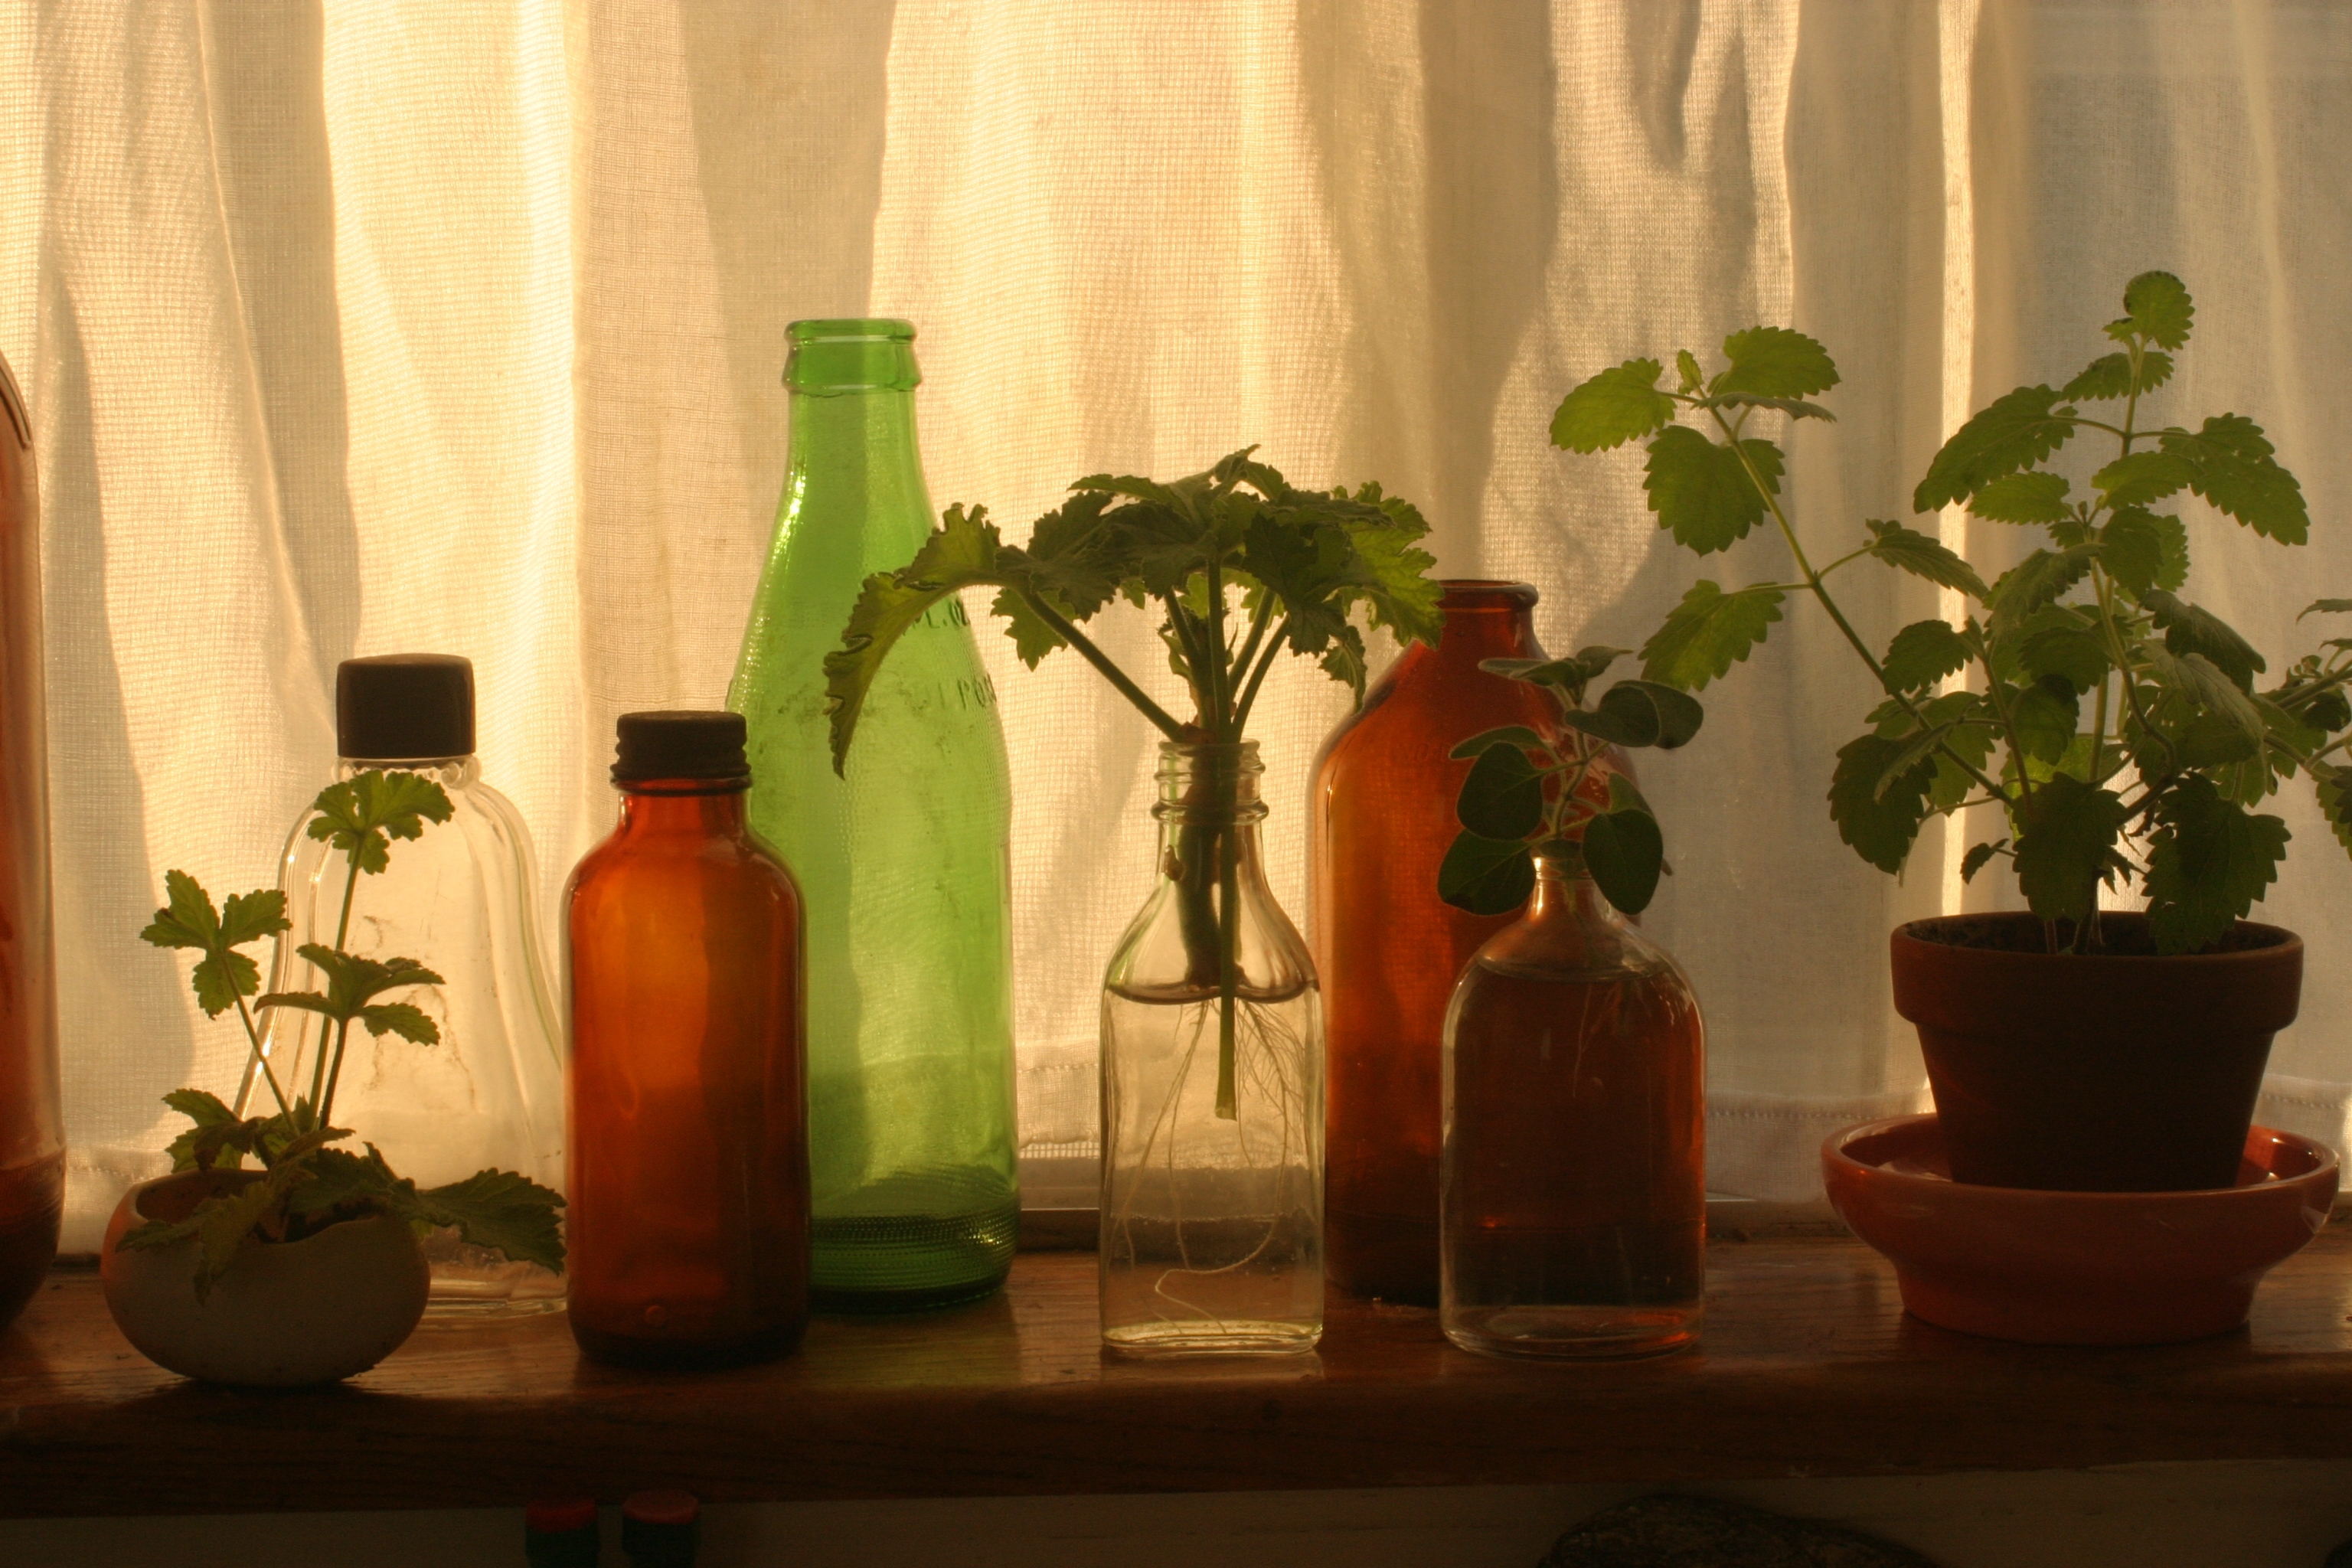
Assortment of plants rooting and growing on the Houseproud homestead’s kitchen window.
Houseproud Homestead Tip No. One:
Why not have a small assortment of green or living things perched on a windowsill in your home? We do, and every time I look at our kitchen window ledge, I get all sorts of happy. It reminds me of the windowsill above my friend Tina’s kitchen sink, where she often has some flowers or green plants in tiny vases. It’s very refreshing to look up from chores or cooking and see green growing things, isn’t it? From left to right in this picture there are two cuttings of lemon geranium, an oregano sprig, and a tiny pot of catnip (which lives inside to keep it safe from the catnip-loving animal that sneaks up to our porch when we’re not home). The containers themselves make me happy. I attach sentiments and meaning to a lot of our things – and the containers on this window ledge are no exception to this habit of mine. I cannot be the only one who does this, can I? There’s a little porcelain “egg” that Edna Louise gave us (it originally had a candle inside of it, and such a pretty glow it gave). The small bottles that follow the “egg” were mostly found in the rubbish tips on Tina’s property (the exception is one bottle that was from the Oakland White Elephant Sale, which is very much my happy place). I know that the plants should be transferred to larger pots soon, but I’ll wait a few more weeks and enjoy their burgeoning life for now. Do you have room for a tiny vase or two of flowers? Could you grow clippings on a window ledge in your home?

We get our veggies from the Alameda Natural Grocery in the Marketplace when we haven’t made time to go to a farmer’s market. I really like shopping at the Marketplace, making my way from vendor to vendor. In this photo, the bagels are from House of Bagels, which is just down the street from the Marketplace (across from Peet’s).
Houseproud Homestead Tip No. Two, with an added bonus disclaimer:
DISCLAIMER: Speaking of happy places, I will be working part time at Alameda Natural Grocery’s Pantry shop for about eight weeks, starting next week. One of the lovely young ladies in that department, Cara, is going out on maternity leave, and I’ll be covering some of her shifts. So, be forewarned: my amateur status as a Marketplace enthusiast is officially over. I’m now a paid employee of the grocery shop in the Marketplace, so my enthusiasm for the joint now has professional status. Therefor and so forth, from henceforth any of my postings about the loveliness that is the Marketplace in general, and that of Alameda Natural Grocery (“ANG”) in particular, ought to be read with an understanding of my new professional status. I am a professional enthusiast of the Marketplace, people.
That disclaimer being made, here’s the Houseproud homestead’s second tip: really think about the place(s) you buy your groceries. And oh have we thought about the place where we buy most of our groceries! The Mister and I have a bit of a routine on Sundays mornings that involves the Marketplace in part. Our Sunday morning routine starts at Peet’s on the corner of Central and Park Street, crosses the street for bagels at House of Bagels, moves down the block to Books Inc for a copy of the Sunday NYTimes, and then rounds back to the car for the short drive up to the Marketplace. At the Marketplace we get bread from Feel Good, the bakery; we get meat or charcuterie from Barron’s Meat; when necessary, I get coffee beans from the Beanery; and we always purchase our basic household perishables and supplies at ANG. When we haven’t made the time to go to a Farmer’s Market, we get our fruit and veg at ANG, too. But my fondness for the Marketplace is not just a Sunday morning kinda thing, and it encompasses almost all of the Marketplace vendors. I treat myself to coffee at the Beanery on a semi-regular basis. In fact, Mum and I often end up at the Beanery after our monthly hikes – we have the Middle Eastern platter and drink coffee and talk and talk and talk, and it’s lovely. (I must say though, that while I’m very fond of the Beanery, my absolute favorite cafe in Alameda is Julie’s Tea, which is further down Park Street.) If I’m feeling flush, I’ll get lunch at Sushi King or at Barron’s Eats. What else? Tex gets cheese at Farmstead occasionally; we’ve met friends for beer and food at the East End Pizza’s new location; and my favorite chair massages ever have been courtesy John, who works mid-afternoons on Sundays now. (I hesitate to mention John, as it’s hard enough to get chair time with him these days, but that’s the kind of generous gal I am.) Now, I know that we’re fortunate to live in an area that offers places like the Marketplace, and so many other wonderful independent food shops and groceries. The interesting thing is that most urban areas across the country now have at least one independent grocery. And the interesting thing about independent places is that they are local: local owners selling local goods (when possible), hiring locals and sending taxes to local government. Independent places build community, and what’s not to like about that? So here’s the thing: you have to shop for groceries, don’t you? Why not really like the places where you spend your money?
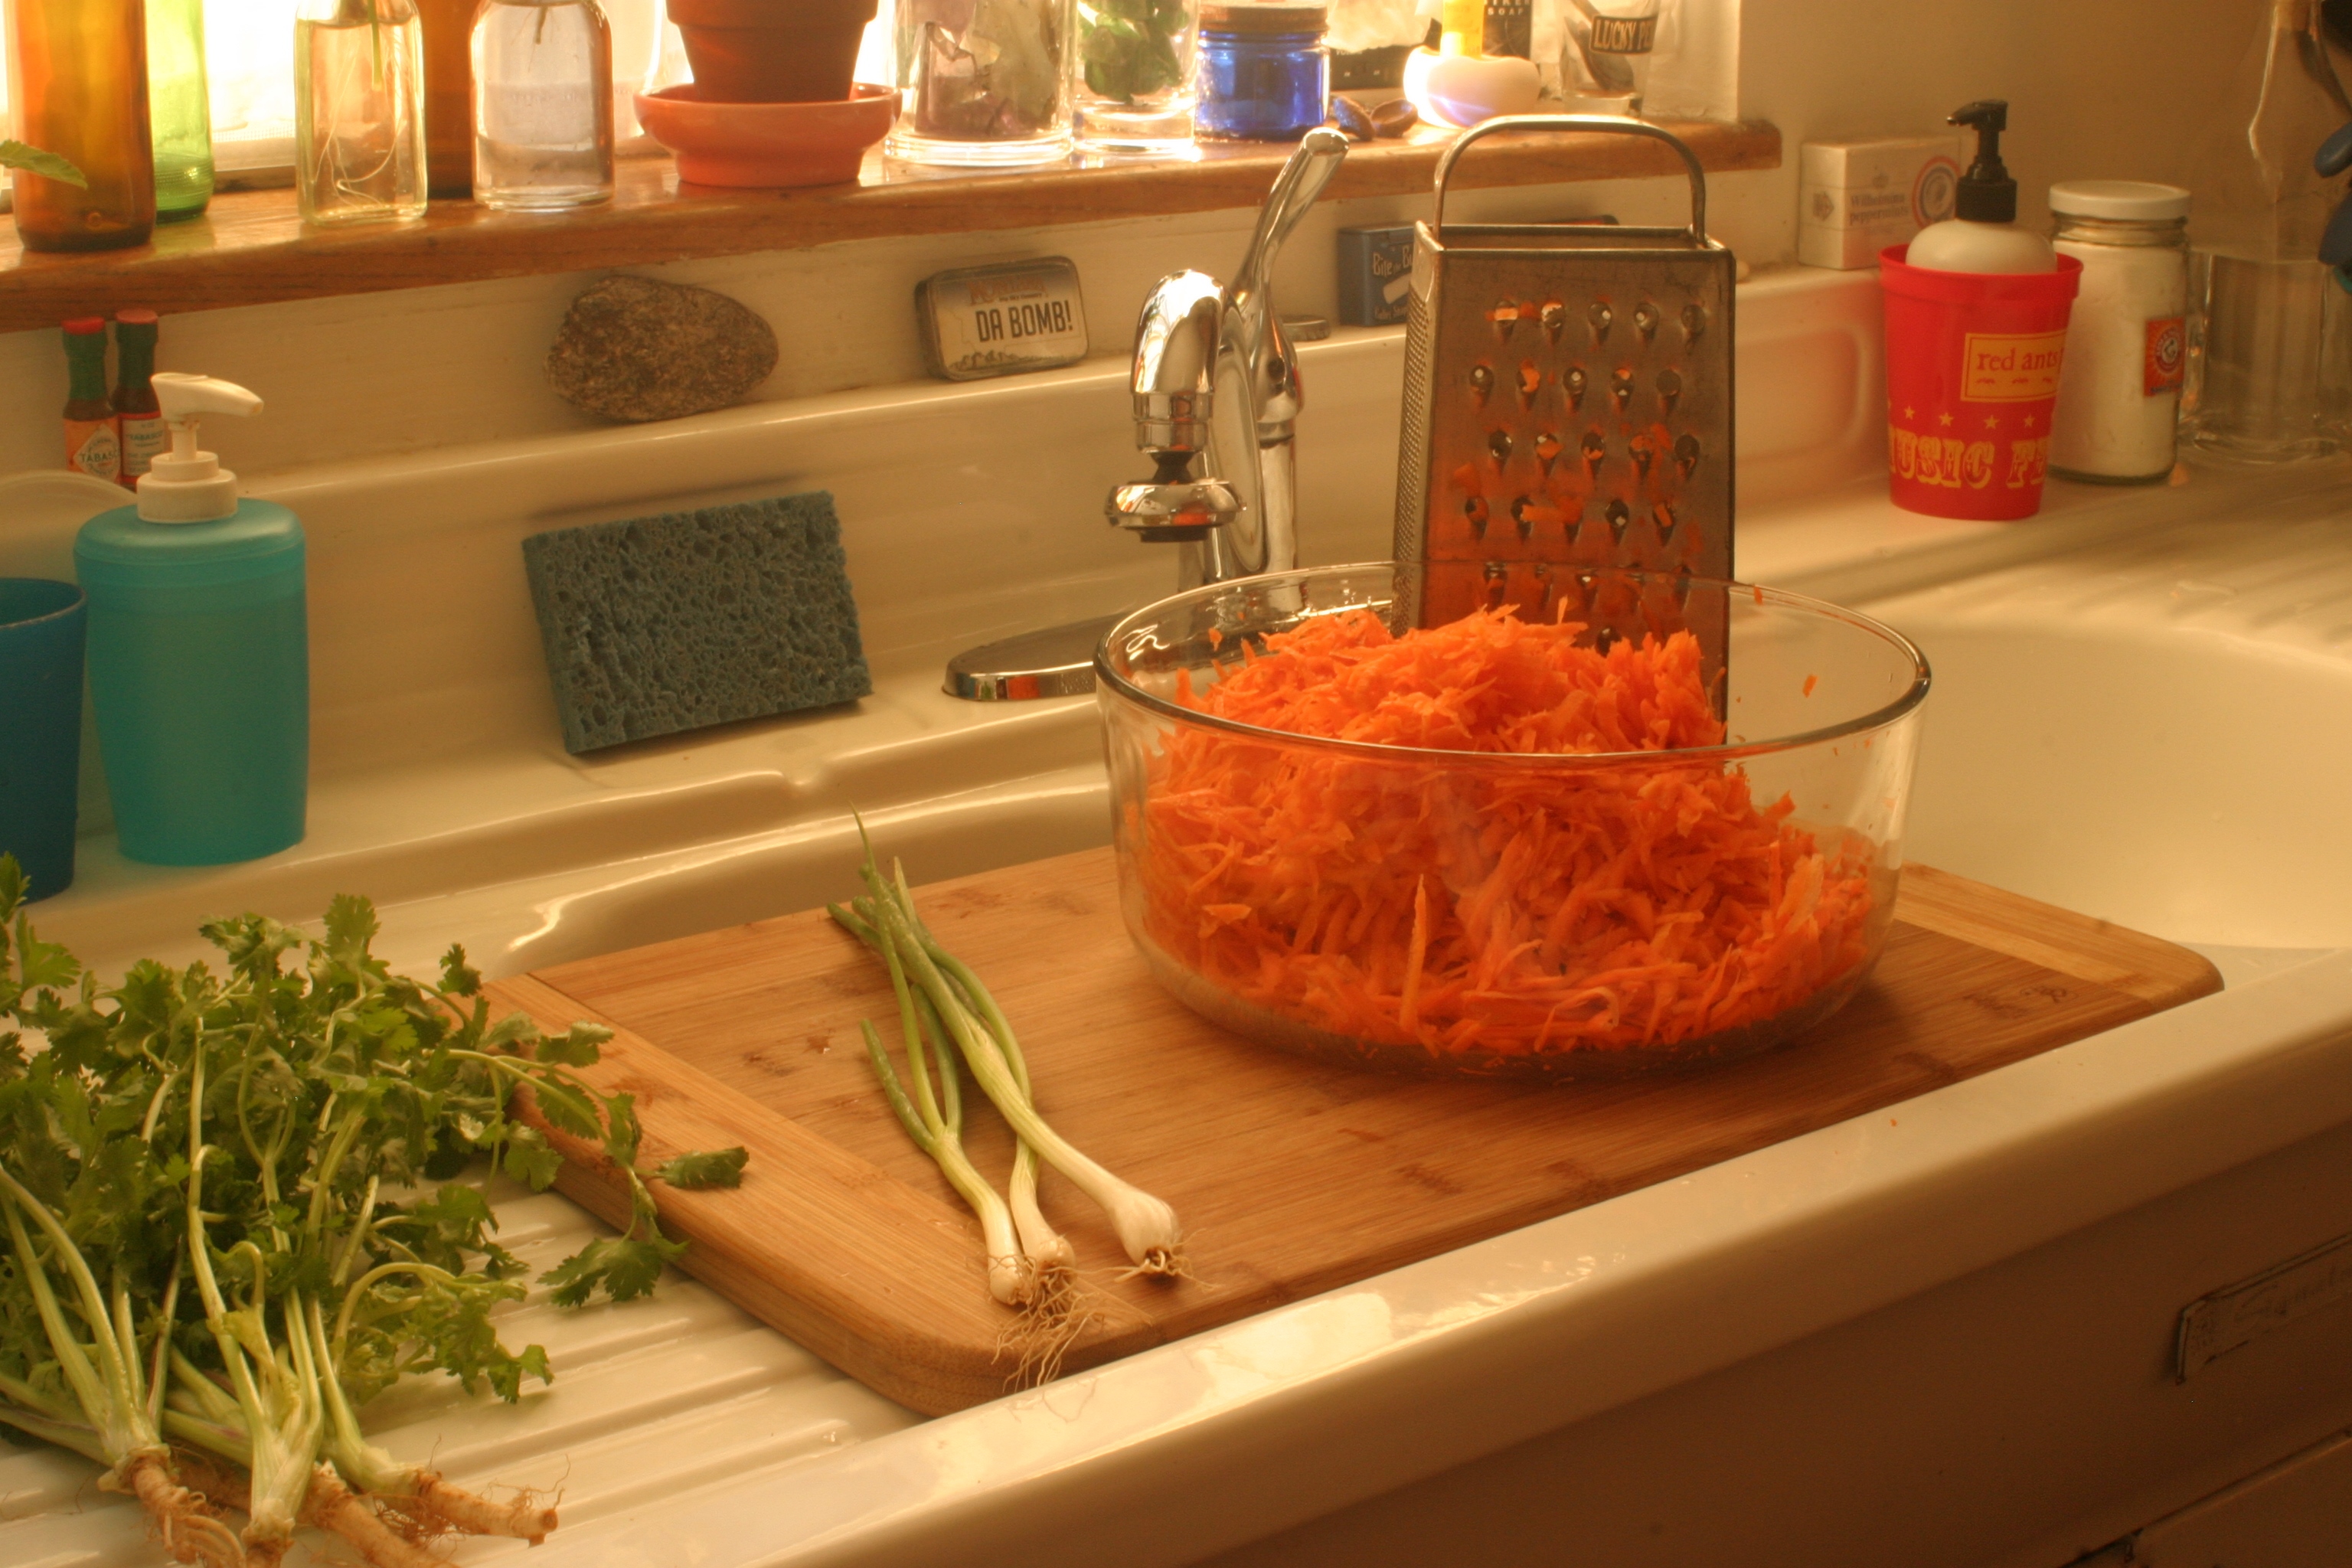
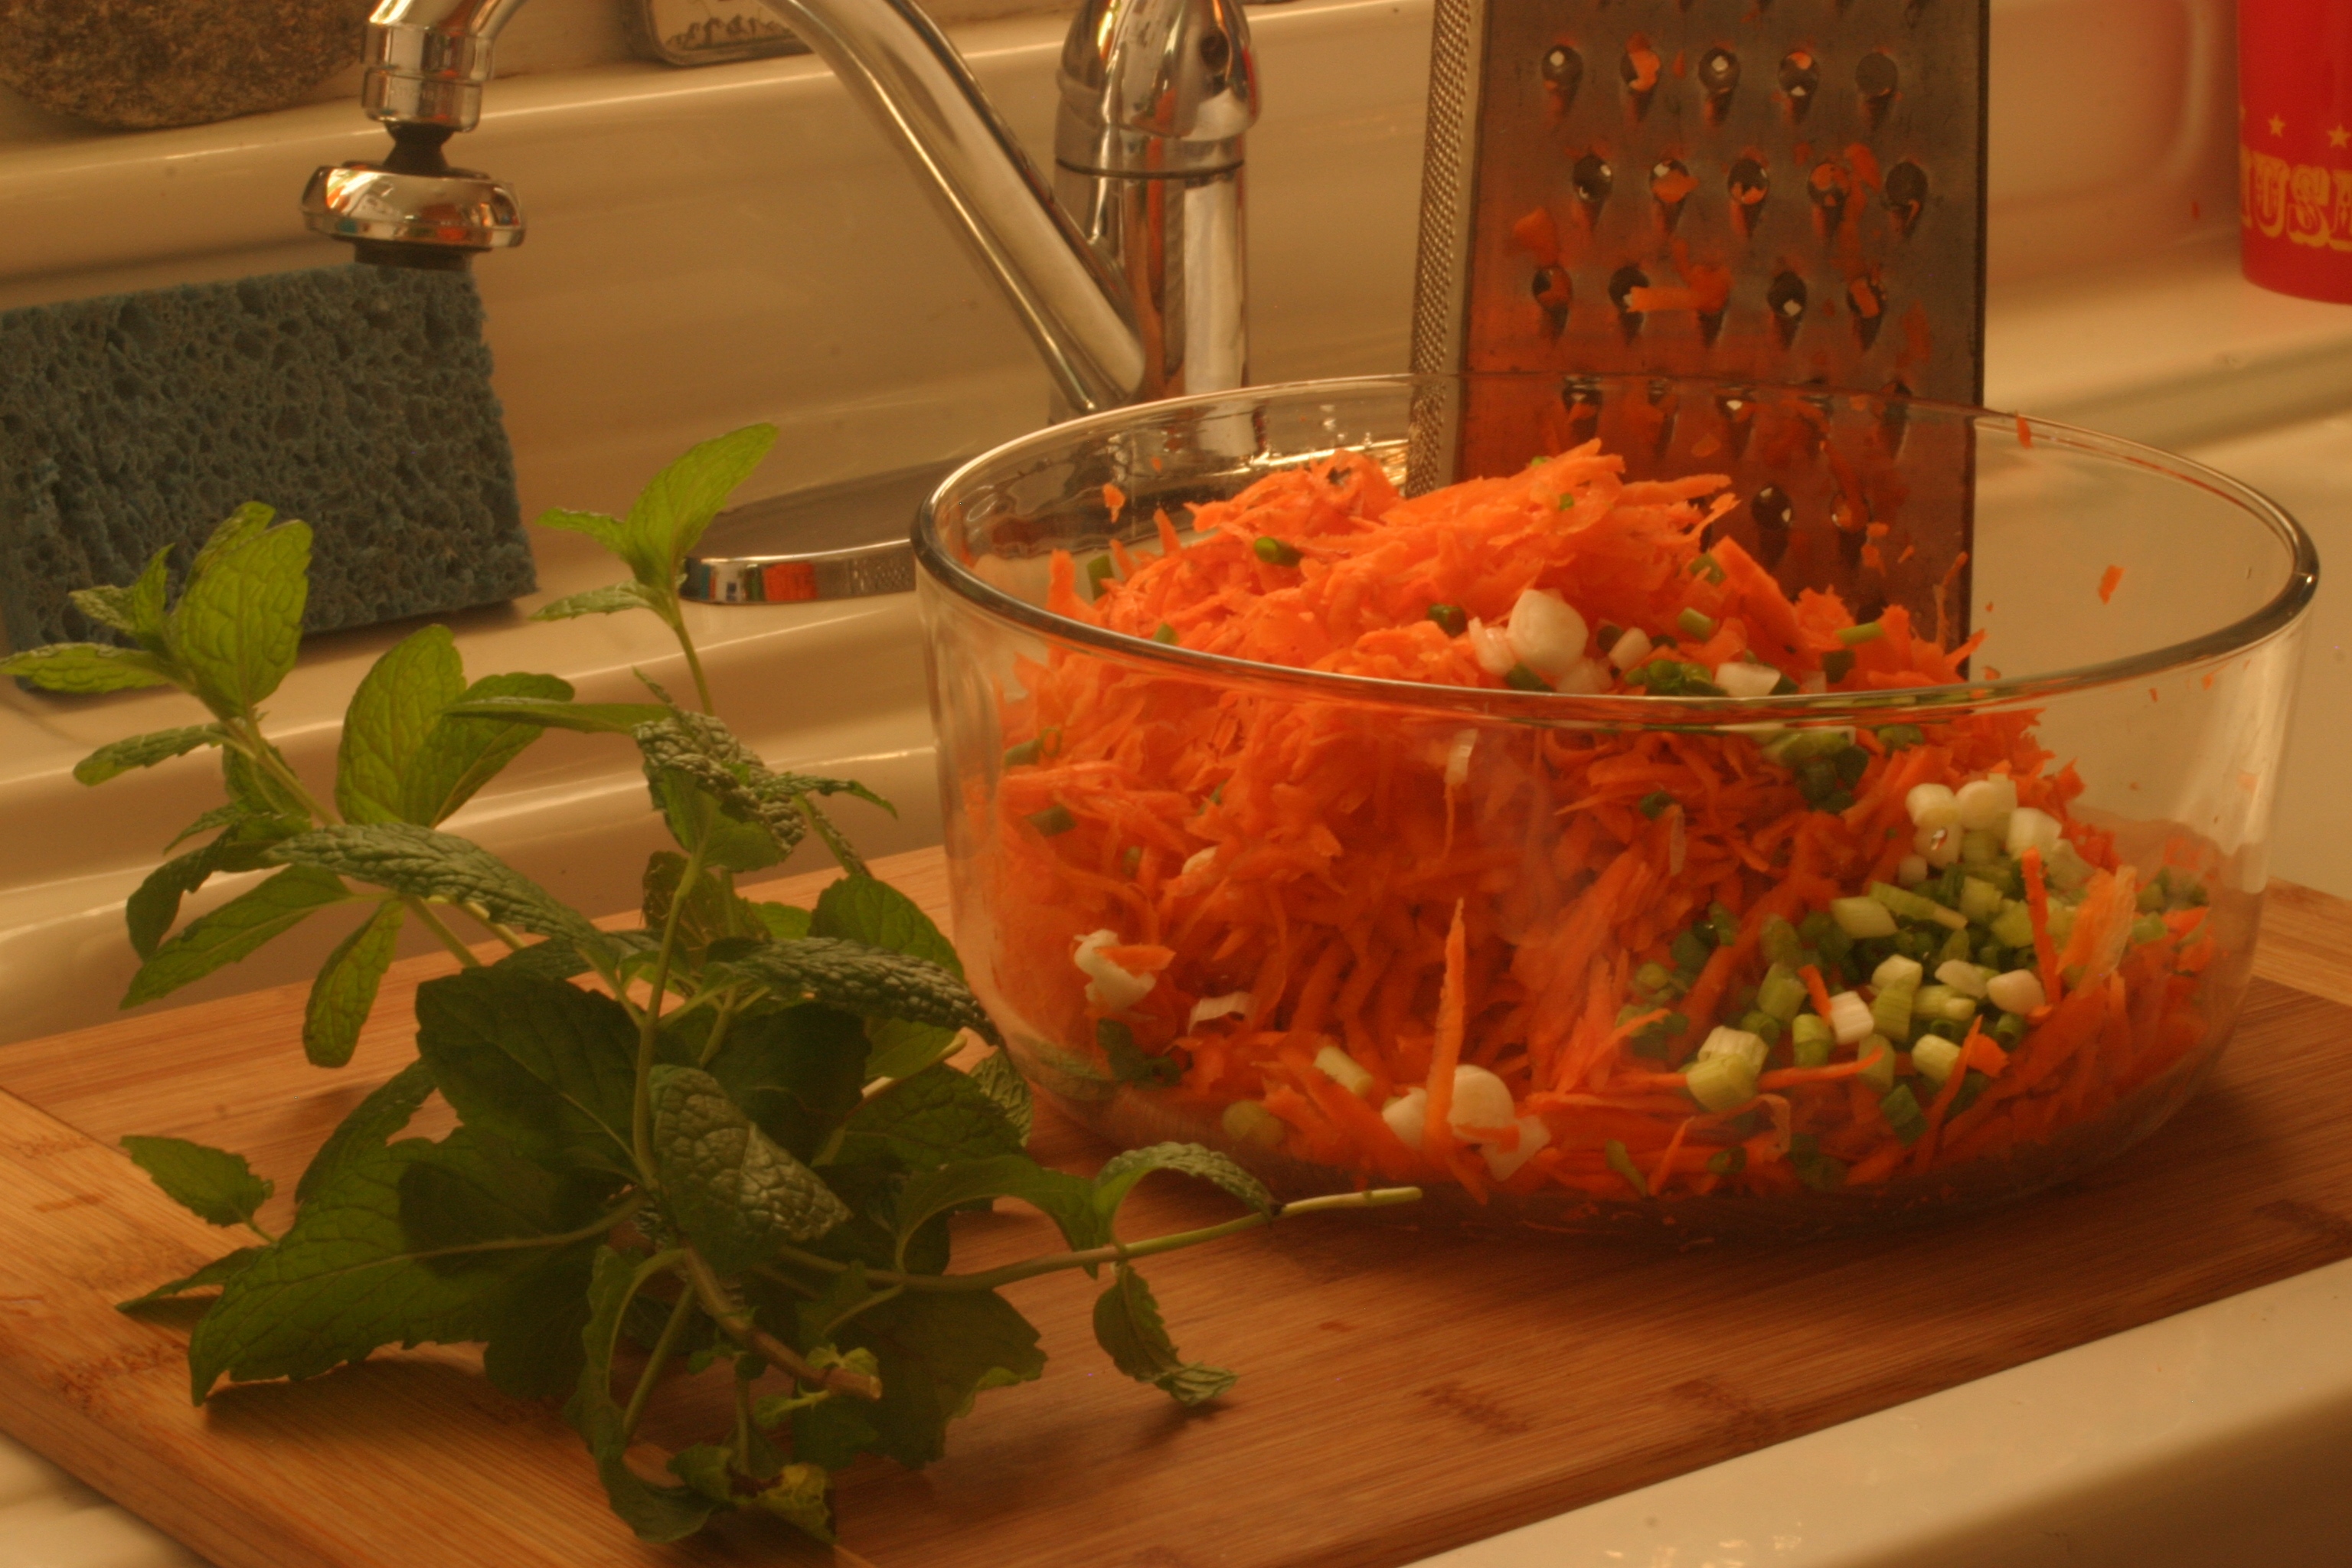
Quick! Grate some carrots!
Houseproud Homestead Tip No. Three: Well, that previous tip was all rather deep and philosophical, wasn’t it? Let’s lighten the tone, shall we? Yes, do let’s. Let’s make a grated carrot salad! It’s a simple salad using a veggie that’s usually in season year ’round, and the making of which involves a tip for quickly cutting green onions and herbs that I use constantly. This is such a simple recipe, and so flexible! All you need are carrots, an onion of sorts, some herbs, and a vinaigrette. The more traditional of you might want to add raisins or other fruit to your carrot salad, but I prefer my salads savory. And what goes into grated carrot salad? Four things: carrots, onions, herbs and a vinaigrette. First, grate some carrots. See that big bowl o’ grated carrots above? That’s the product of four large carrots. Use the large holes on a box grater to grate your carrots. Don’t bother scrapping them beforehand – grate ’em with skins on. Helpful tip: starting with the thin ends will give you something more substantial to hold onto as you grate down the carrots. (See the small pile of cilantro? Don’t use ’em in this salad. More on this later.)
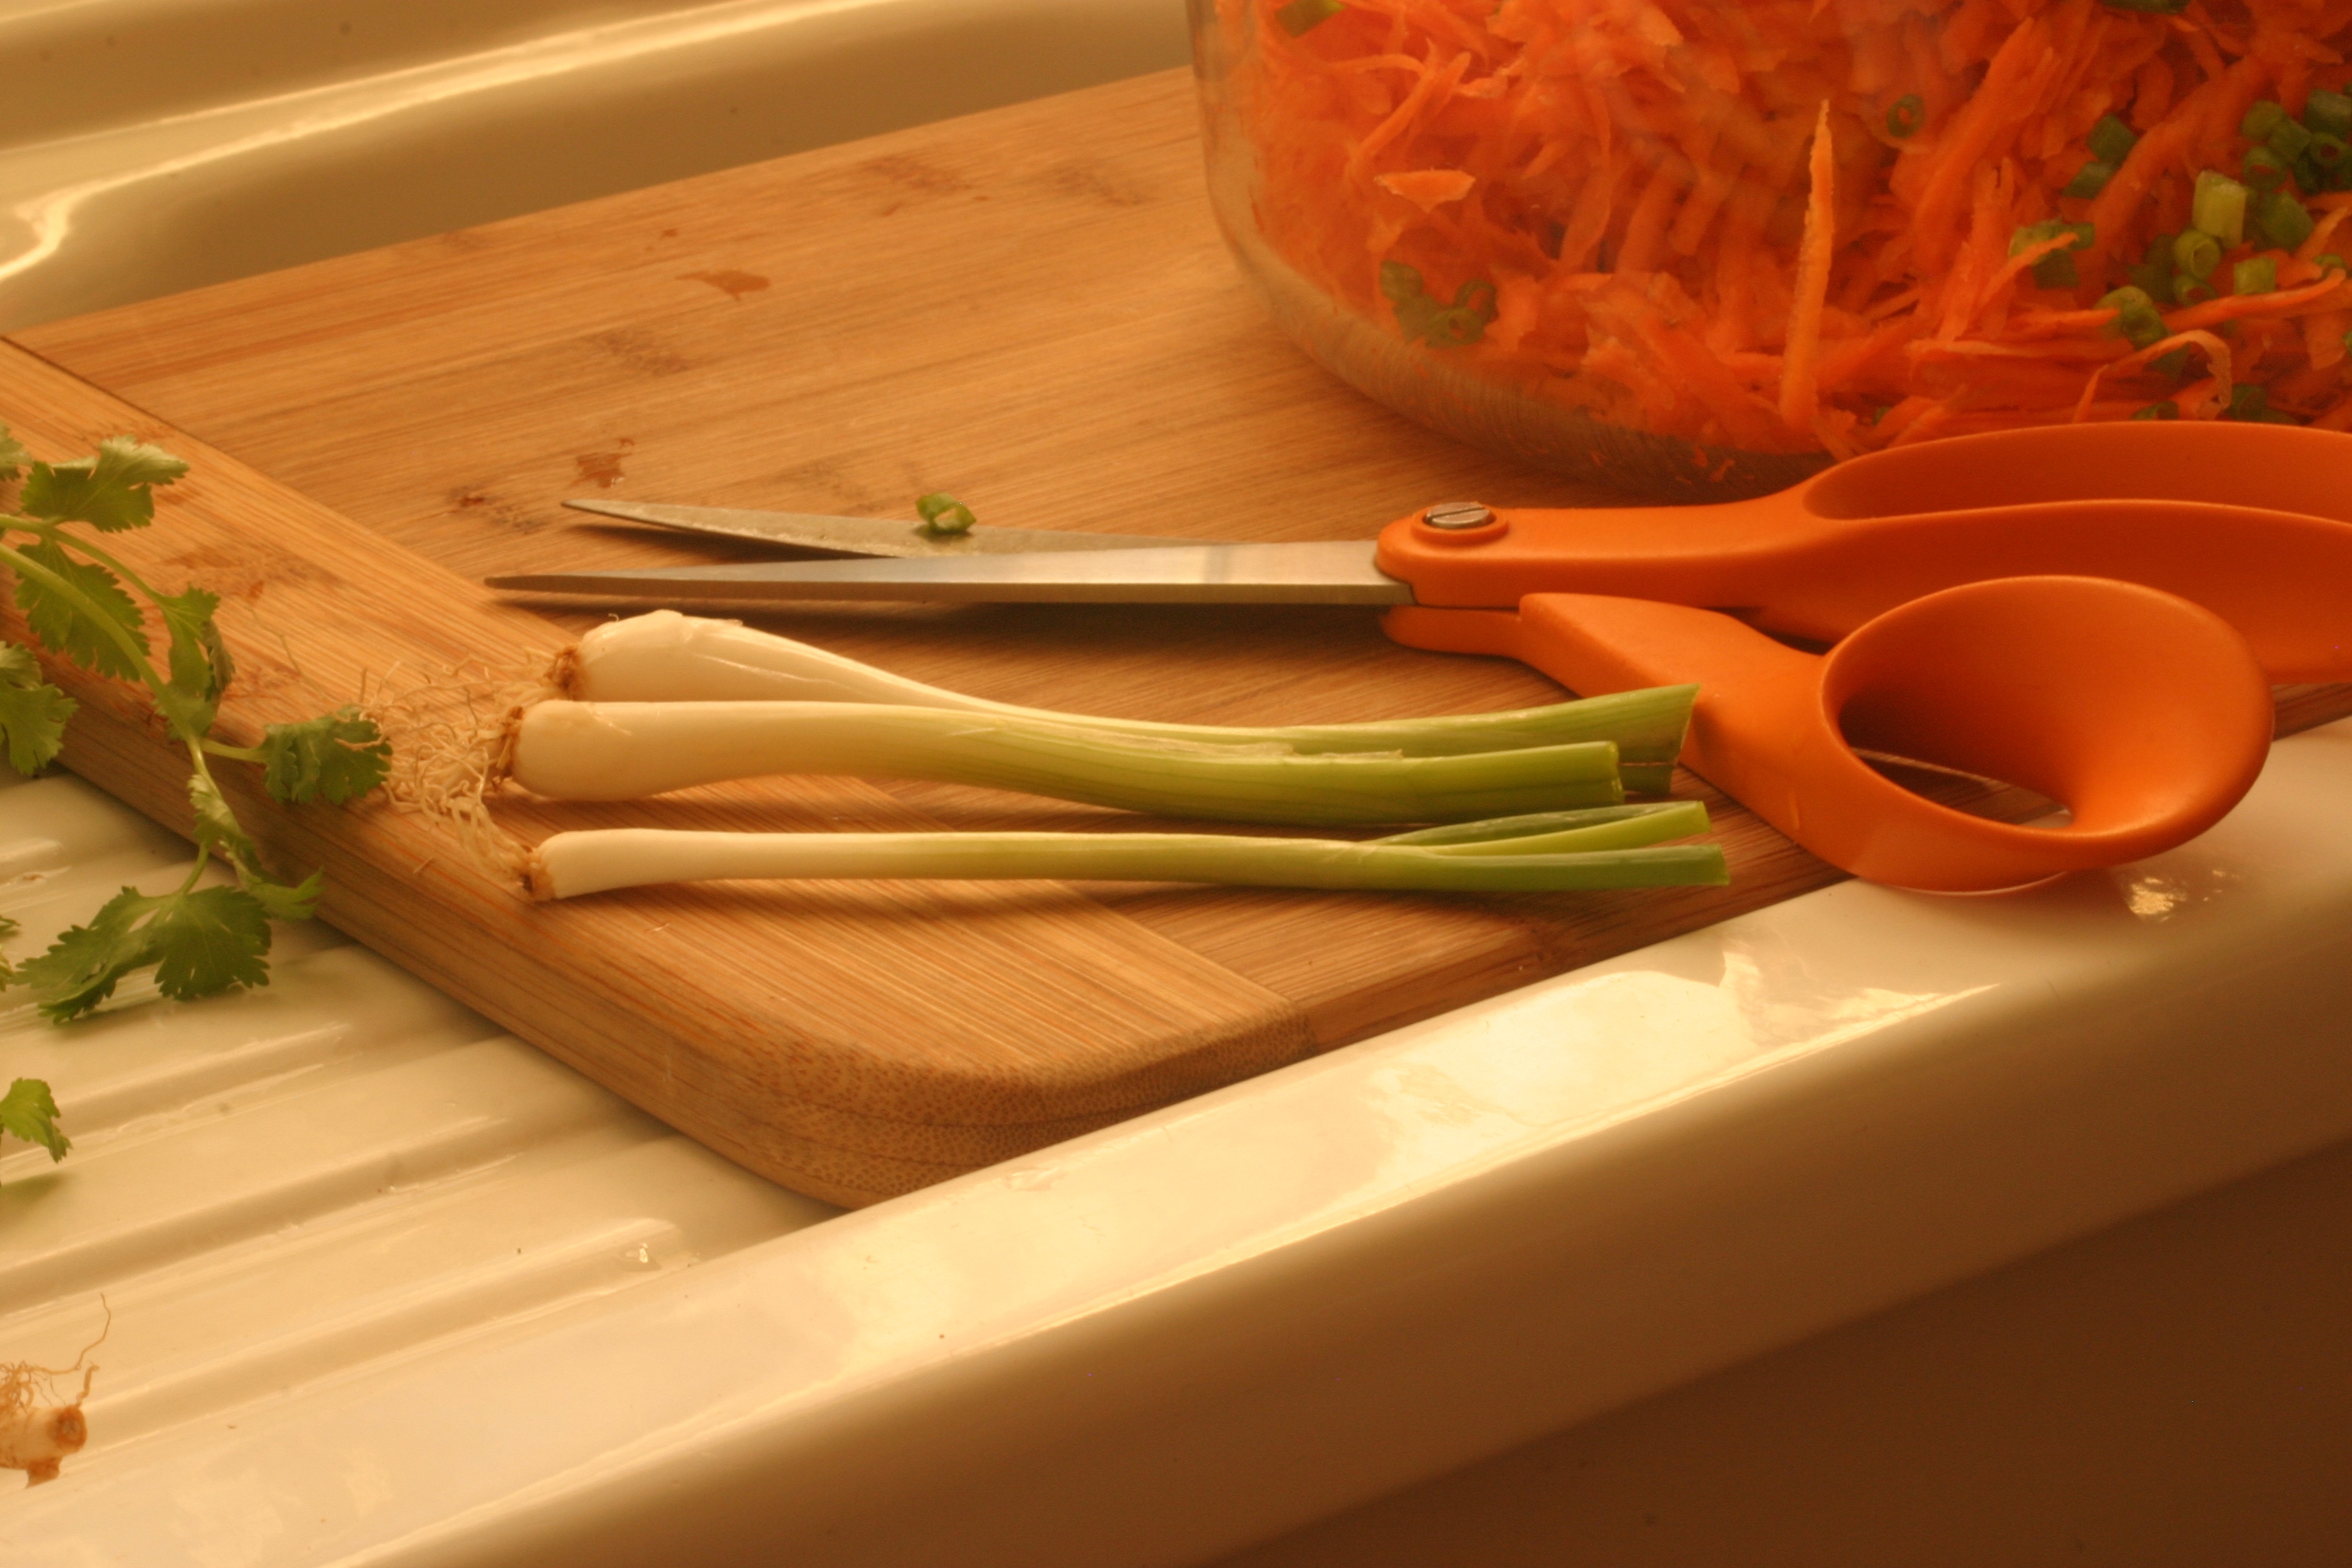
Now that you have a bowl of grated carrots, add some onions. I used these wonderful green onions that I get from the Jack London Square Farmer’s Market, which are more baby onions than scallions.
Next, add onions to your bowl of grated carrots. For this salad I used these wonderful green onions that I get from a farmer at the Jack London Farmer’s Market, which are more like bright, sharp, strong baby onions than scallions. (The bases of the green onions bulge out more than traditional green onions do.) And here’s my third tip: I cut the onions directly into the bowl with my handy-dandy kitchen scissors. (If you’ve not done this yourself and want to follow along at home, just make sure you aim the scissors down, or the tiny cut slices of green onion will shoot across your kitchen like they were spring-loaded). Any onions will do in this salad: red or white bulb onions, shallots, green onions or chives. Sometimes I get wild and crazy and grate a little bulb onion directly into the salad. Bulb onions can be a bit strong, so it’s a good idea to wilt the onions before you add them to the salad. (Onions can be wilted quickly with a little hot water, or with my favorite method of soaking in vinegar or citrus juice. Salt will help speed the wilting process.)
The next step is to add your herbs to your bowl of grated carrots and green onion bits. I’m using fresh-cut mint for this salad, but other herbs are mighty tasty with carrots, too. Please note that cilantro ain’t one of those herbs (ugh, trust me on that).
Next, you really ought to add some herbs to the salad. You don’t have to, but herbs help step down the natural sweetness of the carrots. Follow your bliss and add whatever herbs that you like, but if you are trying a new herb-carrot combo, test before you commit! You might have noticed that the previous two pictures showed a small pile of cilantro springs, but not so in this picture. Luckily I performed a little taste test before I added cilantro to the salad and whew, am I glad I did! The cilantro-carrot taste combo was vile. I tried mint next, and it knocked my socks off. Thusly reassured that the mint-carrot combo worked, I plucked the mint leaves off of the twigs and used my trusty kitchen scissors to snip stacks of the larger mint leaves directly into the salad. (The smallest leaves went directly into the salad, with no need to snip.) In the past I’ve made carrot salad with oregano (spicy and regular) and / or flat leaf parsley. This was the first time I made it with mint, and it was good enough to go into rotation with the other herbs. Your basic scissors will be able to make short work of any herb.

All your lovely grated carrot salad needs now is a vinaigrette. My vinaigrettes changes on a whim, but this one was a 1:2 ratio between olive oil and some brine from my pickled green beans.
Finish your salad of grated carrots, onions and herbs by adding a vinaigrette. This salad’s vinaigrette was one part olive oil to two parts brine from my pickled green beans. After emulsifying the oil and brine, I added a little bit of homemade spicy salt (the brine was a little salty already, so I didn’t have to add much salt). In the past I’ve made vinaigrettes with olive oil and lemon juice, or olive oil and lime juice, or olive oil and cider vinegar. You get the idea – your vinaigrette options are many. Whichever you choose, toss the dressed salad well, and let it sit for at least 15 minutes to meld flavors. Toss it again and serve it forth: yummy!
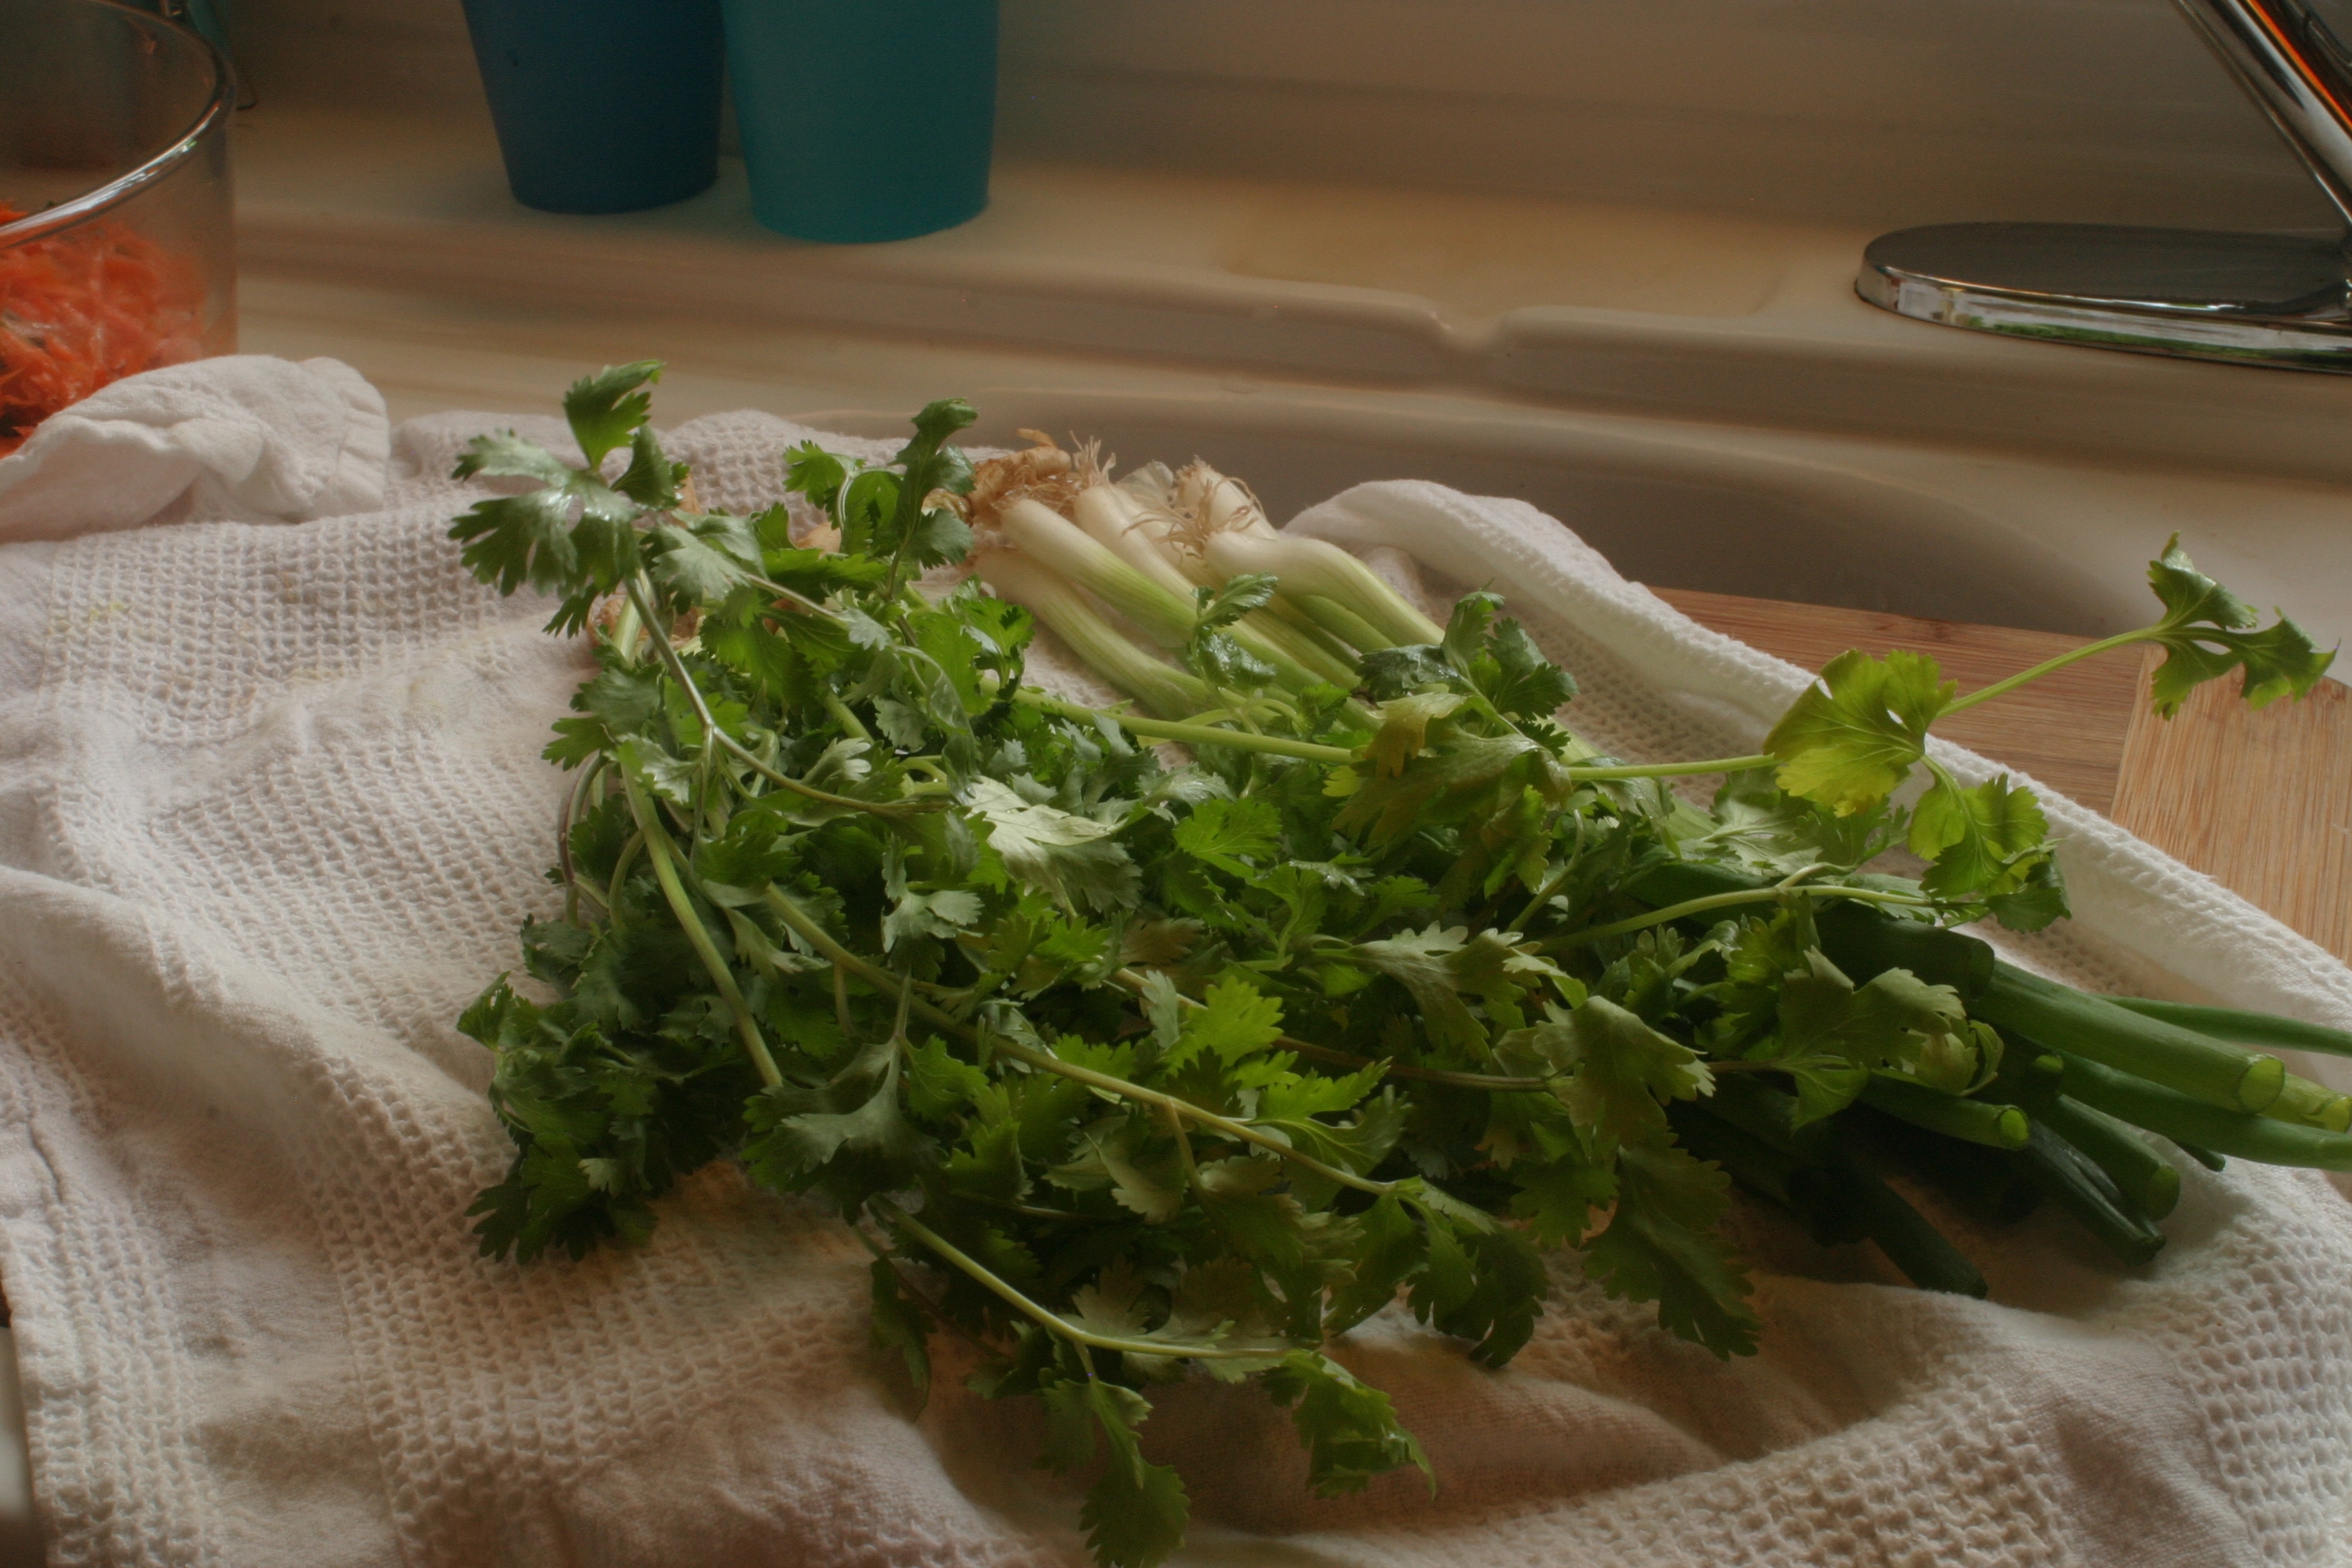
Rinse herbs or vegetables well, shake off excess water, and place on clean towel …
Houseproud Homestead Tip No. Four: After making my carrot salad, I had that cilantro and a few green onions left over. Do your greens get slimy and gross after a few days in the fridge? Here’s a simple tip to keep leafy greens and herbs fresh and alive in the fridge for weeks: rinse the leafy herbs or greens well, shake off excess water, and place them on a clean towel …
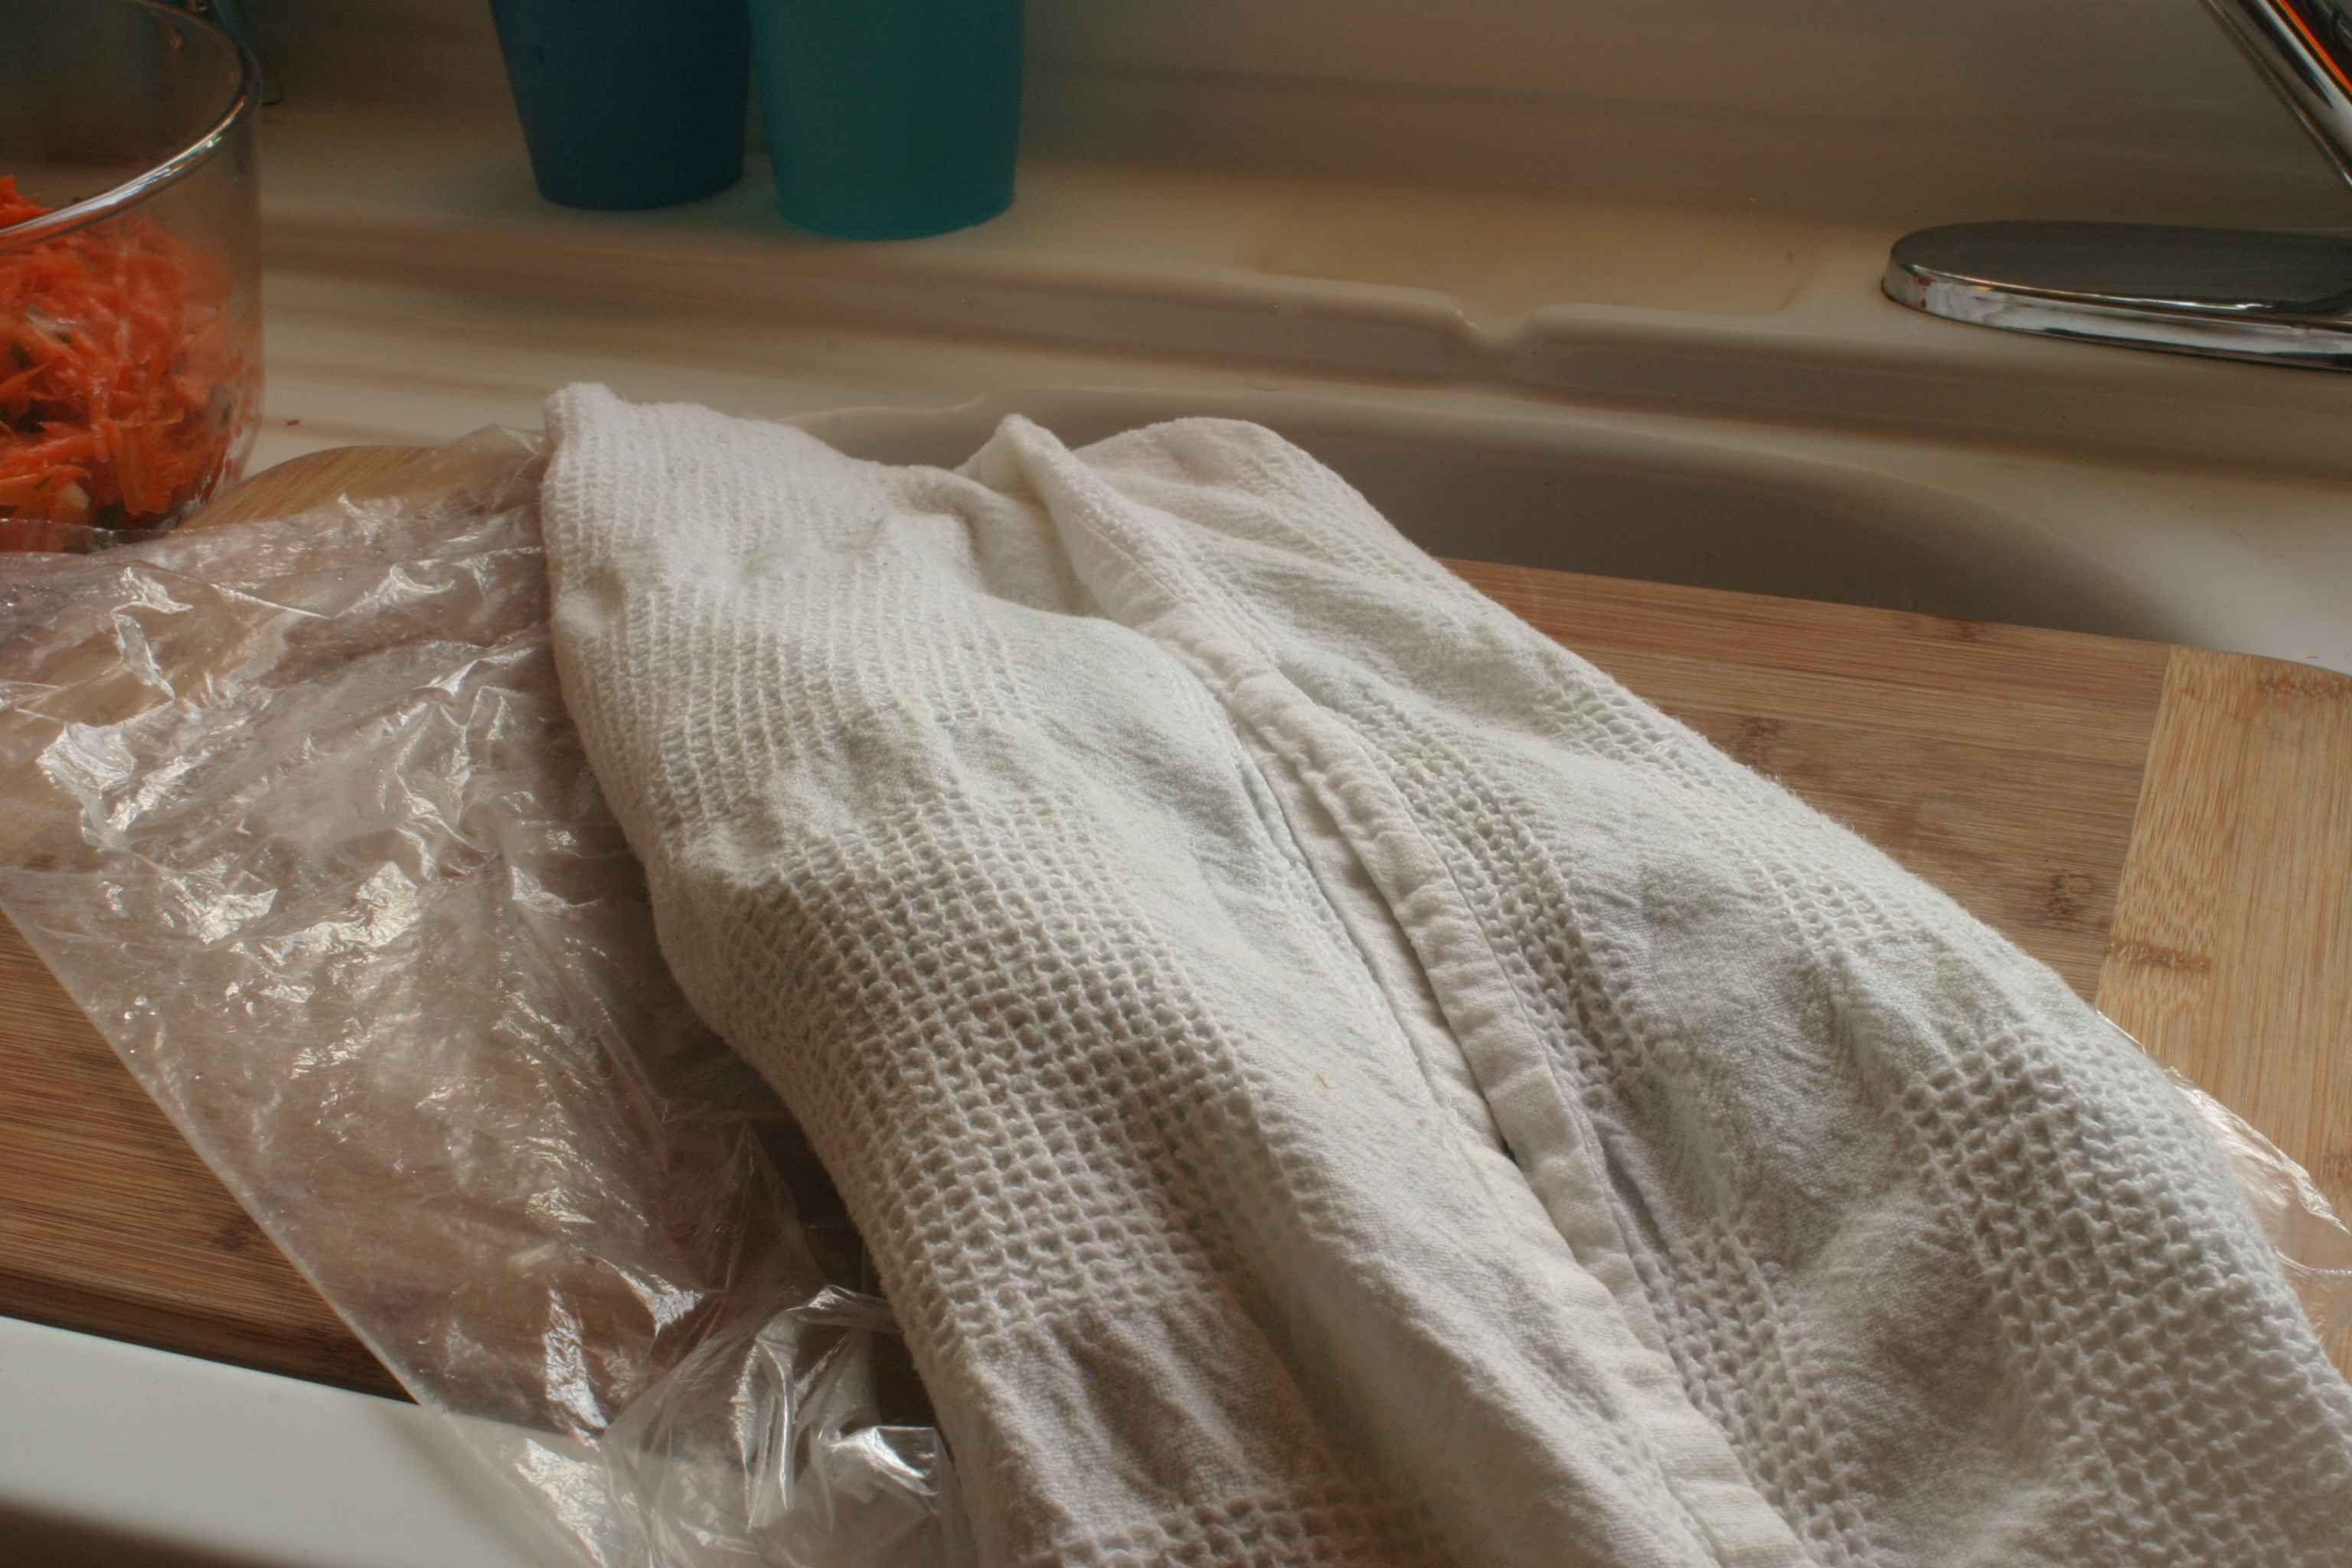
Wrap those rinsed leafy greens and greens in a clean towel …
Make sure that the excess water has been shaken out, and then wrap the leafy greens and herbs loosely in a clean towel …

Tuck the towel-wrapped leafy herbs and greens in a plastic bag (don’t close the bag with a twist tie).
Lastly, tuck the towel-wrapped leafy herbs and greens in a plastic bag, but don’t close the bag tightly. Depending on your fridge and the delicacy of the herbs / greens in question, either fold the top of the bag over or keep it open. I suggest using a white towel, in order to more closely monitor potential mold problems. (A darker towel will keep you in the dark about mold, and you want to nip such things in the bud quickly.) Place the bag in the crisper bin in your fridge, or just on a shelf. Check the bag’s contents every three or four days, and remove any parts that are starting to turn ugly. By following this method, I’ve been able to keep a bunch of cilantro fresh for four weeks (which is about three weeks longer than it would last otherwise).
And that’s it for this week’s installment of tips from the Houseproud homestead. To recap, tip number one suggested that you have a little vase of something green or growing on your kitchen window ledge. Tip number two waxed philosophical about shopping at local, independently owned food shops and groceries. Tip number three was a recipe for a grated carrot salad (and clever trick for quickly cutting green onions and herbs). And lastly, tip number four was a method of keeping leafy herbs and greens fresh in your fridge for longer. And whew, that’s it for this posting. I’m off to get some sun, and to watch the Mister compete at a trap shoot. Can you guess where we are from this picture?

Here’s a pic of your little munakins wearing her favorite scarf, which was hand dyed with turmeric.
