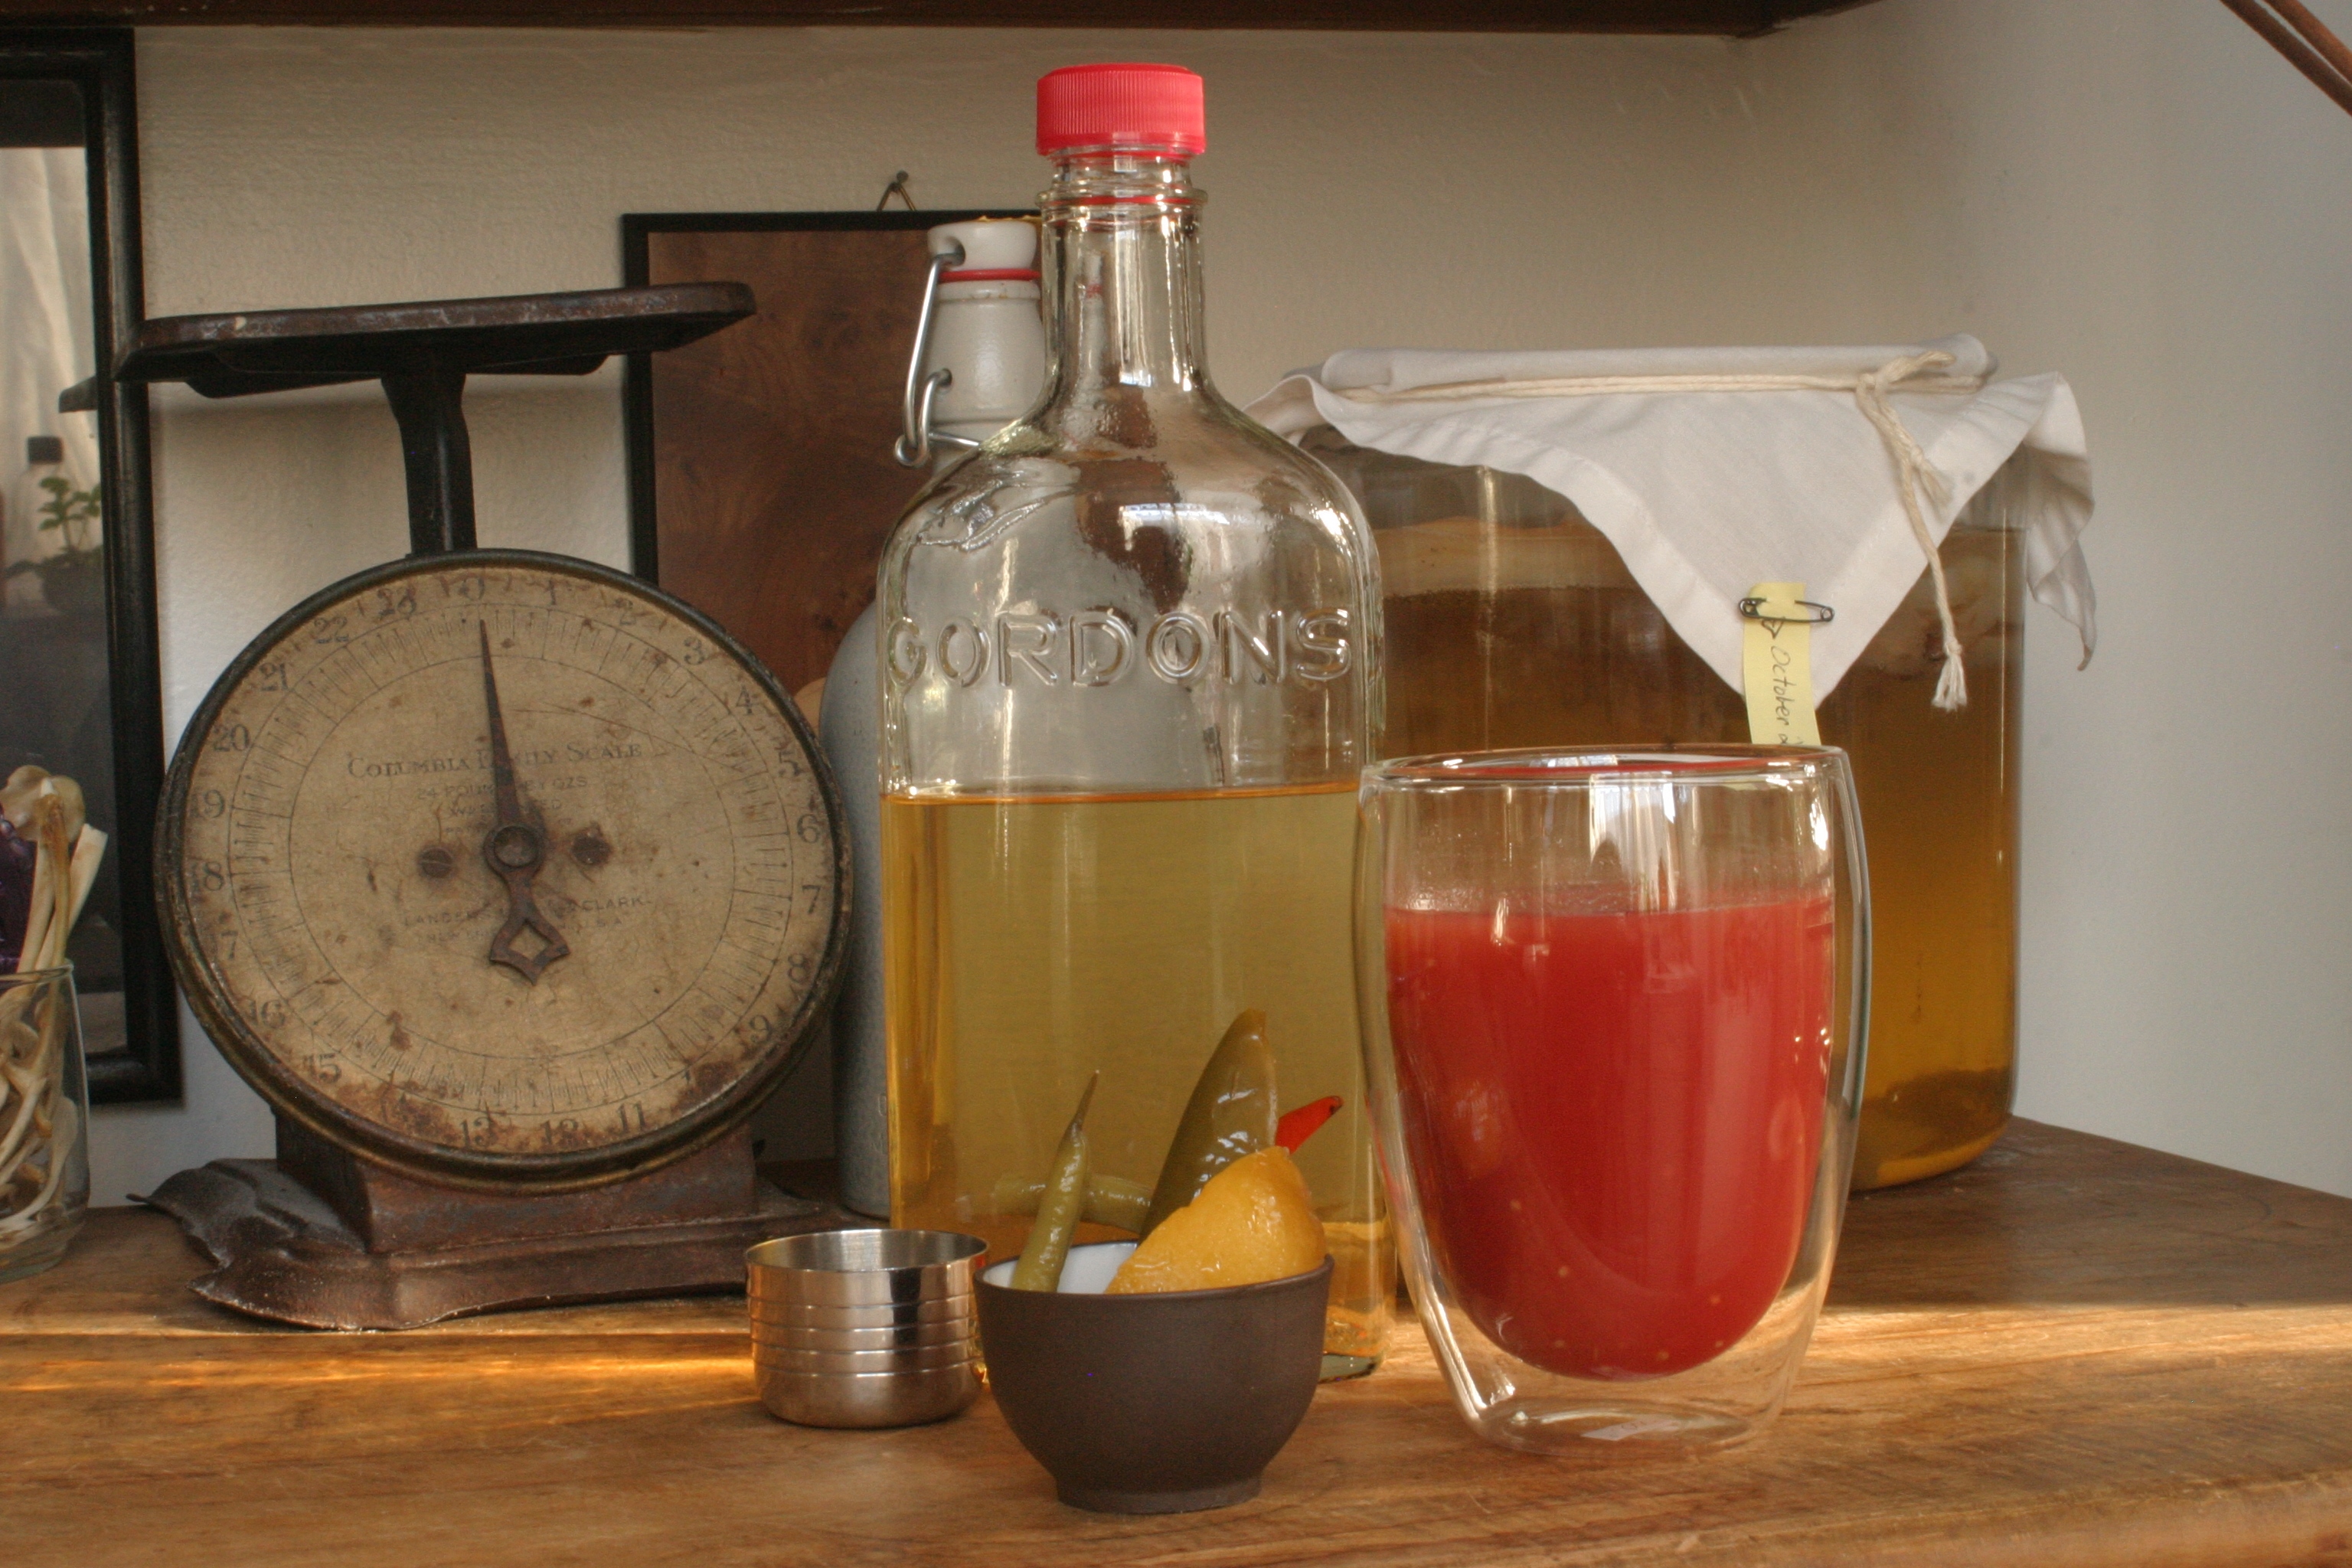
Et voici: the fixings for a damn fine Bloody Mary: house-infused hot pepper vodka, a sake cup’s worth of picked garnishes (house-cured lemon, green bean & jalapeno), and a glass of tomato juice to which has been added the juice of one lime and one lemon (and a shot of red onion-infused vinegar for good measure). It ain’t a subtle drink, but it is most assuredly a good one.
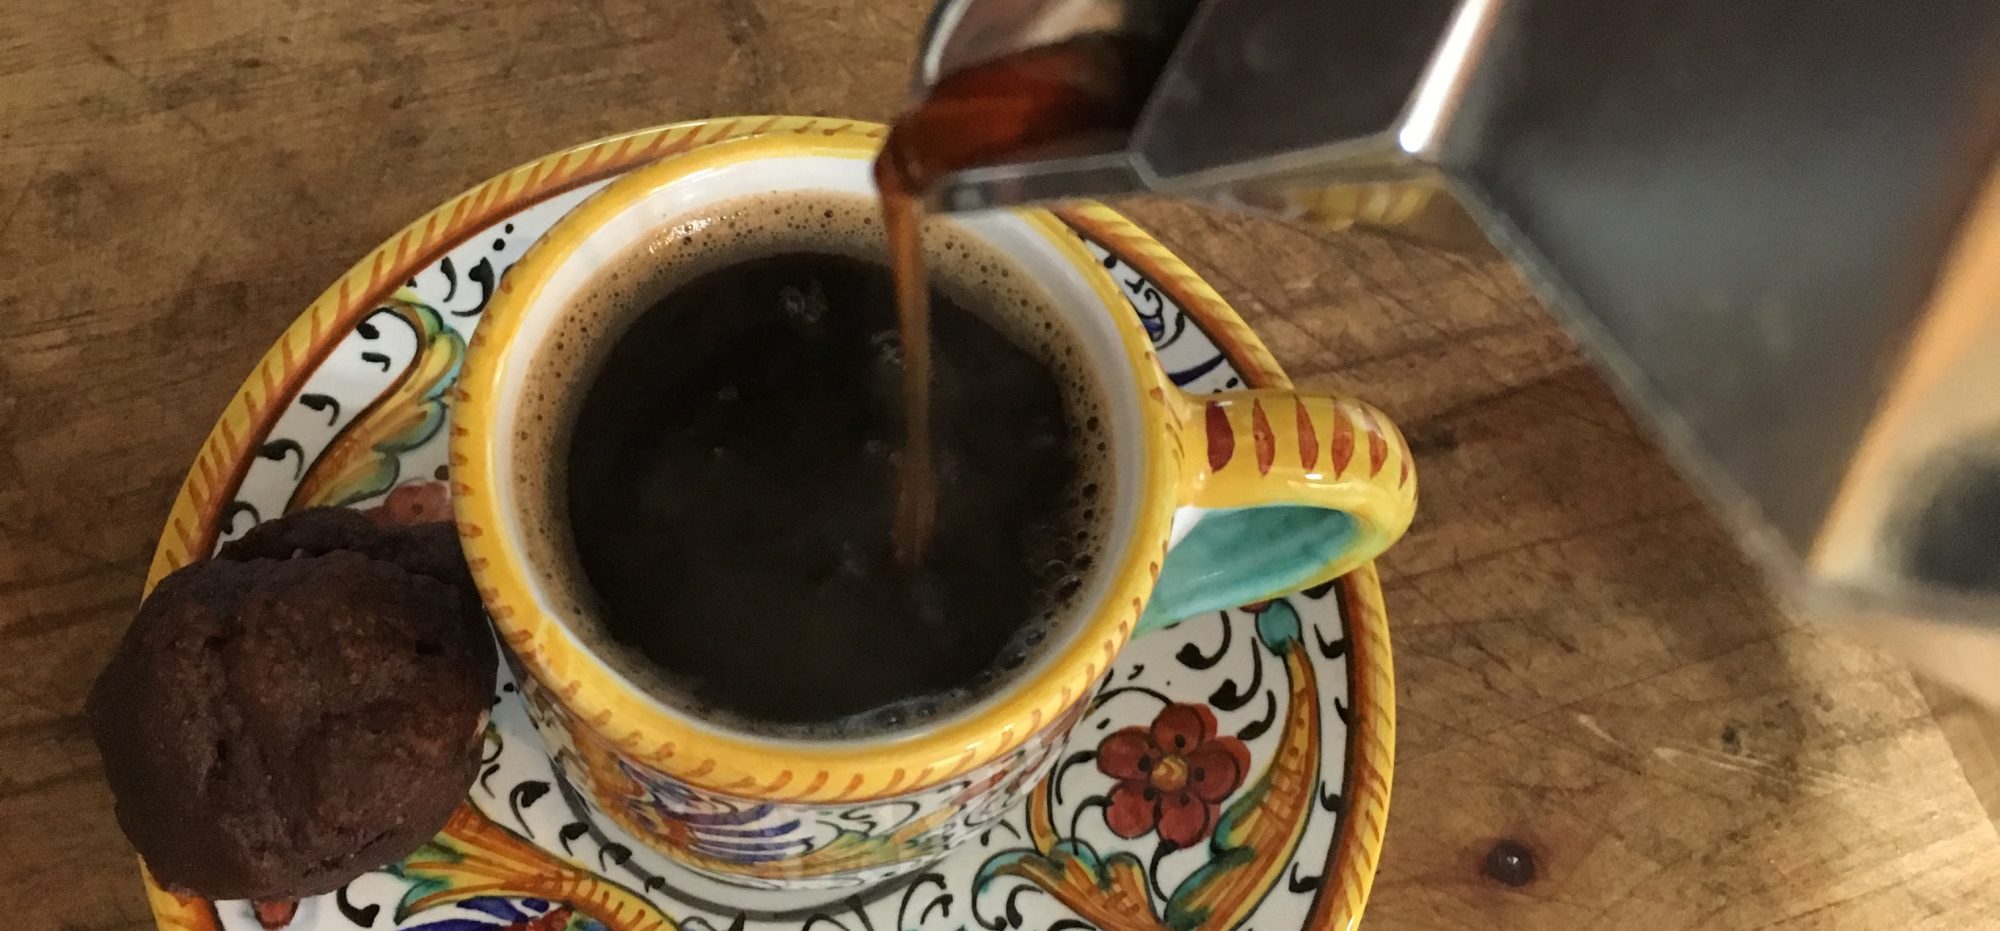
This is what I will be drinking tonight when the Mister gets home. And what, pray tell, will I be drinking? I will be drinking a mighty fine Bloody Mary, that’s what I’ll be doing. Check out the ingredients in that caption, people! That’s a kinda cool list of house-made ingredients, innit? This Bloody Mary will be the last one I make this season from fresh tomato juice. In fact, it might be the last I make at all this season: Bloody Marys are such seasonal drinks for me, and we’re at the tail end of that season, which is coincides with the height of canning season. Soon the rains will start and my taste for Bloody Marys will wane. (Oh, how poetic of me to rhyme rain and wane – and that was before I started drinking!) Once my taste for Bloody Marys wastes away, I might concoct another hot-pepper vodka tipple. I have this idea that hot-pepper vodka might go well with something chocolate, and before you shriek with alarm, view the loveliness below, which I offer as proof that some of my ideas work out very nice indeed:
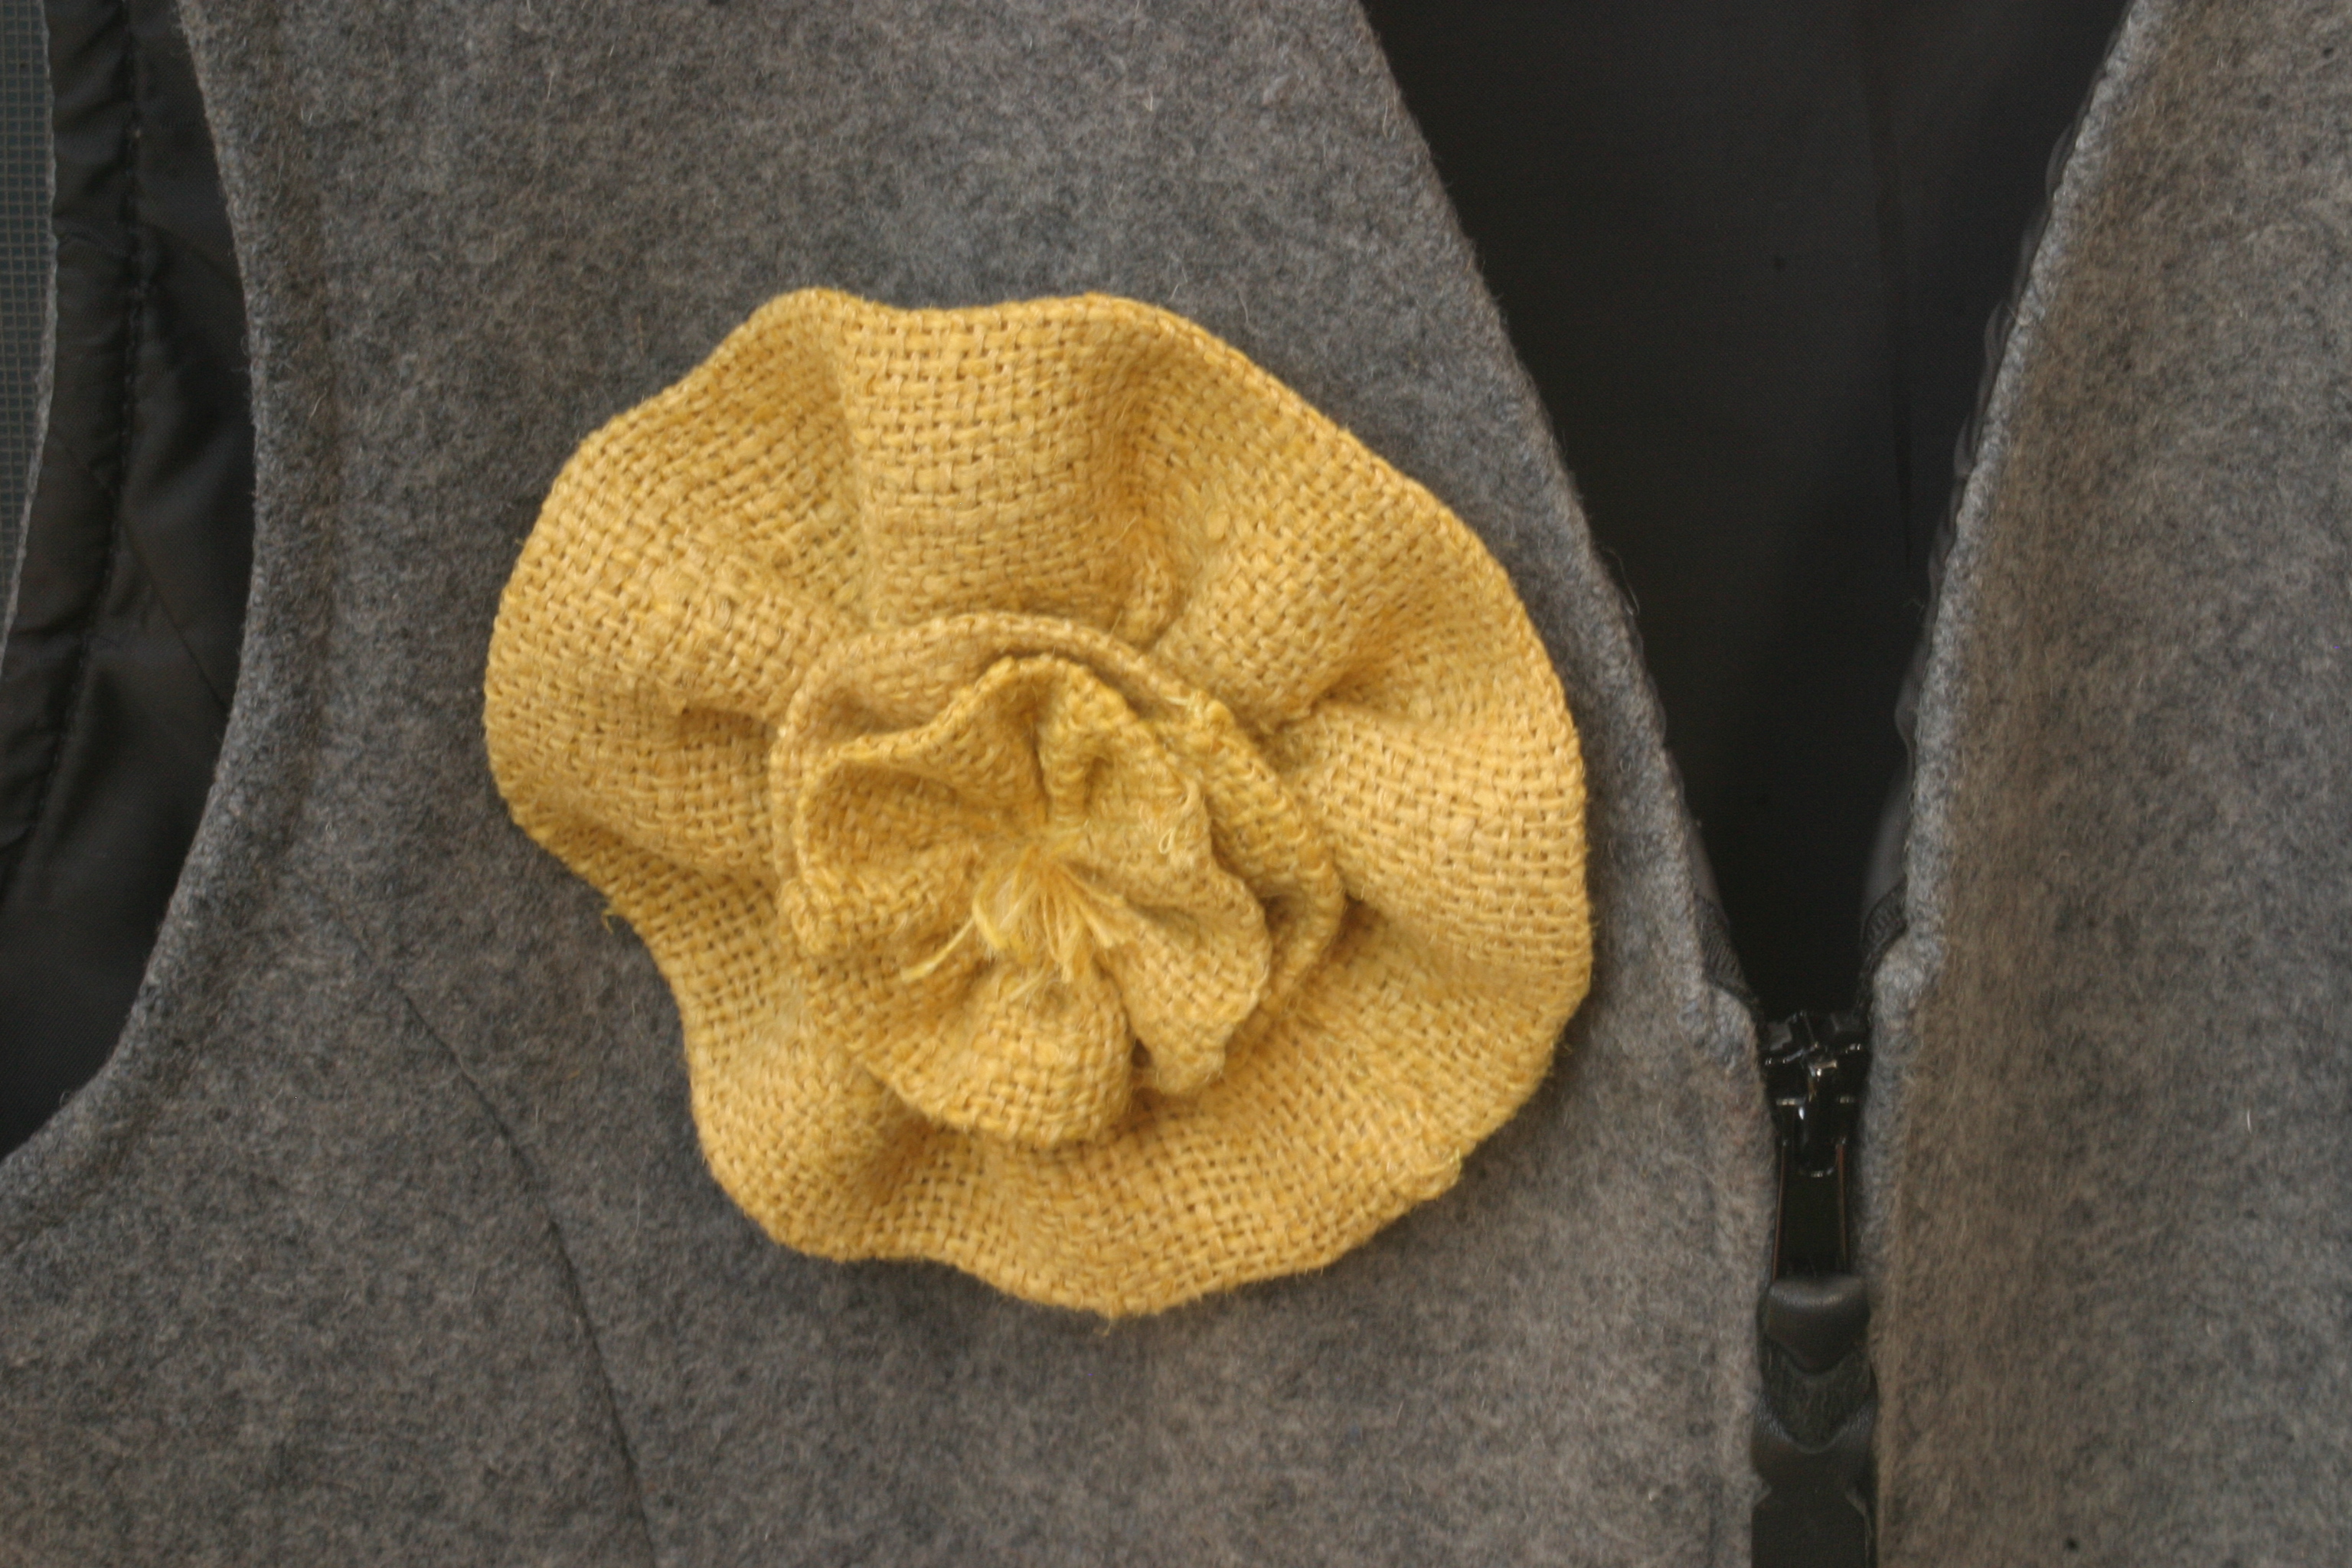
I made a lovely little flower pin out of some of the yellow burlap flowers that I have been playing around with the last few weeks. The back of the pin looks almost as finished as its front.
Ain’t that pretty? That was a close-up of a yellow burlap flower pin that I made last week. You might recall that in last week’s post I mentioned I was trying to puzzle out the components and design of a fall-inspired wreath that I’d like to hang in the Houseproud homestead’s living room. The flower pin is exactly what I wanted: a bright splash of color to wear as the days get dark and grey. I think I’ve worn the pin pretty much every other day since I made it … Here’s what it looks like from afar:
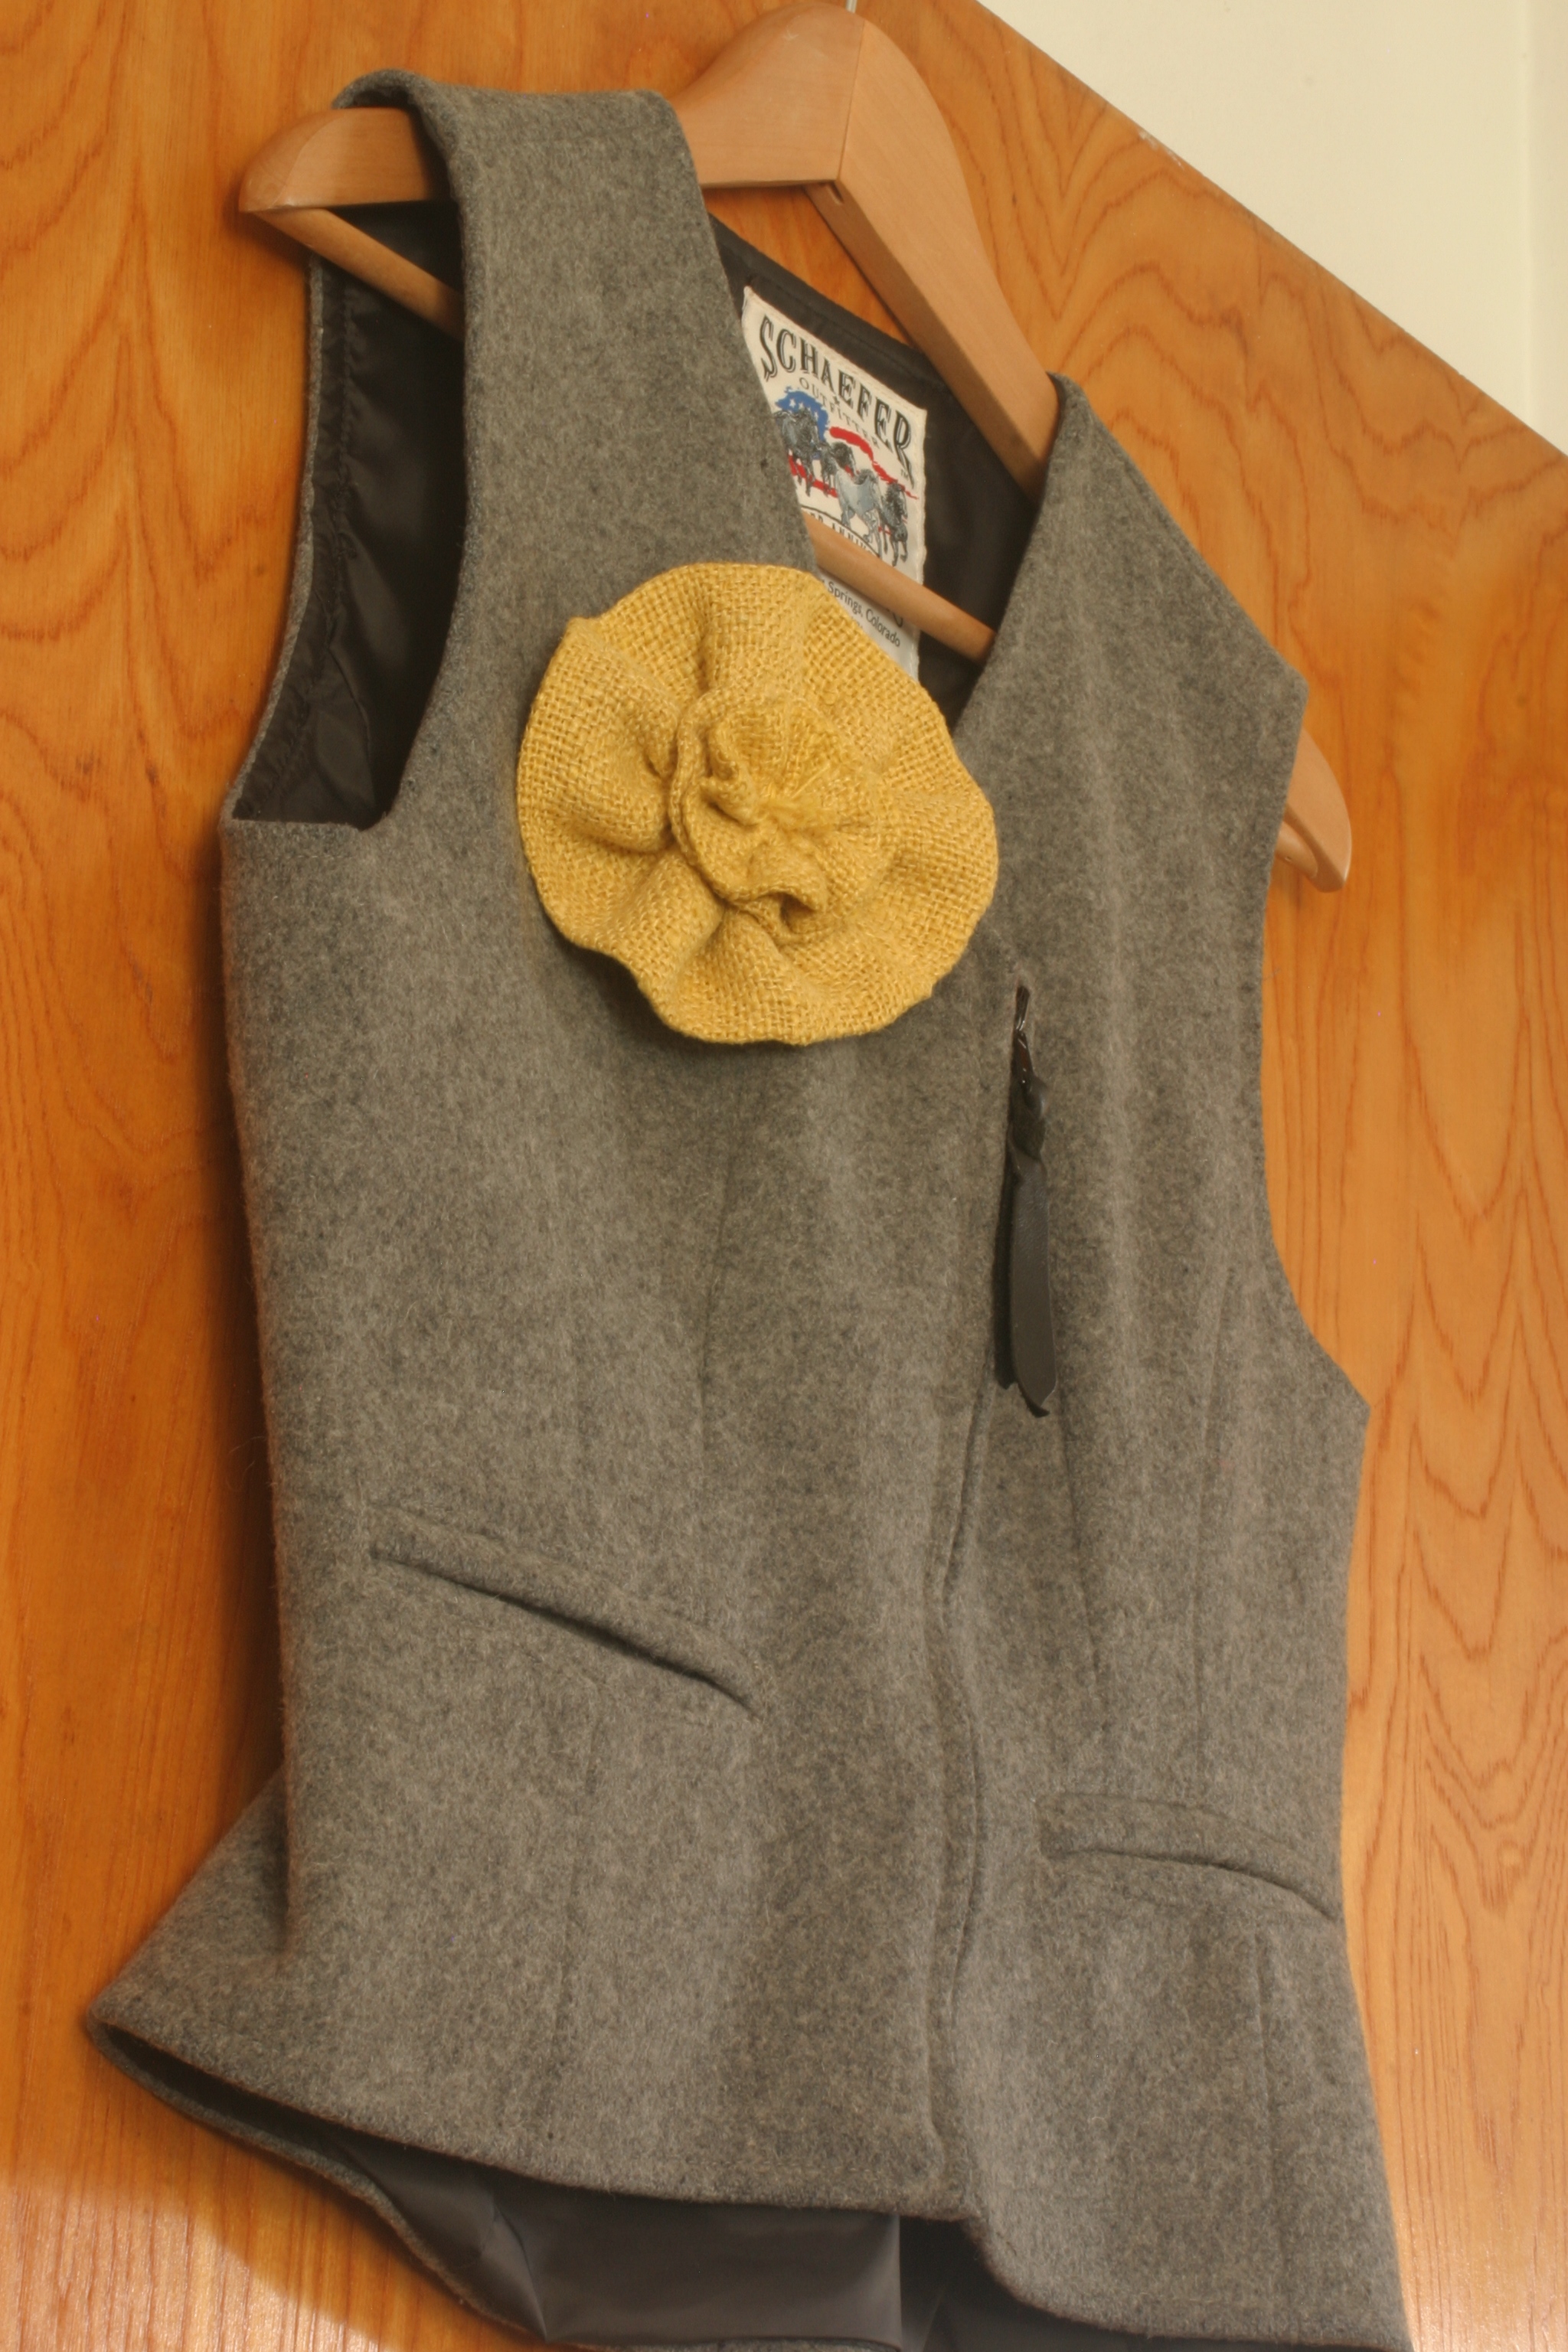
Full view of the yellow burlap flower pin that I made last week.
The pic shows how large the pin is: it ain’t no shrinking daisy, but then neither am I. I think the pin is kinda cool.
Here are a few close-ups of another flower I made.

A yellow burlap flower that will be used in a fall-inspired wreath.

Side-view close-up of yellow burlap flower to be used in fall-inspired wreath
This is the version that will go on the wreath. The pin is made from one large circle and two smaller circles with some burlap threads used to create stamens; the wreath’s flowers will be made from two large circles and one smaller. I will add the stamens when I affix the flowers to the wreath form. Mind you, I haven’t figured out how I will affix the dratted things, but I’ll burn that bridge when I get to it.
And when I wasn’t drinking Bloody Marys and making bloody flowers, what was I doing last week? I was baking bread, of course:

Two small loaves of dense brown bread, based upon a recipe from My Calabria.
I made three loaves that came out dense and nutty, full of whole wheat goodness. I used the Everyday Bread recipe in “My Calabria“. As Ms Costantino suggests, I used half wheat and half unbleached white flour, but I had a brain-fart moment and didn’t increase the water as much as she suggests. This made the resulting loaves very dense and chewy. No worries, this kind of bread is very forgiving and the first loaf tastes AMAZINGLY good. My oven is such a temperamental beast that I decided to bake the loaves in a cast iron pot, as one would for the famous No Kneed Bread. It worked like a charm (which is a good thing, as my beastly oven is very erratic when operated at the high temps that bread baking demands). I froze the other two loaves (the recipe makes three loaves of bread, which even I would be hard-pressed to eat before they went stale). The first loaf is in our cupboard, in a bread bag (goodness – there’s only a quarter of it left). What’s a bread bag, you ask? It’s a cotton or linen bag that you store bread in, and it supposedly keeps bread from going stale quite so quickly. I’m using a small light-weight muslin shopping tote as a bread bag now, but if this experiment works I’ll make some official bread bags in a few weeks.
And what else was I up to, besides not working on Houseproud Industry projects? (More on Houseproud Industries in another post.) Why, I preserved more fall goodness, that’s what I did. I canned two jars of ground tomatoes, two smaller jars of tomato paste (based, in part, on a recipe in My Calabria), and some pickled green beans (using a recipe for dilly pickled green beans from Well Preserved, to which, were I a better person, I would link directly. I am not, however, a better person and besides, that site is a giant time-suck for me. I mean that in the best possible way, of course. Hrm.)
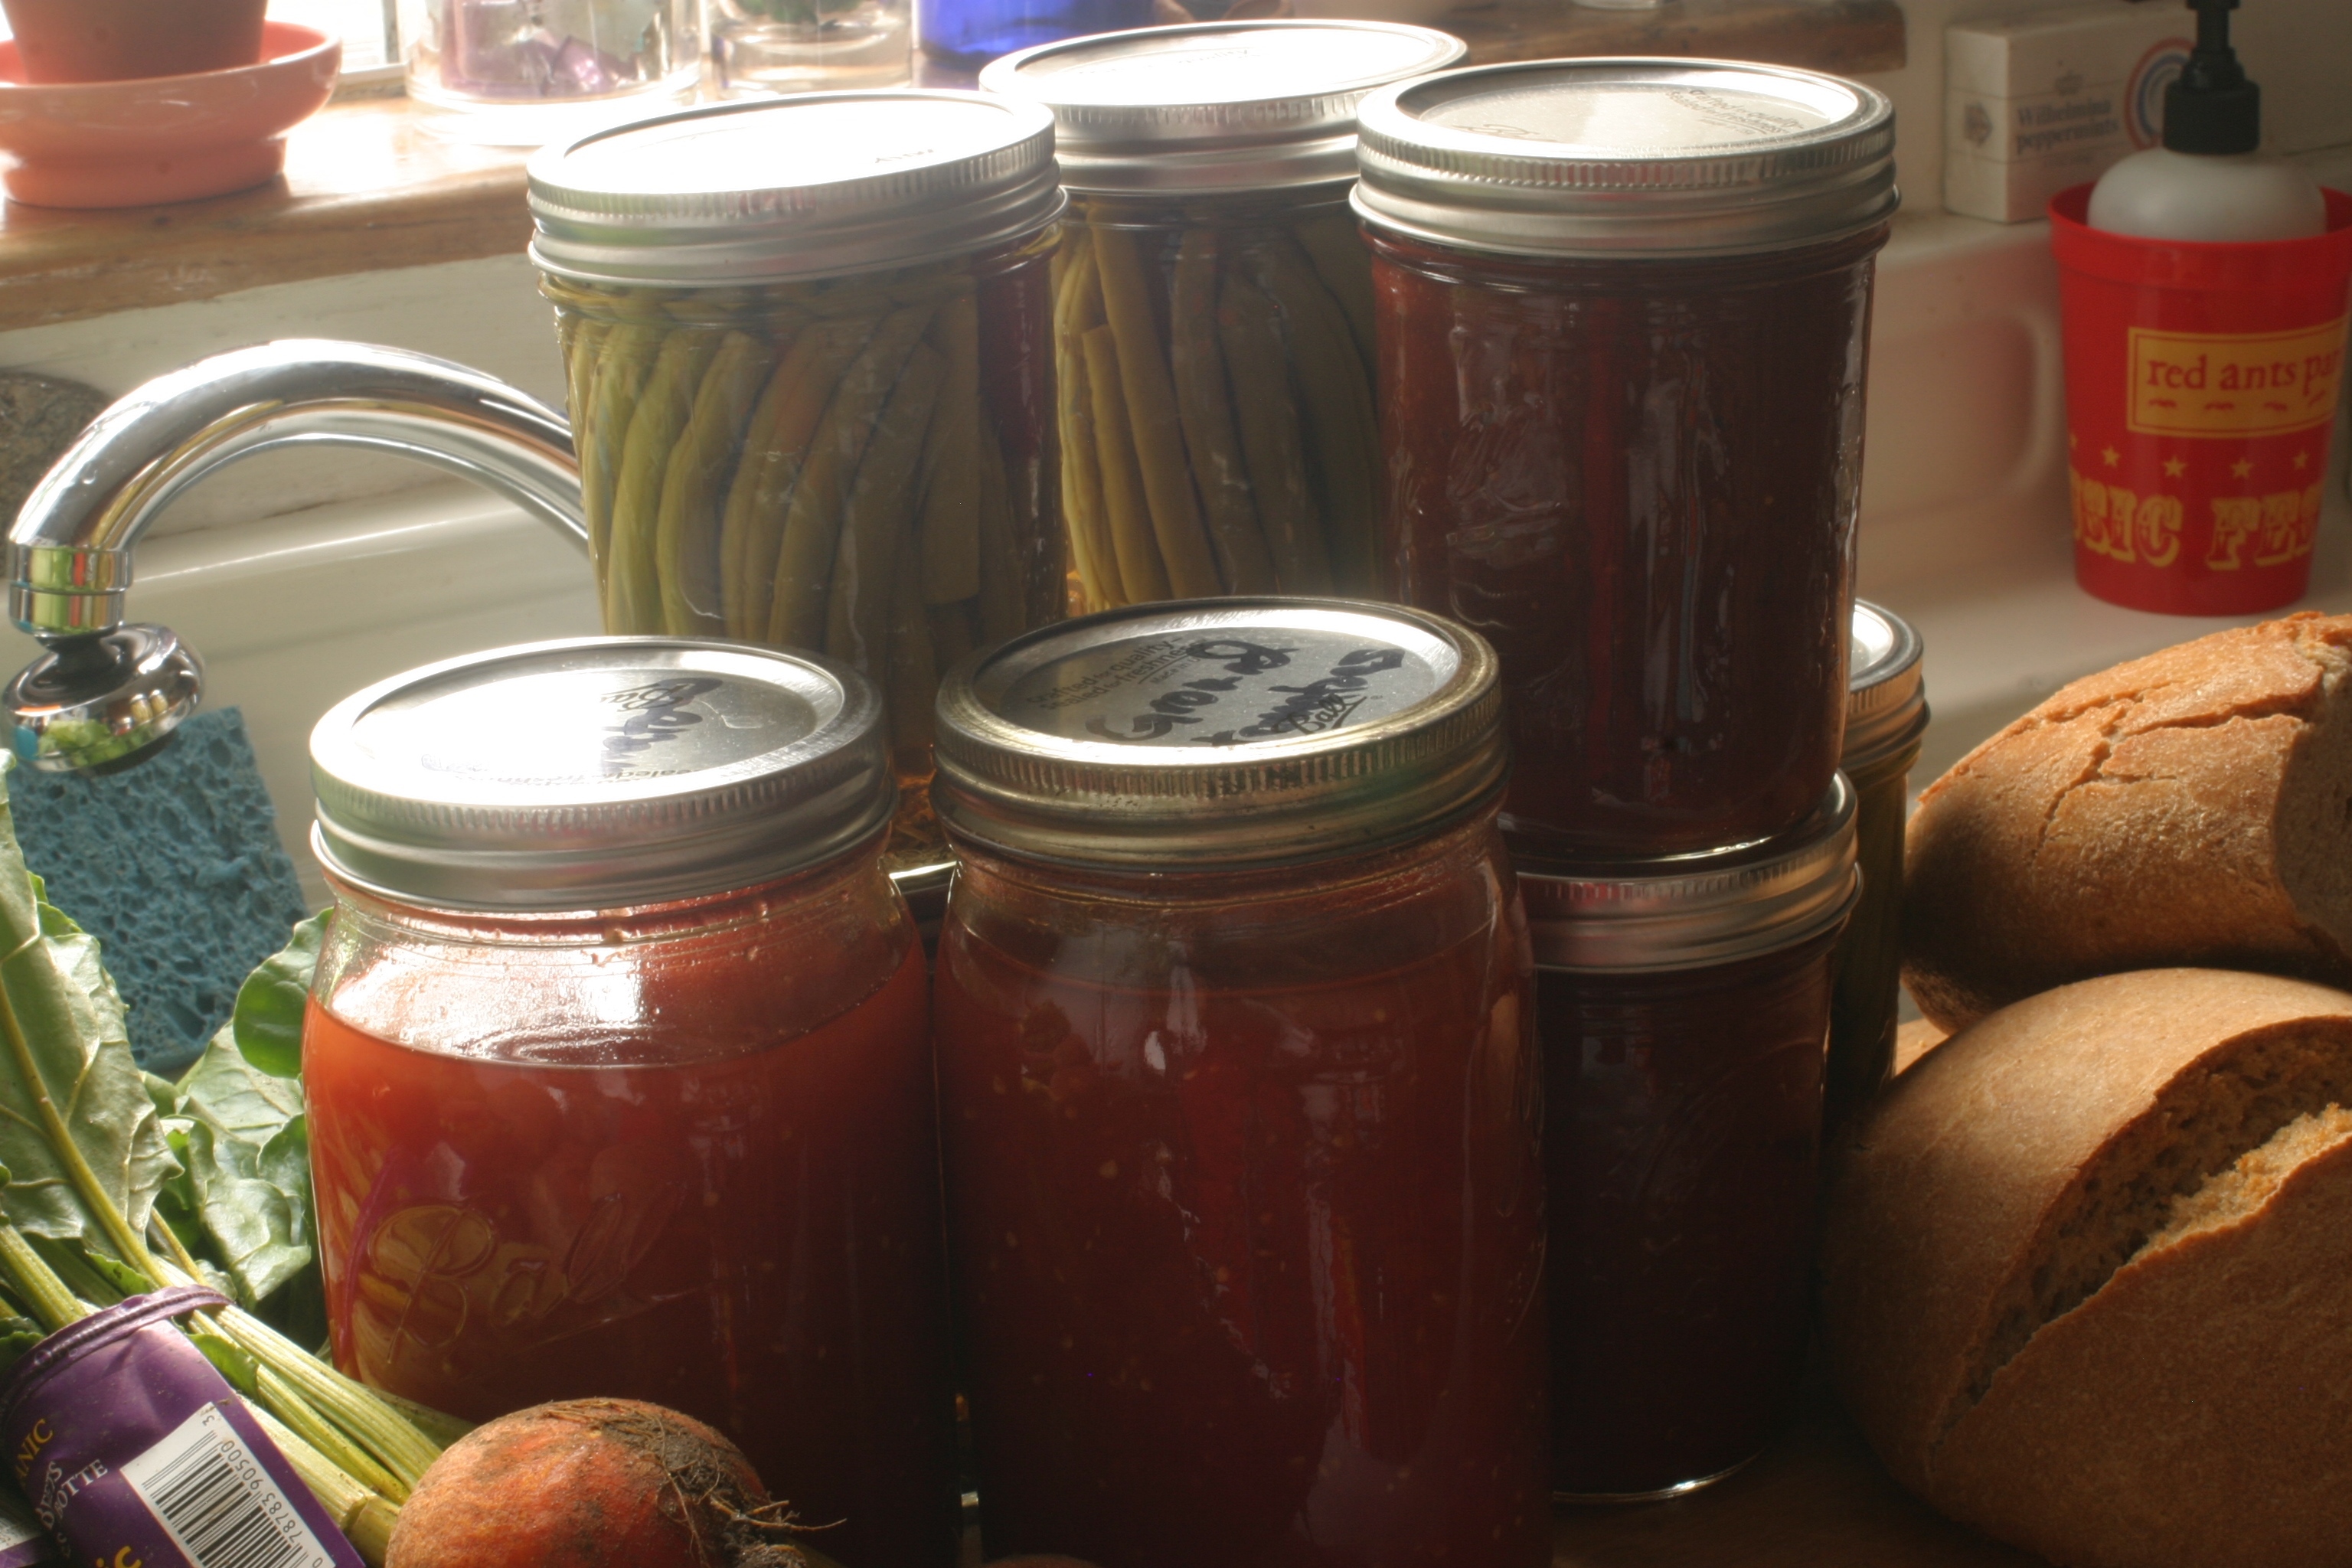
The last of this year’s tomato canning extravaganza (two jars of ground tomatoes and two of tomato paste), and my first green bean pickles.
Anyway, I made four plus jars of green bean pickles with dill seeds and dried hot peppers, people! Next year I will just curl the green beans into the jars uncut, in layers (I think this will cure the floating problem I had with this batch). And for this, my final tomato canning session for the season, I sorted through my last box of tomatoes from Bautista Ranch and made a batch of tomato paste from the slightly under-ripe tomatoes. The paste started by roasting those slightly under-ripe tomatoes in low oven. The roasted tomatoes were skinned and mashed, poured into a large shallow pan and simmered for a long time on the stove top, and then finished with another long amount of time in a very low oven. All of that time and work were so worth it – the paste tastes heavenly. The perfectly ripe tomatoes were ground and then canned au natural, in the way I do ’em these days, which doesn’t exactly follow the rules set out by the canning gods at the National Center for Home Food Preservation.

See how dark the tomato paste is, compared to the much lighter ground tomatoes? The paste is brick red, and tastes like heaven.
Look at the difference between the color of the tomato paste and that of the ground tomatoes! The paste is a glorious brick-red, while the regular canned tomatoes are more of a … well, more tomato-red, if you know what I mean. Next year I’ll can the tomato paste in MUCH smaller jars. I canned the paste in pint jars this year, but even that’s too big (a little of the paste goes a long way, so the opened jars will have to live in fridge, with the tops covered in a protecting coat of olive oil). I had the sense to mark the lids of my canned tomatoes, but only with this, my final batch. (I didn’t bother marking the tomato paste, as it is in a much smaller jar and it’s so clearly tomato paste.) Next year I’ll mark all of my canned tomatoes, so I can keep track of the canning process that tastes the yummiest. And how will I remember to so mark the jars? Because I’m planning to write a post in the coming weeks that will be dedicated to the lessons I’ve learned from this year’s canning sessions. I will read this yet-to-be-written canning compendium and thus avoid the many interesting learning experiences that I had this year. That will be kinda cool, won’t it? Oh, it will, really it will!
Well, the Mister is home and I’ve got a Bloody Mary to drink. I’ll leave you with a photo of some gloriously dirty golden beets that I purchased at Alameda Natural Grocery (ANG) yesterday. I’ll be back in just a few days with some pretty darn cool news about my new part-time job at ANG’s Pantry shop, as well as some more pictures, a few links, and perhaps a recipe or two (I’m gonna make some beet pickles with these beets, and if all goes well they’ll taste as good as the wonderful ones I get at Julie’s. Wish me luck!!) – Fondly, your little munakins.
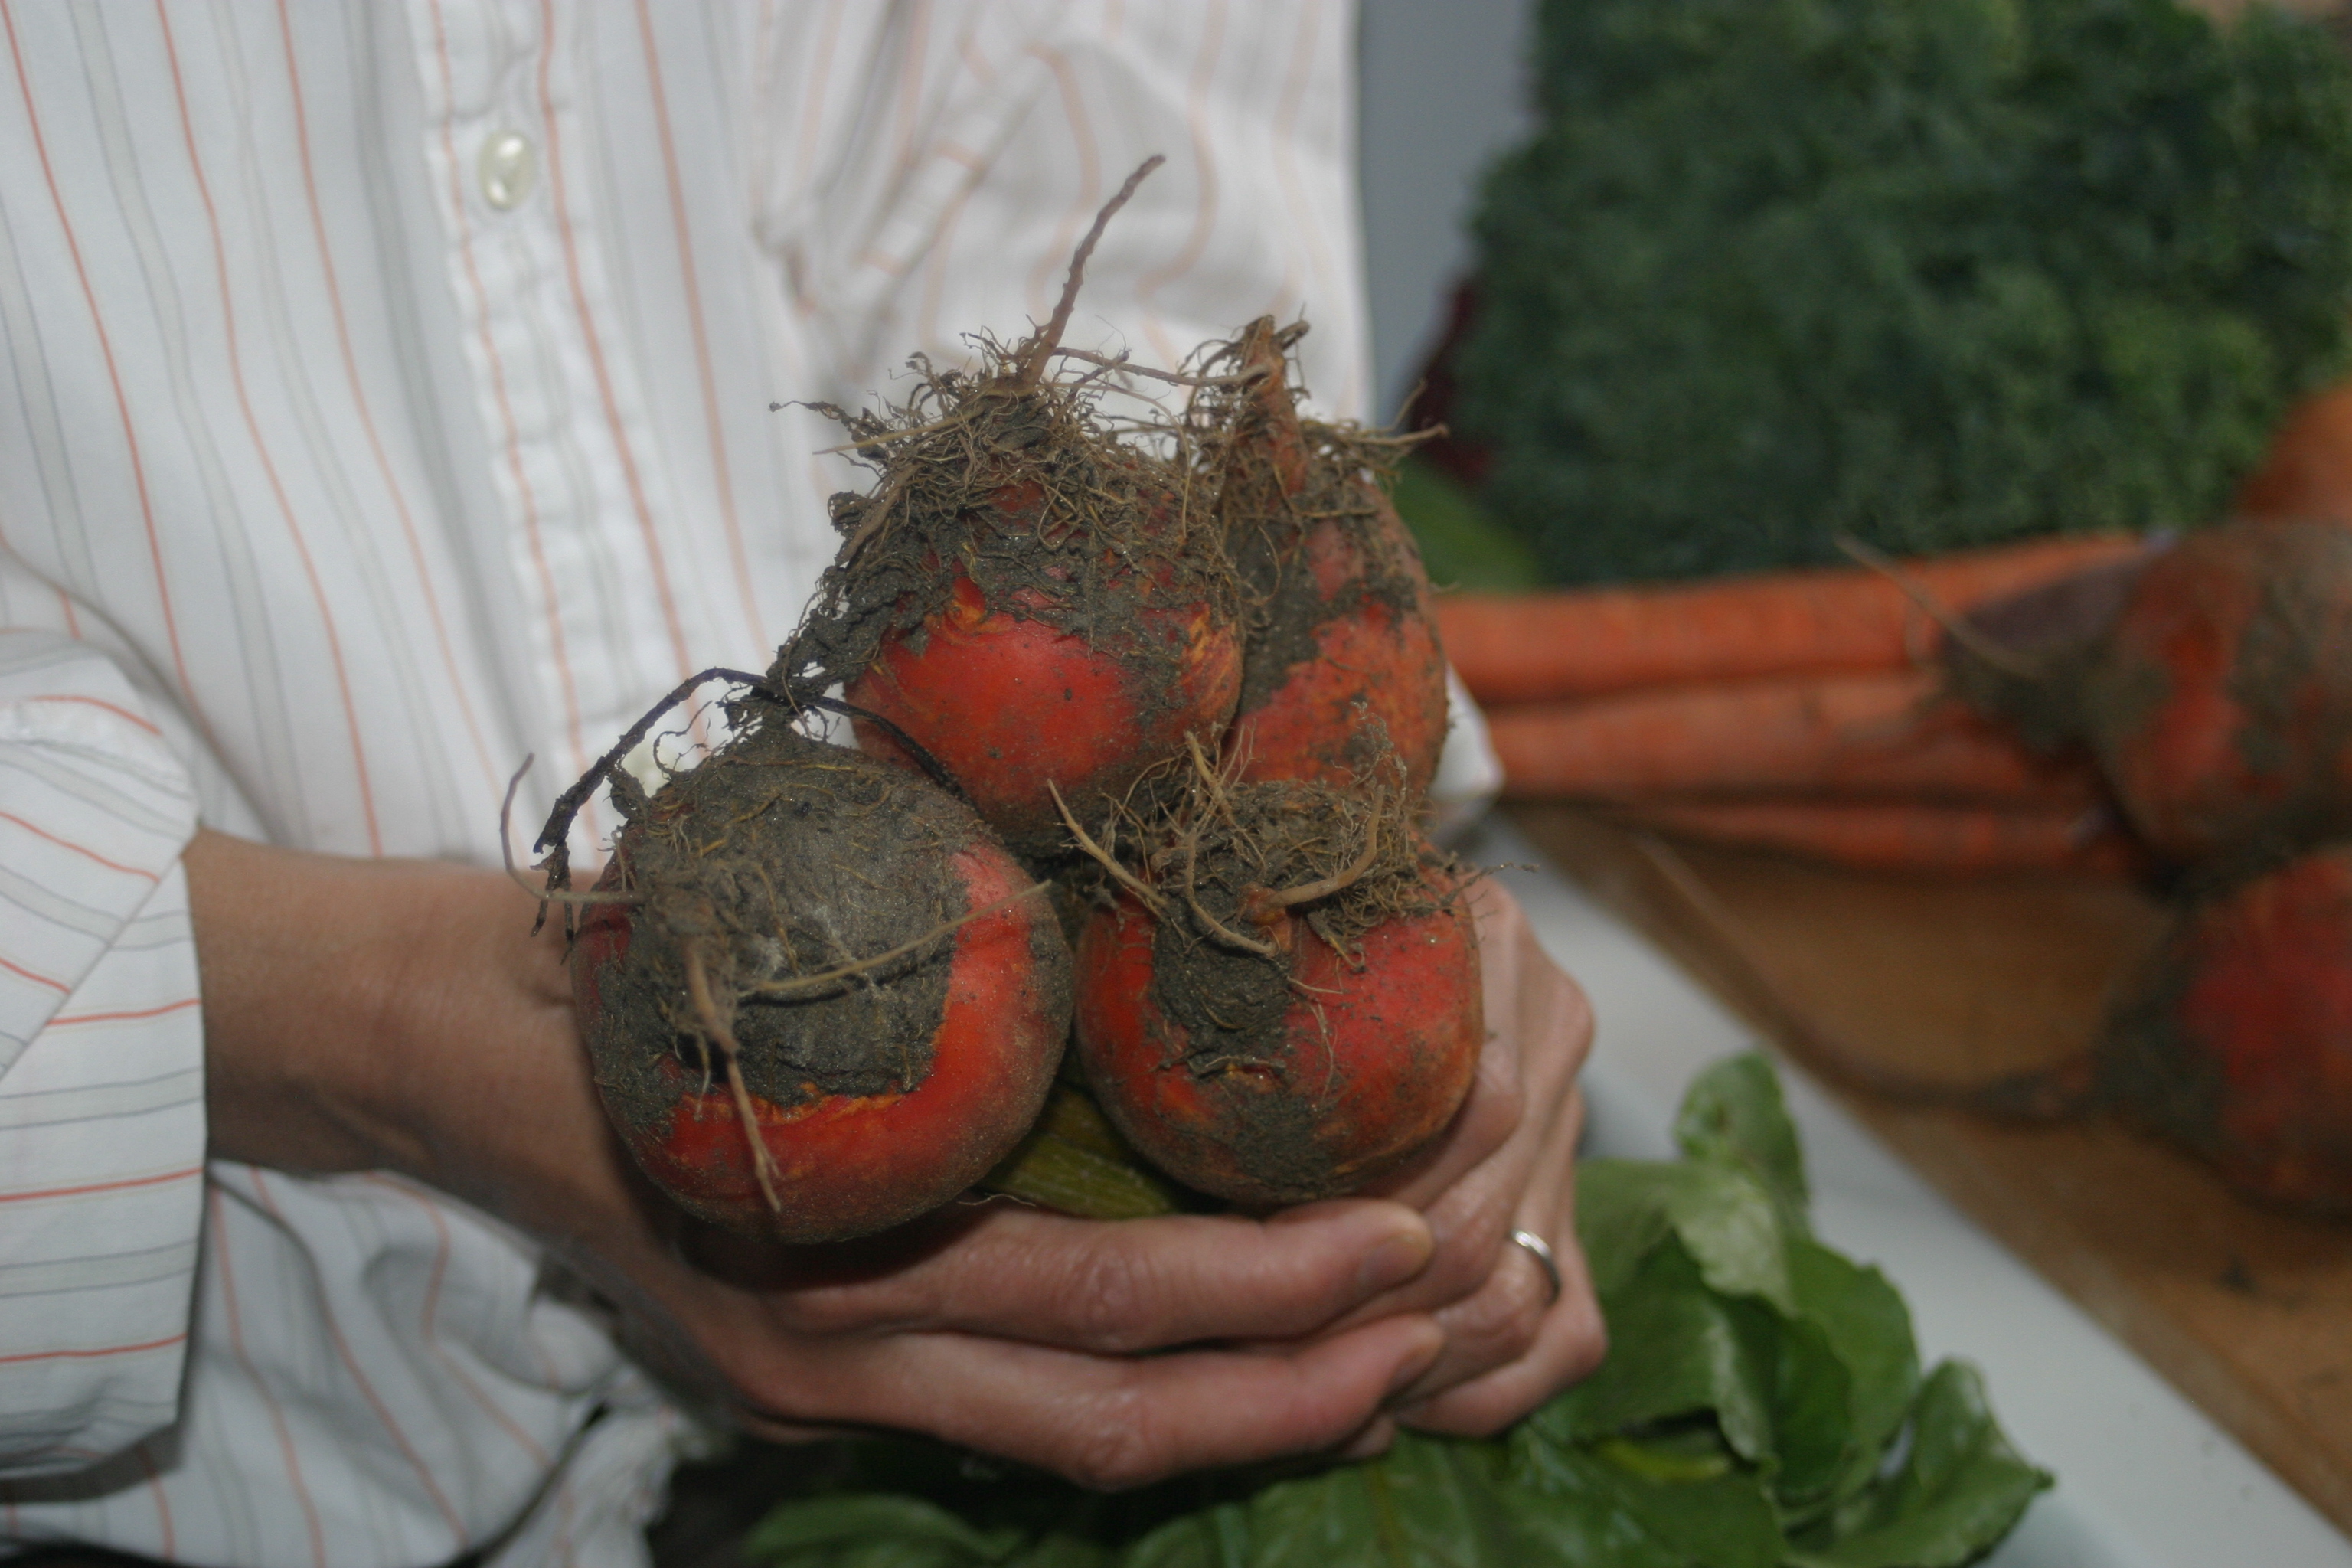
Dirty golden beets from Happy Boy Farm. I like seeing soil on my food, don’t you? These must have been pulled out of the ground just a few days ago …

Yes, that’s kinda cool.
Heh, it is, innit?