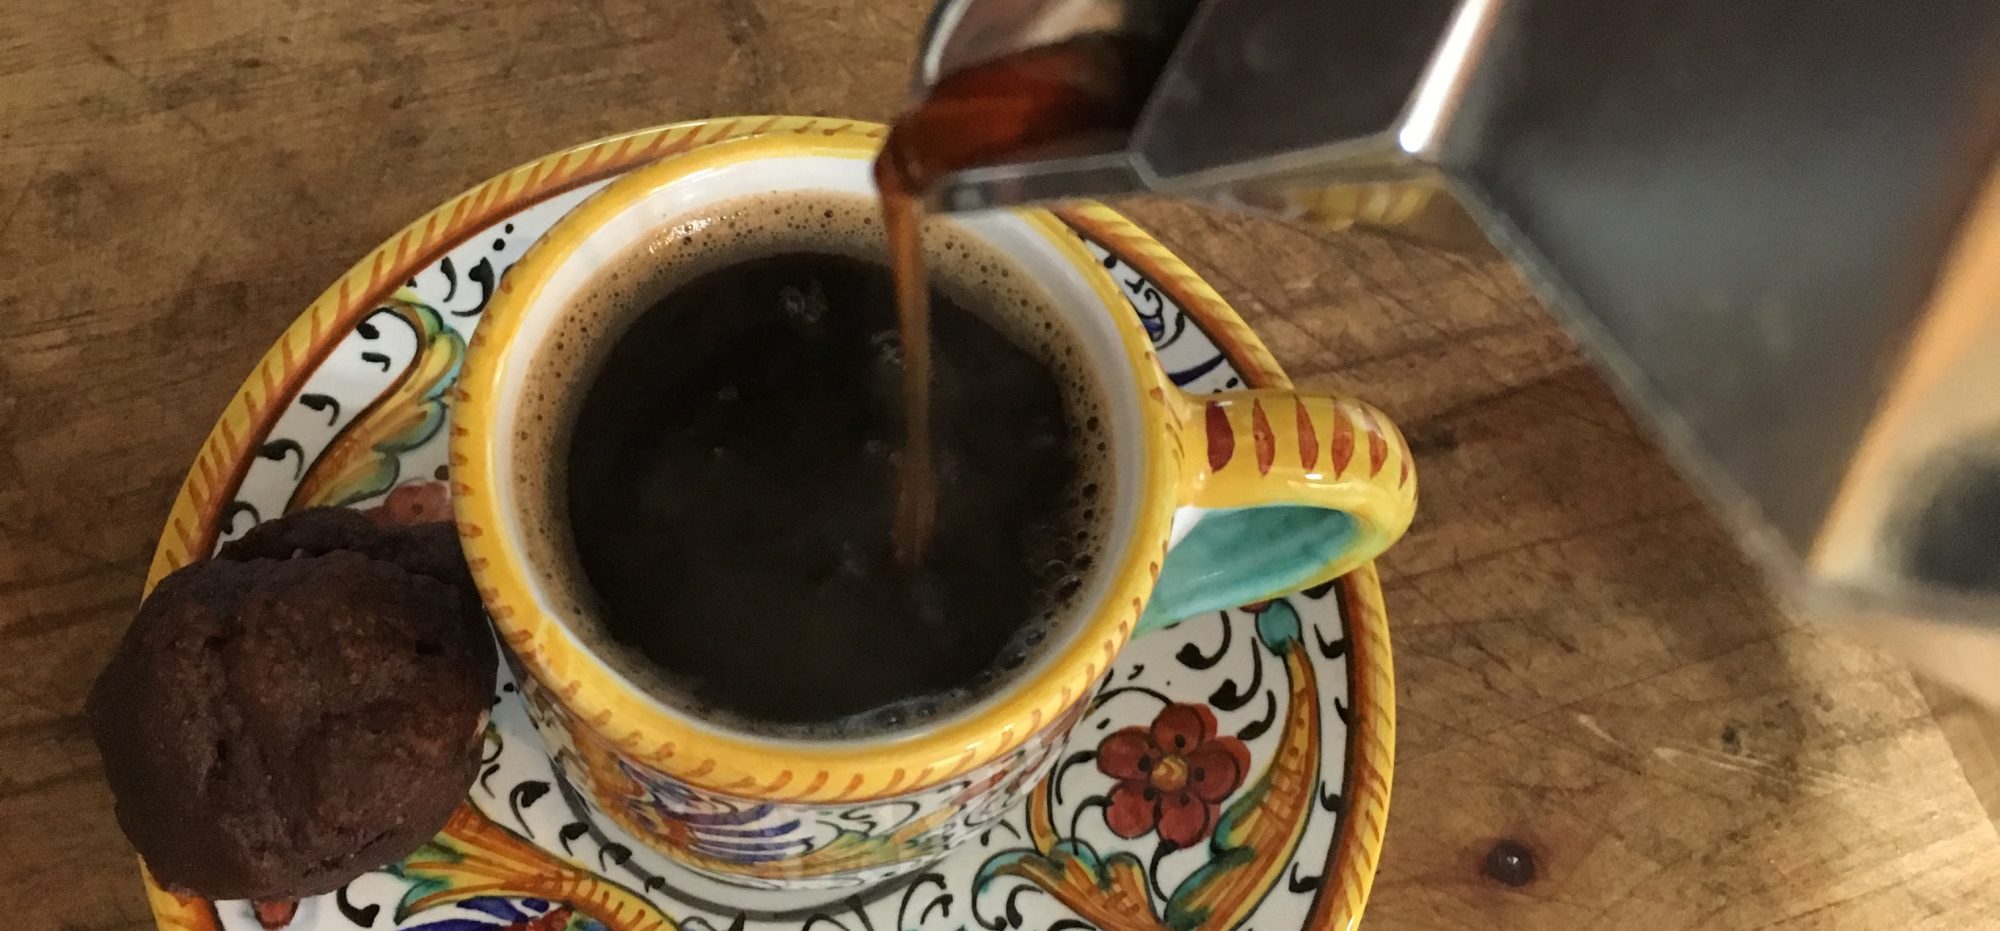

Action shot of me arranging preserves: pickles and tomato sauce and kombucha and hard cider and dried zucchini, oh my!
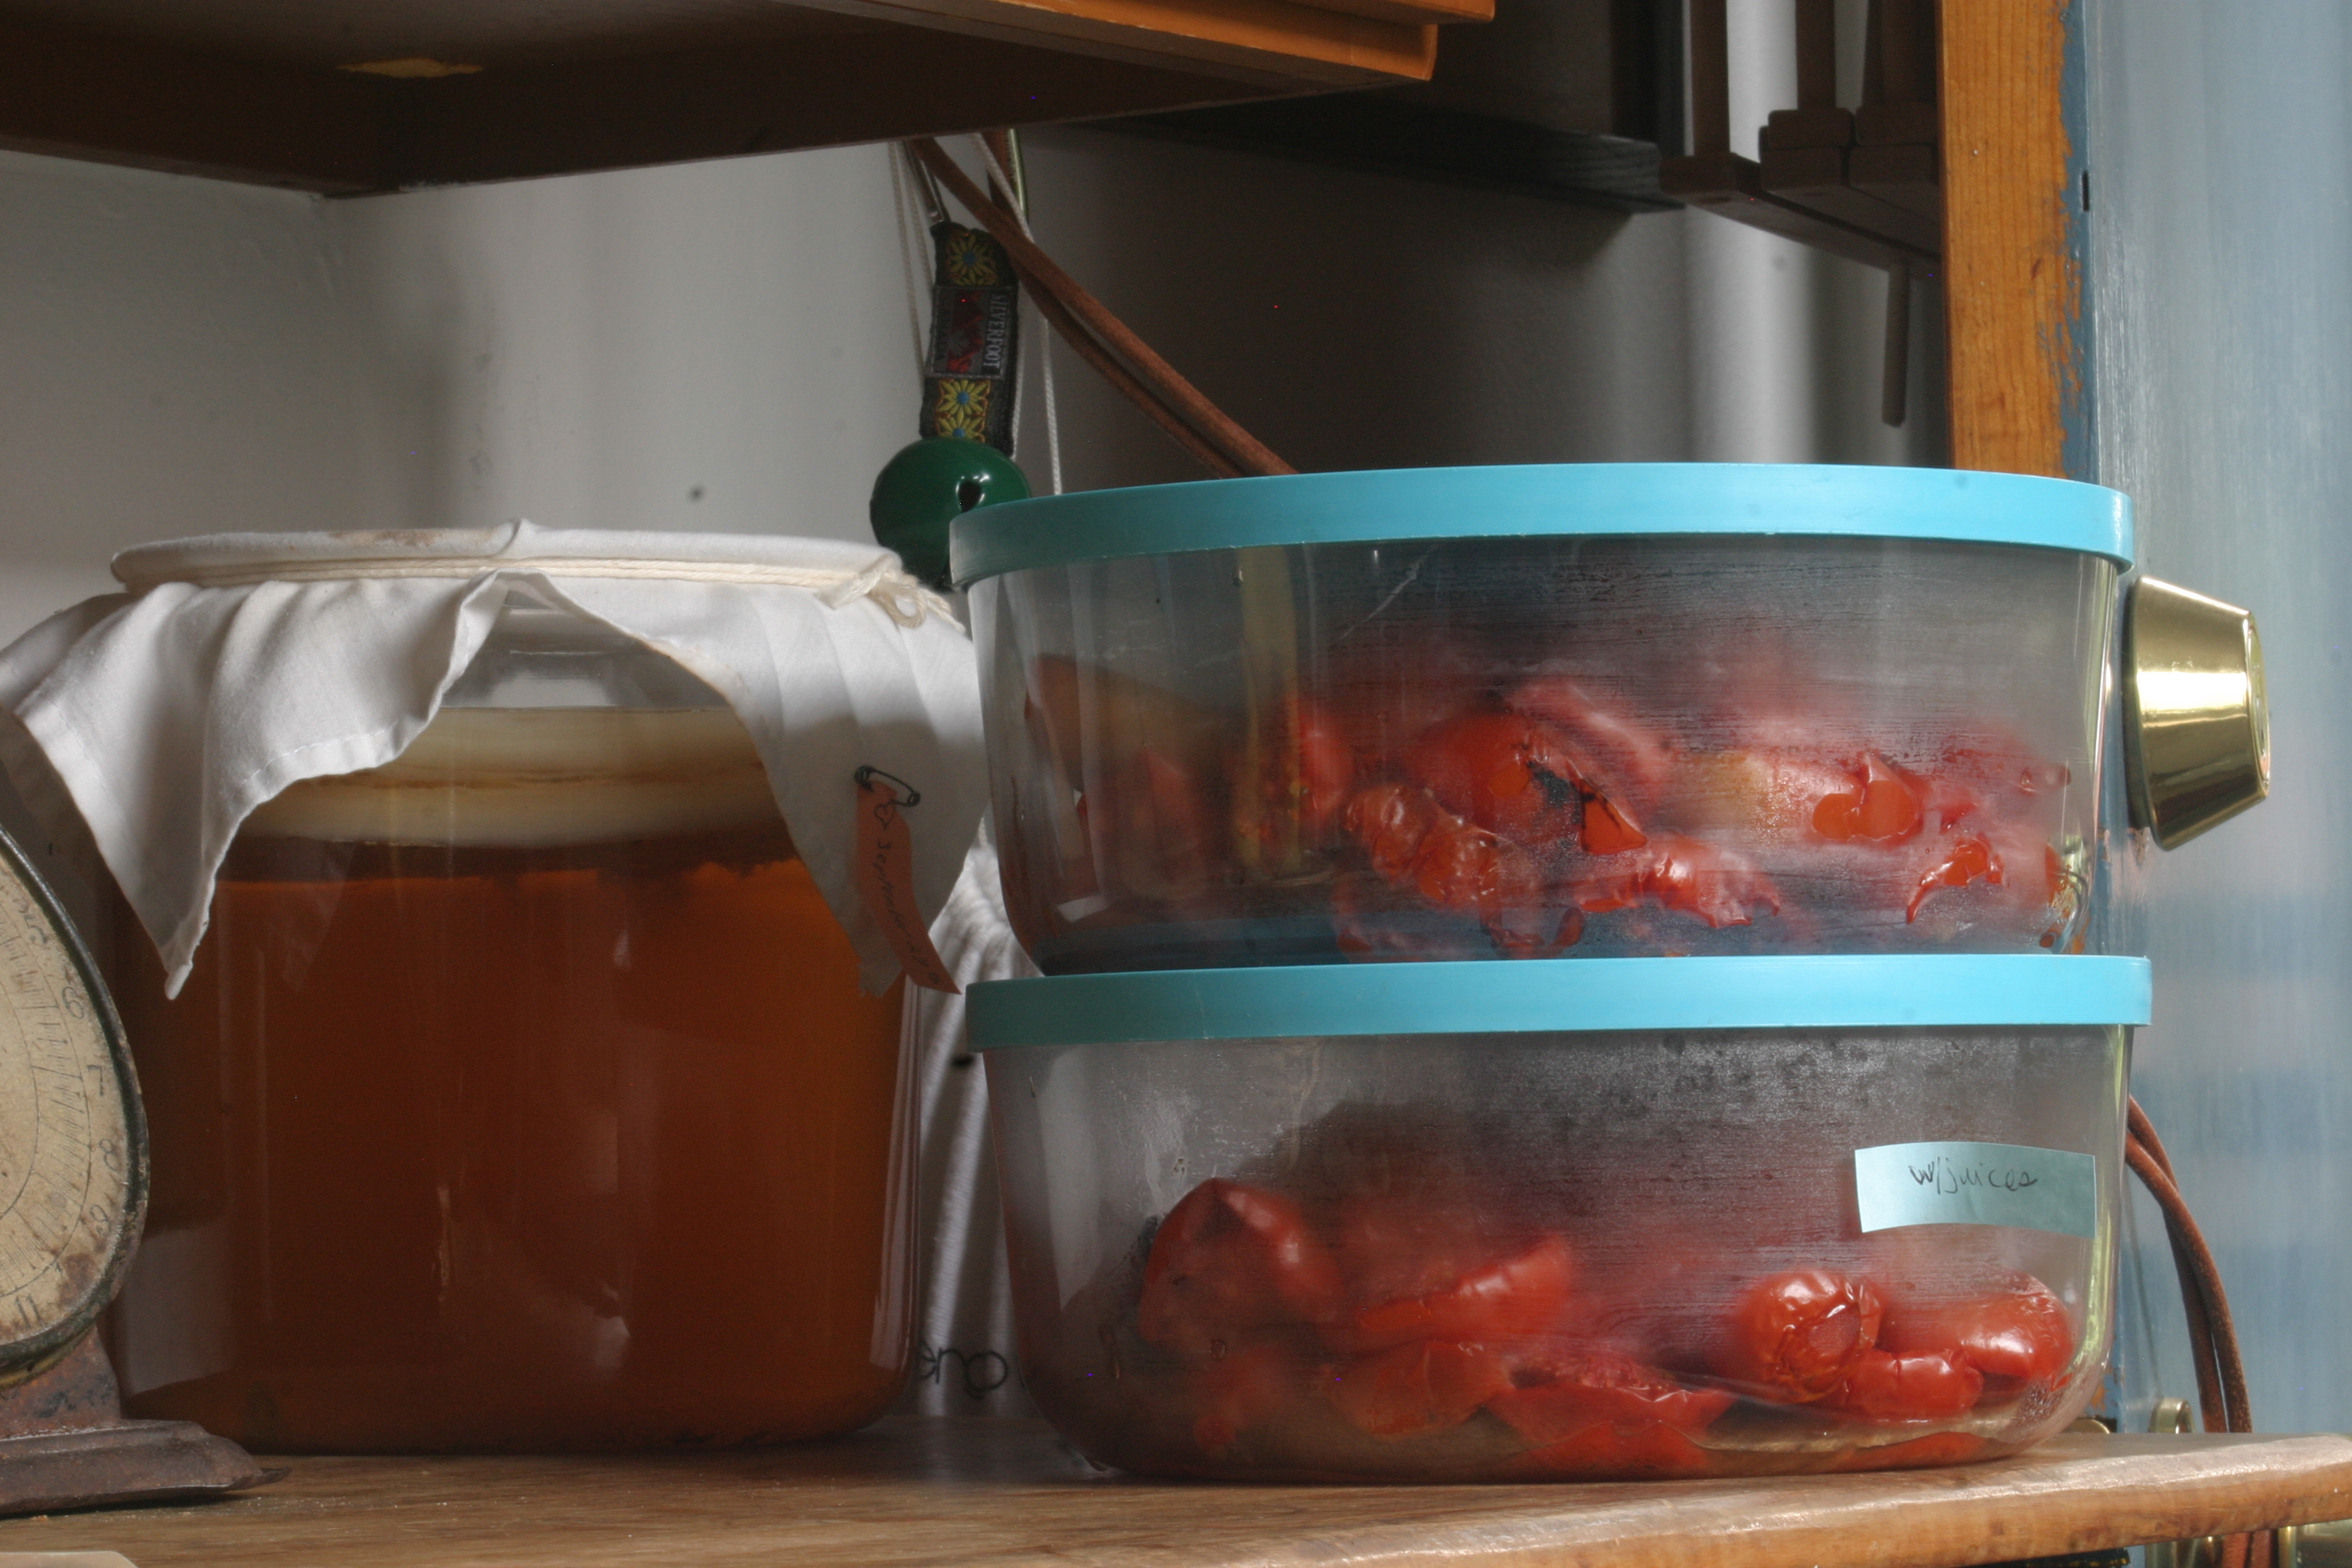
Thing’s have been hopping at the Houseproud homestead: it’s canning season! Well, technically, it’s preserving season at the homestead, and I’ve been at it to beat the band. Observe, s’il vous plaizzzz, the bounty that our kitchen (and local farmer’s markets) have produced! From right to left, there’s a batch of wild yeast sourdough starter brewing; bottles of hard cider and kombucha; jars of tomato sauce, a small bowl of hot peppers fermenting, and a large bad o’ dried zucchini slices. Not in view is a pint bottle of hot pepper-infused vodka (it’s lurking on top of the fridge, out of view of the camera, but not to worry – there’s a close up of that bottle of firewater below). I say unto you, Houseproud household will be eating well this winter.
And how did our larder get this way? We started by going to a couple of farmer’s markets (Jack London Square’s Sunday market) and came home with a whole lot of produce:

Piles of tomatoes and zucchini from the farmer’s market, ready to be preserved.
You want to can tomatoes, don’t you? Sure you do – canning tomatoes is so simple. Yes, yes, yes: there is equipment to be purchased and instructions to be carefully followed, but the steps are simple, people! First, go here and do some reading: USDA Complete Guide to Home Canning, 2009 revision, courtesy the National Center for Home Food Preservation. Once you’ve armed yourself with the knowledge of safe canning, mosey on over to Well Preserved and poke around Joel’s recipes for some inspiration. (You don’t need to follow the latter step, but the former is non-negotiable.)
Those were the steps I started with, and after studying canning “best practices” and getting inspired by Joel @ Well Preserved, I was ready to can tomatoes. Here are pix of some of the next steps I took (for actual recipes, please visit the USDA’s Complete Guide to Home Canning – writing canning recipes is a job for highly trained professionals).

Cut tomatoes in a shallow pan, ready to be roasted.
First I washed and sorted about 25 pounds of tomatoes. I put the perfectly ripe tomatoes aside and sliced the under-ripe tomatoes in half (stem to stern). I SHOULD have cored the under-ripe tomatoes before I sliced them – the cores are remarkably tough little things to remove after the tomatoes have been roasted. I didn’t season the tomatoes at this point – they got salted when I canned ’em. The sliced tomatoes went on a parchment paper-lined trays and were slid into a 200 degree oven for three hours. Slow and low is the way to go here – you want the tomatoes to loose their excess liquid, not to dry out entirely. (Dry farmed tomatoes don’t need this step – they are naturally concentrated).

Cut tomatoes, slowly roasted.
This is what the roasted tomatoes look like after a few hours. Please ignore the lack of parchment paper on those baking pans. I learned the error of my ways with this batch. (If you can resist snacking on a few at this point, you are made of sterner stuff than I am. Mercy, but roasted tomatoes are a good thing, aren’t they?) I don’t bother straining tomato seeds when I am canning, but I do remove the papery skins. This process is moy tedious, but very worth the bother. And the skins don’t go to waste: I put the skins and the cores go into a zip-lock bag that stays in the freezer until I’m ready to make a batch of stock (this is a great way to use up other scraps of veggies, by the way).
Roasted tomatoes, ready to be skinned and added to sauce.
Being the wild woman that I am, I experimented with my first two batches of roasted tomatoes: one was seeded and the other one wasn’t. I much preferred the taste of the tomatoes that weren’t seeded, and I think you might, too. I wasn’t sure at first, so I kept the two batches separated, with skins on. Choice made, I skinned the non-seeded tomatoes and put the resulting glorious mess aside while I cored, skinned and quartered the ripe, whole tomatoes.
And how did I do that? I put a stock pot half full of water on the stove to boil, and filled a sink with cold water. The tomatoes went into the boiling water in batches – one batch in the boiling water for a minute, the previous batch in the cold water bath, and so forth and so on. I started coring the tomatoes as I went along, but that’s not necessary. Coring the tomatoes starts the skinning process, but I prefer to core everything at once and then start skinning. Follow your bliss, says me.
After all of the tomatoes were cored, I emptied the stock pot of its water, and started peeling and quartering the tomatoes into the newly emptied pot. Once a good layer of quartered tomatoes were in the pot, I turned on the burner under the pot and let it simmer as I peeled and quartered the rest of the tomatoes. Once all of the tomatoes were in the pot, I added the roasted tomatoes and let the whole mess stew for another 20 minutes. As the tomatoes simmered, I washed and scalded the canning jars, and brought the canning pot to a boil. I followed (mostly) the instructions set out by the wise folks at the USDA, and canned up seven jars of late-summer loveliness, and the next weekend I did the whole thing again. The result? Fourteen jars of canned tomatoes:
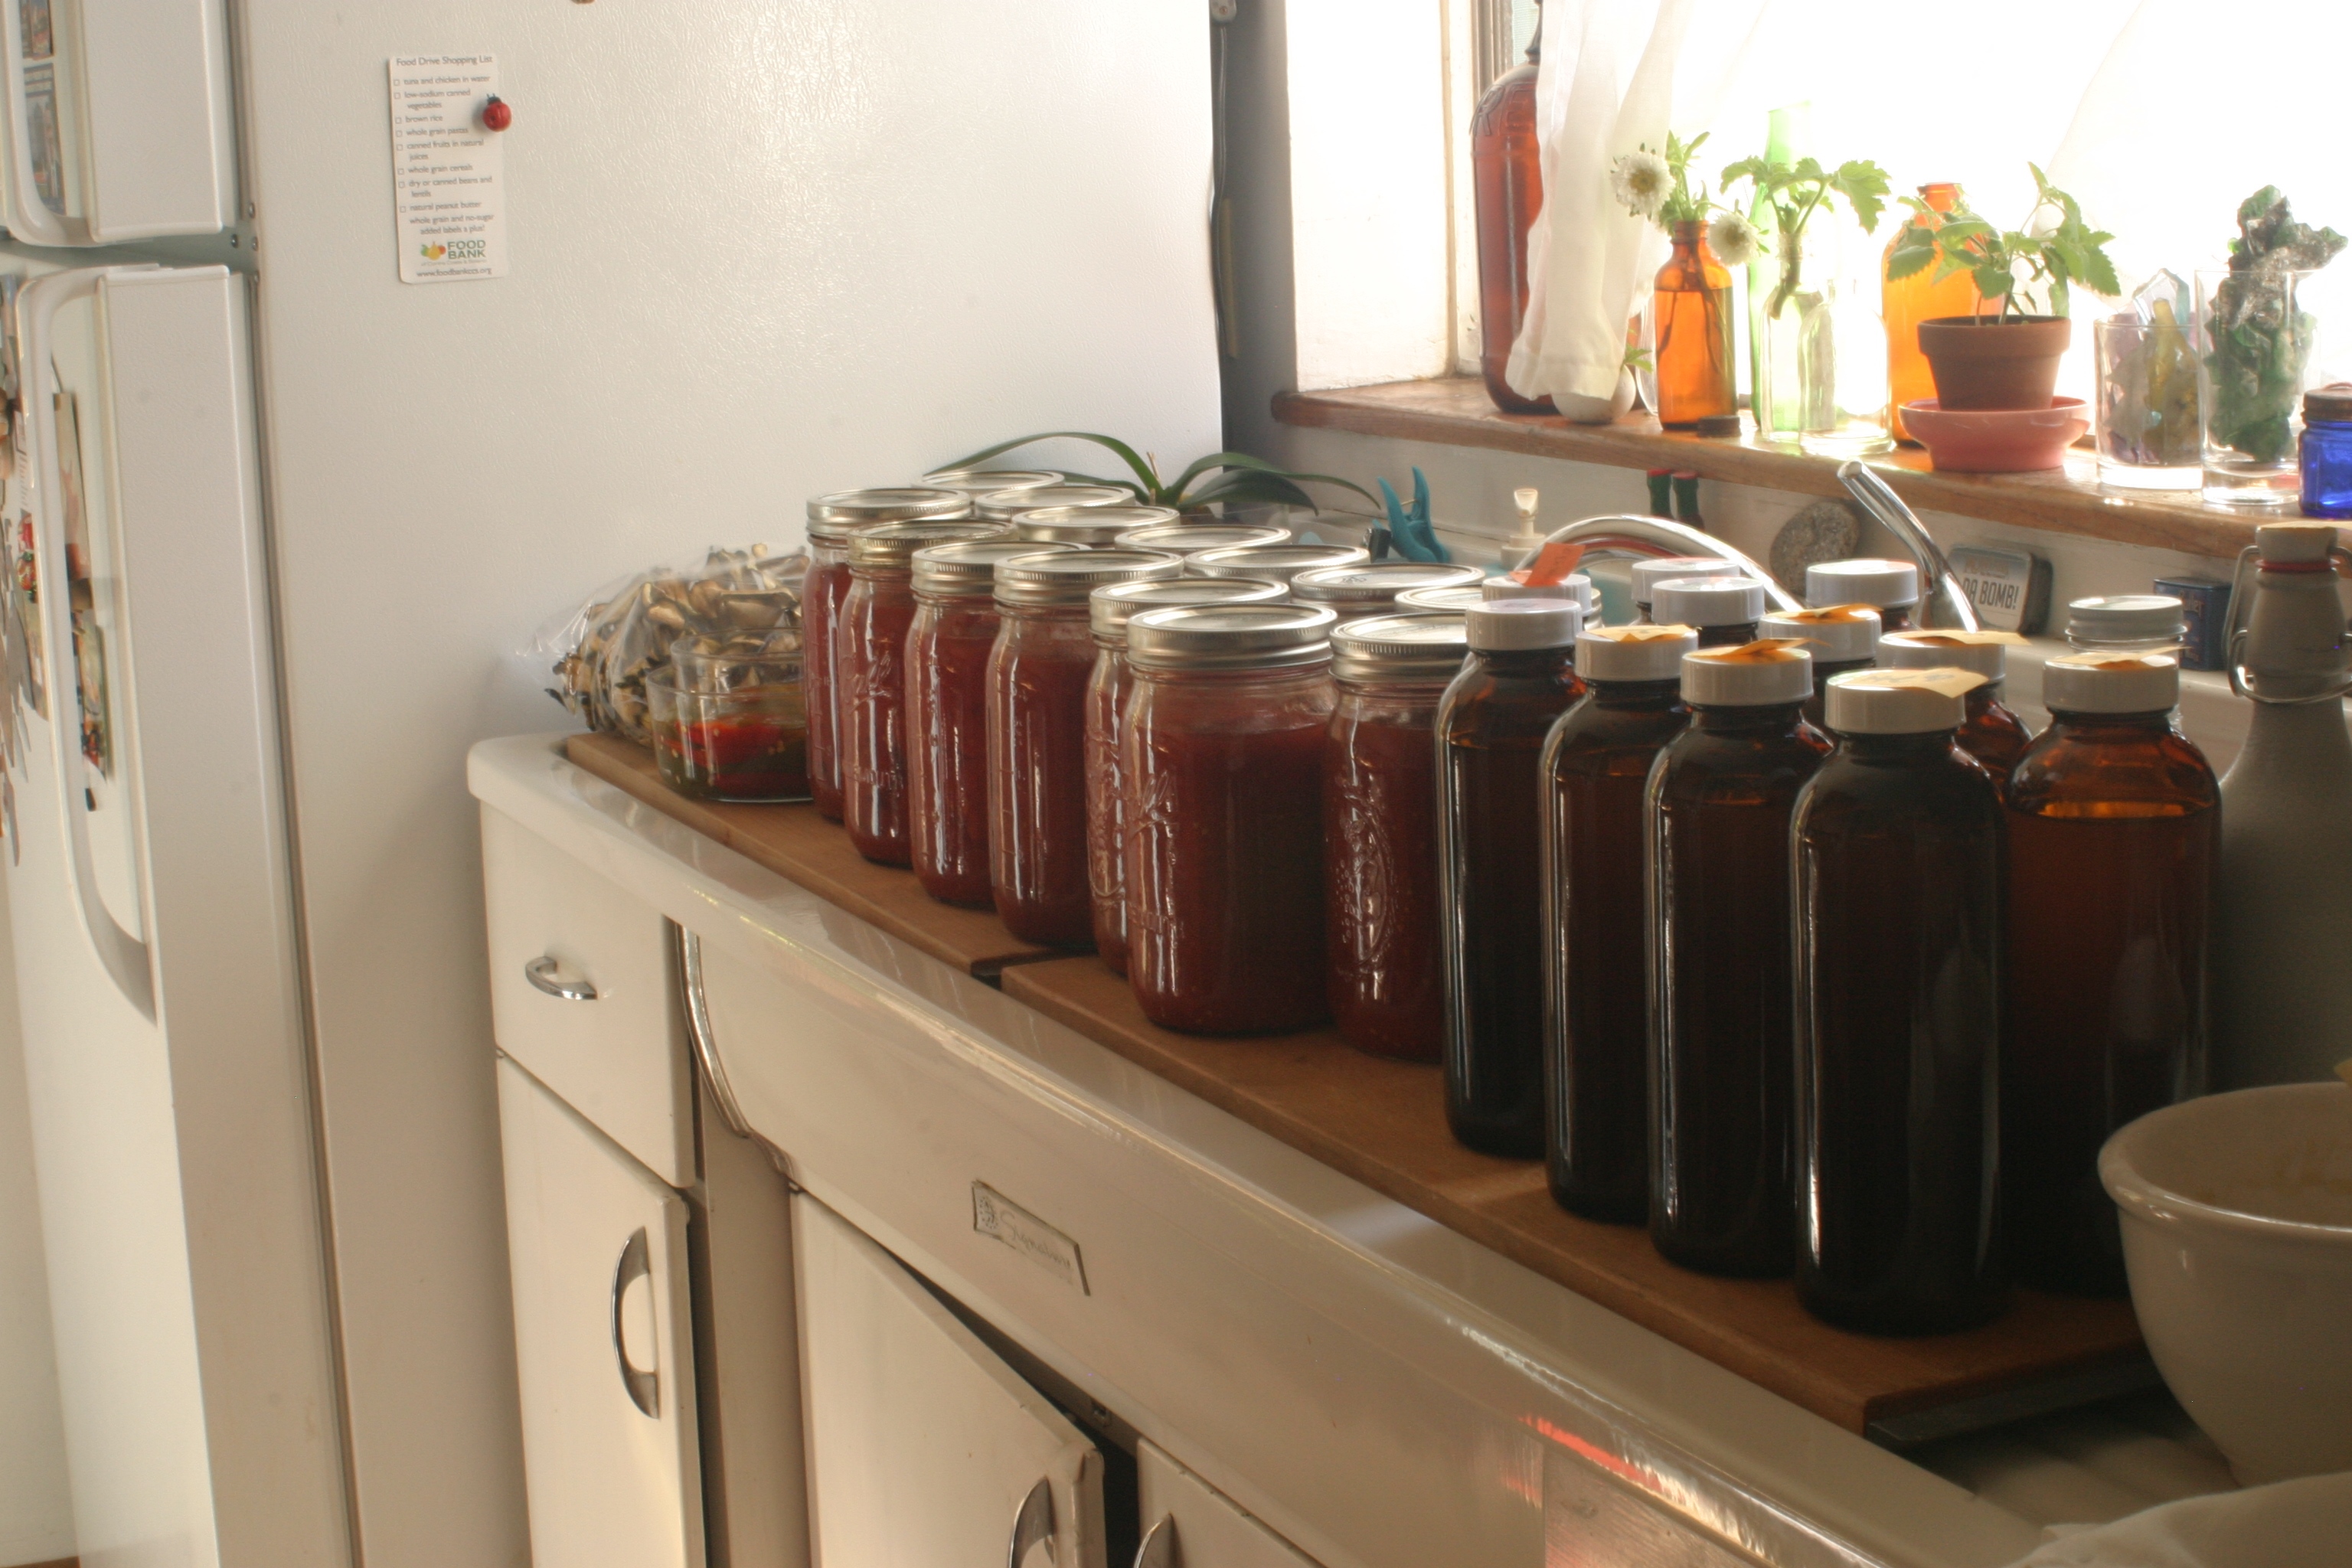
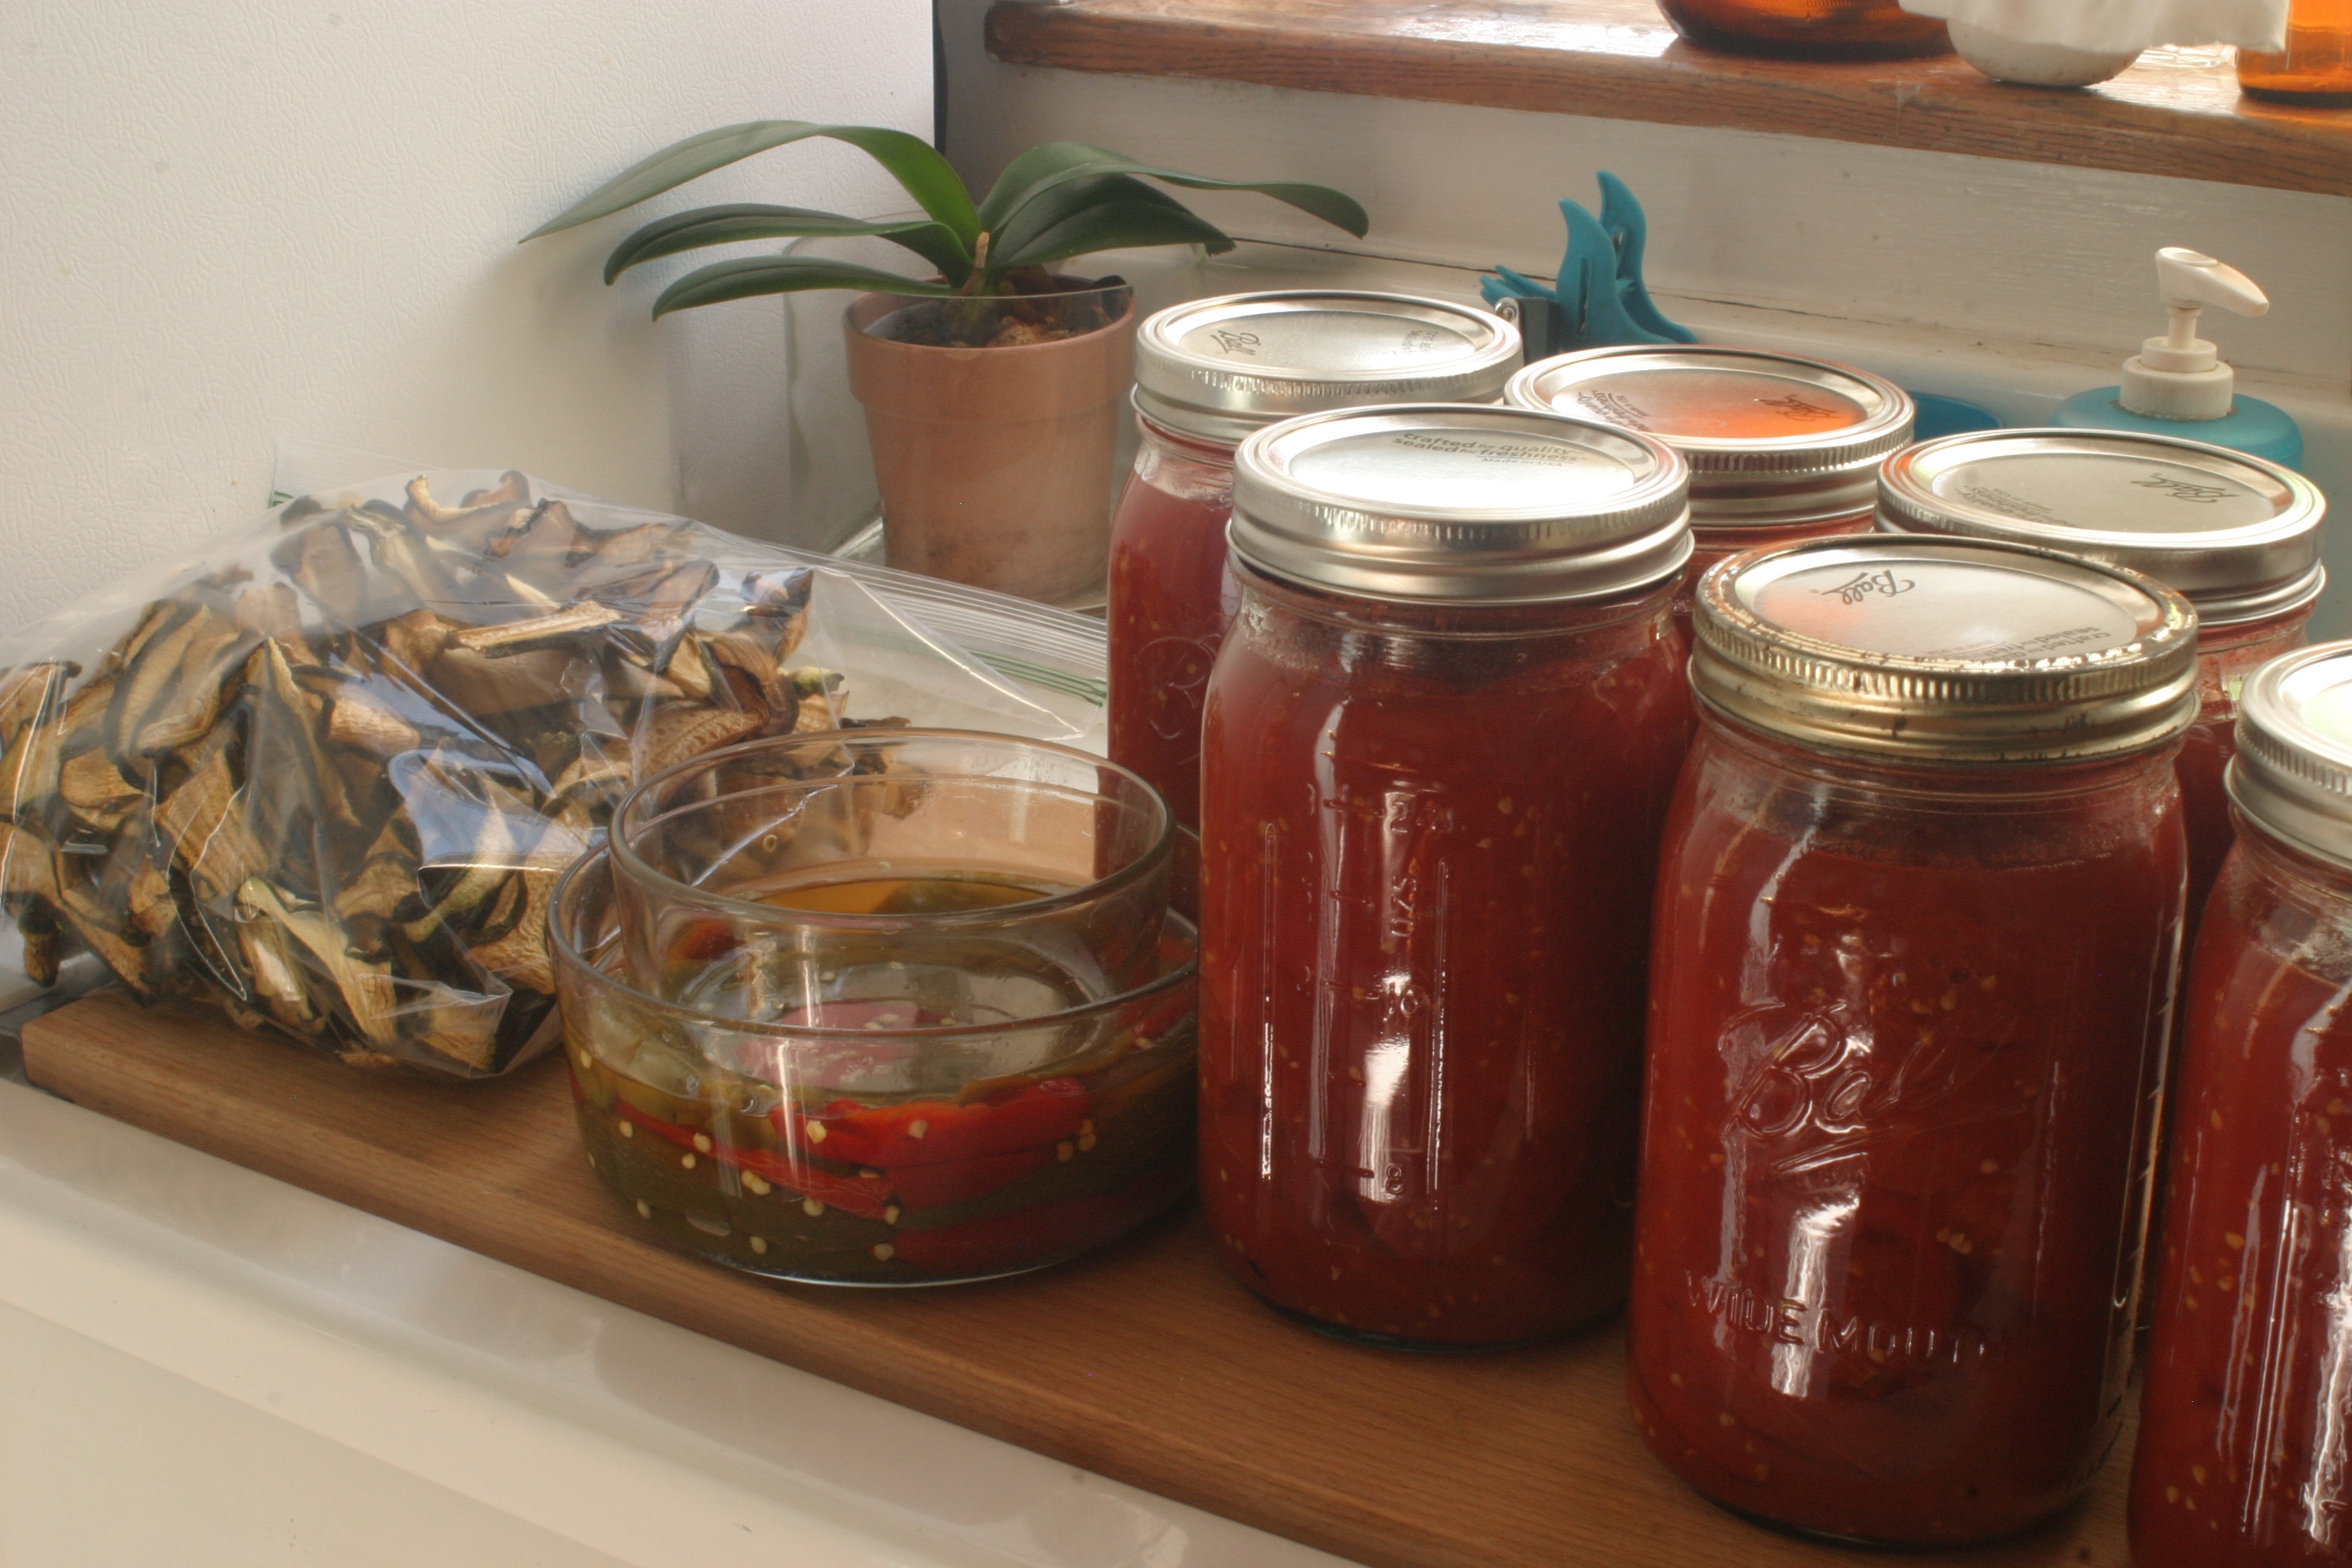
Jars of preserved goodness, marching across the counter.
But the last two weeks wasn’t all canning, all of the time. Nope, there was kombucha to be bottled for secondary fermentation, and another batch to be brewed. There was hard cider that needed to be bottled for secondary fermentation, too (more on that in a later post). Those secondary fermentation bottles are on the right side of the above photo, followed by 14 jars of canned tomatoes, a small bowl of fermenting roasted hot peppers, and a very large bag of dried zucchini.
Dried zucchini, you ask? You’ve never heard of dried zucchini? I’d never heard of it, either, but then I read “My Calabria: Rustic Family Cooking from Italy’s Undiscovered South” (by Rosetta Costantino with Janet Fletcher), the reading of which rocked my world. I dried a few pounds of zucchini last year, purely on the recommendation of Ms. Costantino (her other recipes turned out so well that I figured dried zucchini must be good). And dried zucchini is good. Dried zucchini looks rather plain, to put it politely, but simmer it in tomato sauce and it tastes of the end of summer and of all good things. Really, trust me on this – it has that umami flavor thing going on in spades.
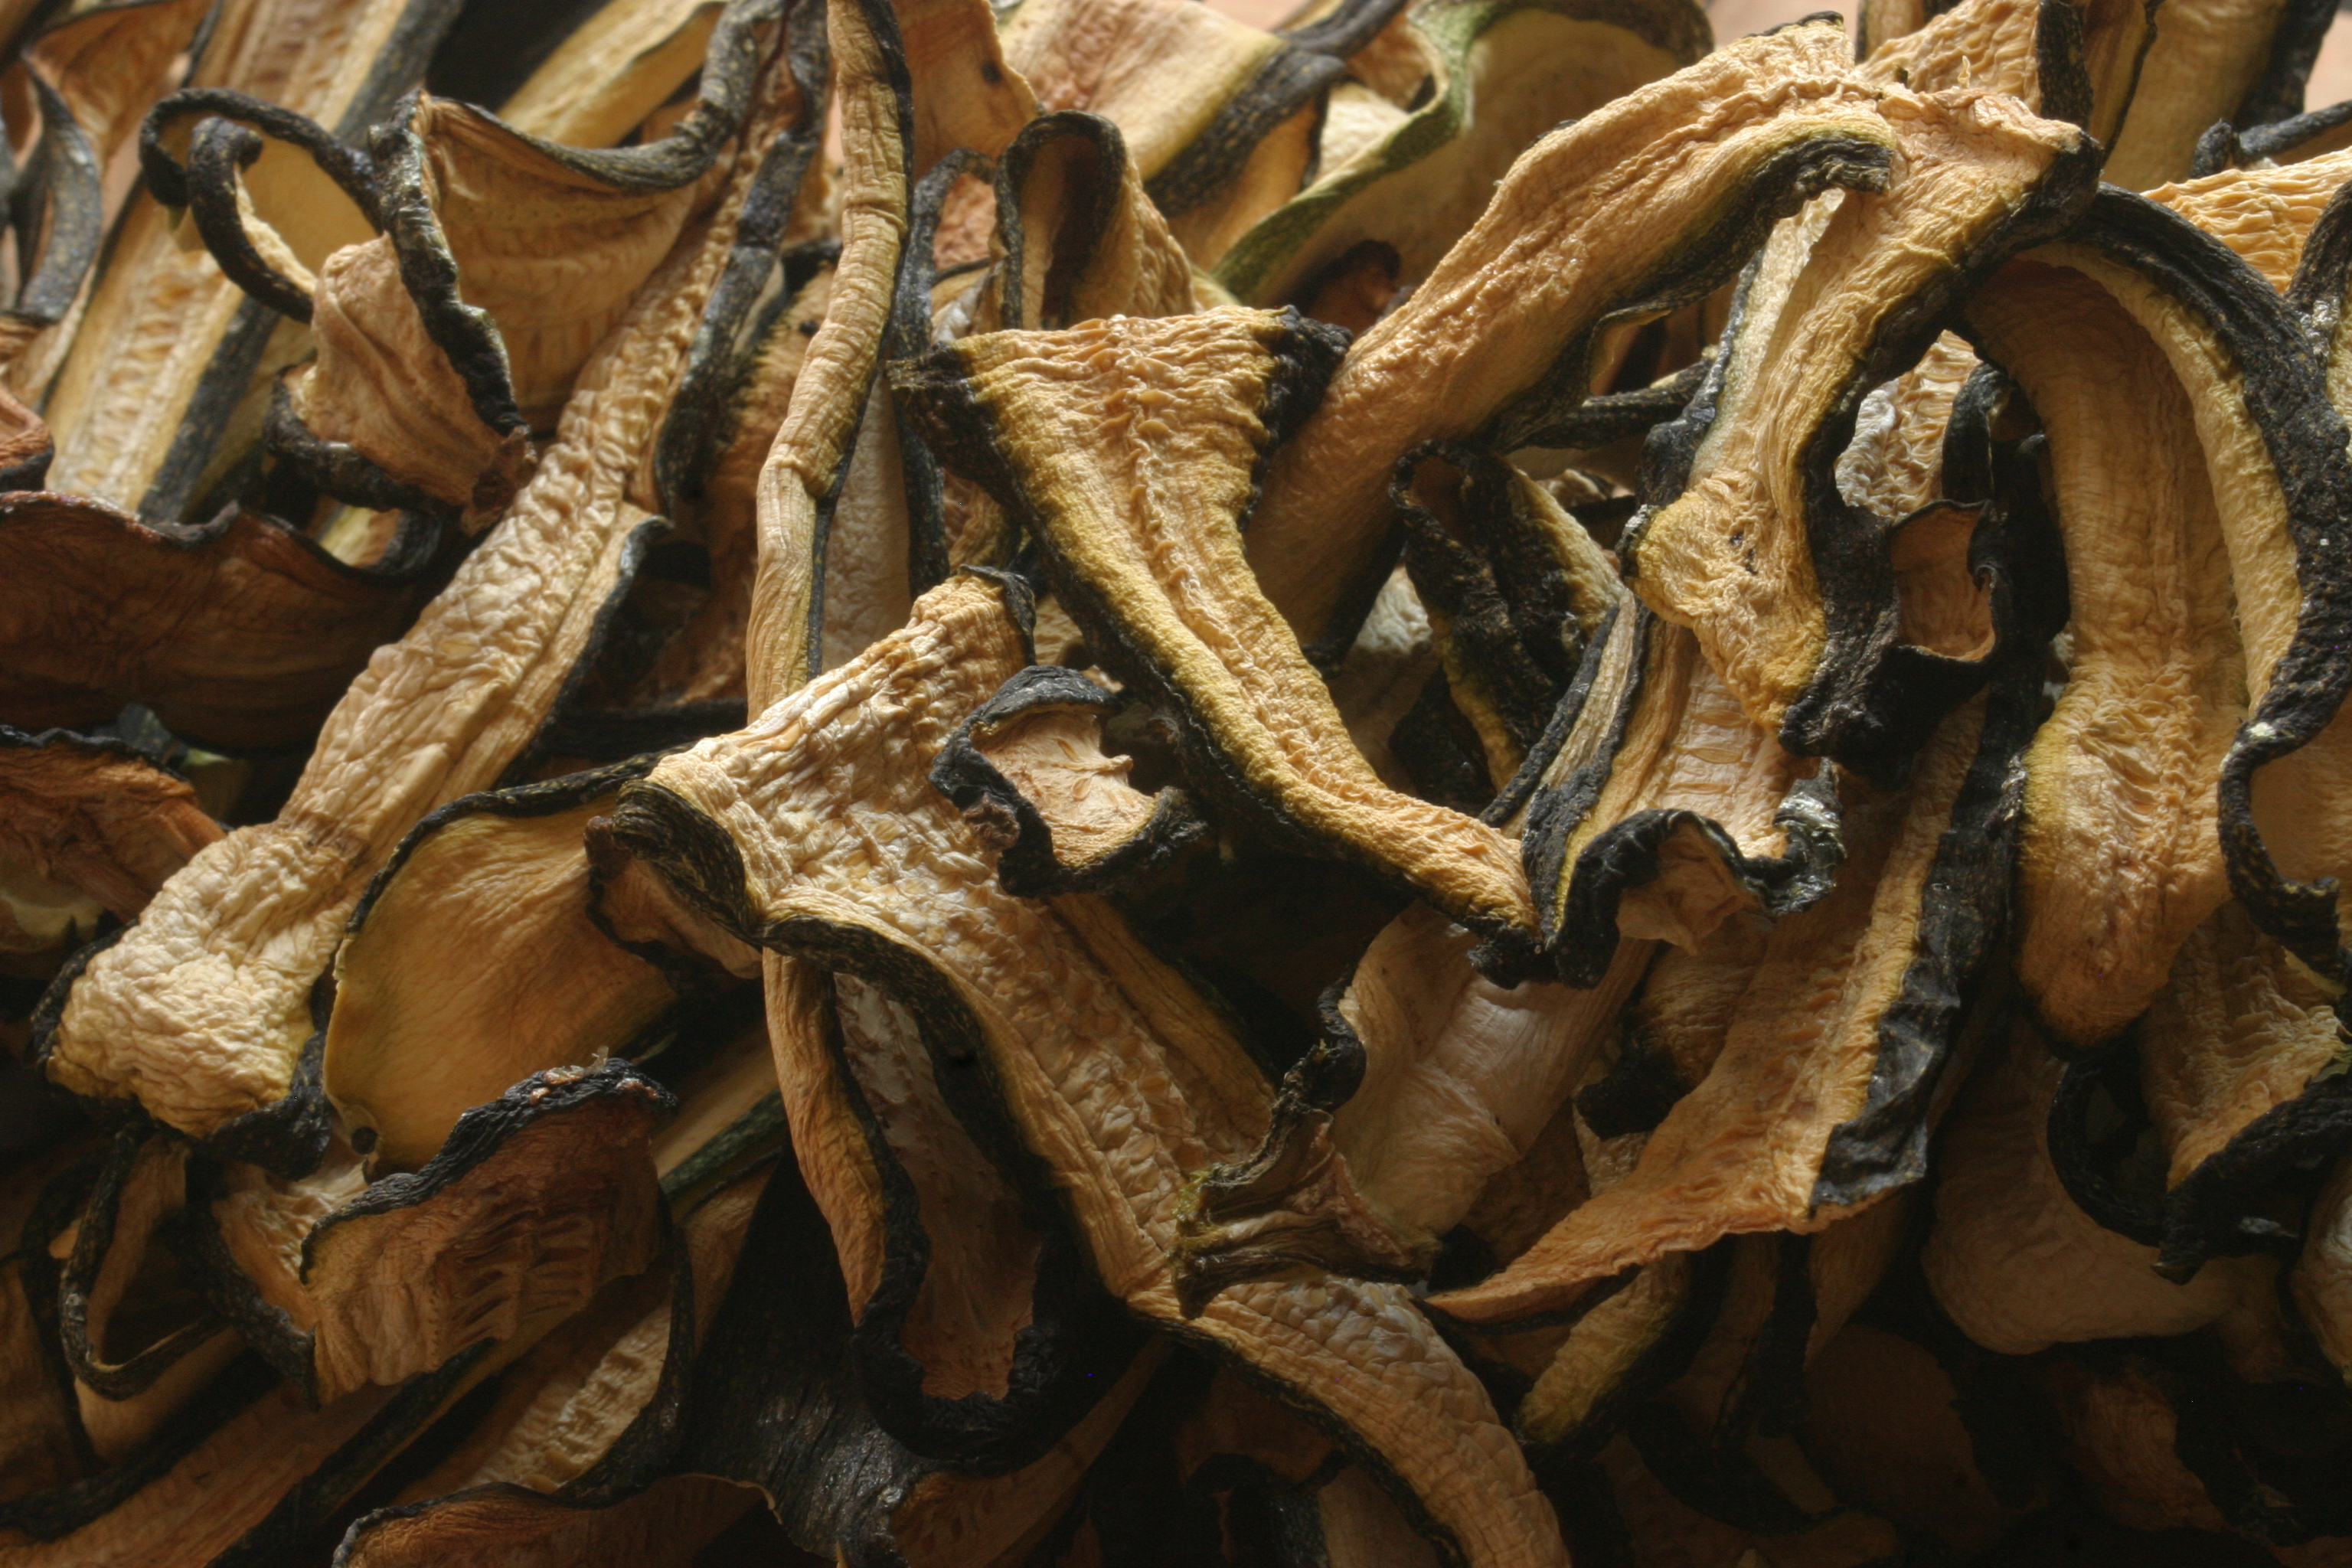
Thinly sliced zucchini, dried in a low oven for a long time.
Now, looking at this photo, you’d never know how good dried zucchini tastes. It smells like mushrooms as it dries in the oven, and its simmered texture in a sauce is faintly reminiscent of mushrooms, but the taste? I can’t describe the taste of dried zucchini – it’s umami, you know? If you manage to get the zuke bone-dry, it will be shelf-stable for months. If you can’t get all of the moisture out, then it will keep indefinitely in the freezer. Last year I cursed myself for not drying more of it, so this year I dried about 30 pounds. That might sound like a whole lotta zuke, but it’s not once it’s been sliced and dried. In fact, those 30 pounds dried down to fit into on large zip-lock bag. Why not try it this year with the last of the zucchini at your local farmer’s market, or from the grocery? Start with just a couple of pounds, and you’ll be convinced that you’ll need to scale up production next fall!
Slicing:

Slicing zucchini, to be dried in slow oven. These are being sliced 7mm thick on a mandoline.
Slices:
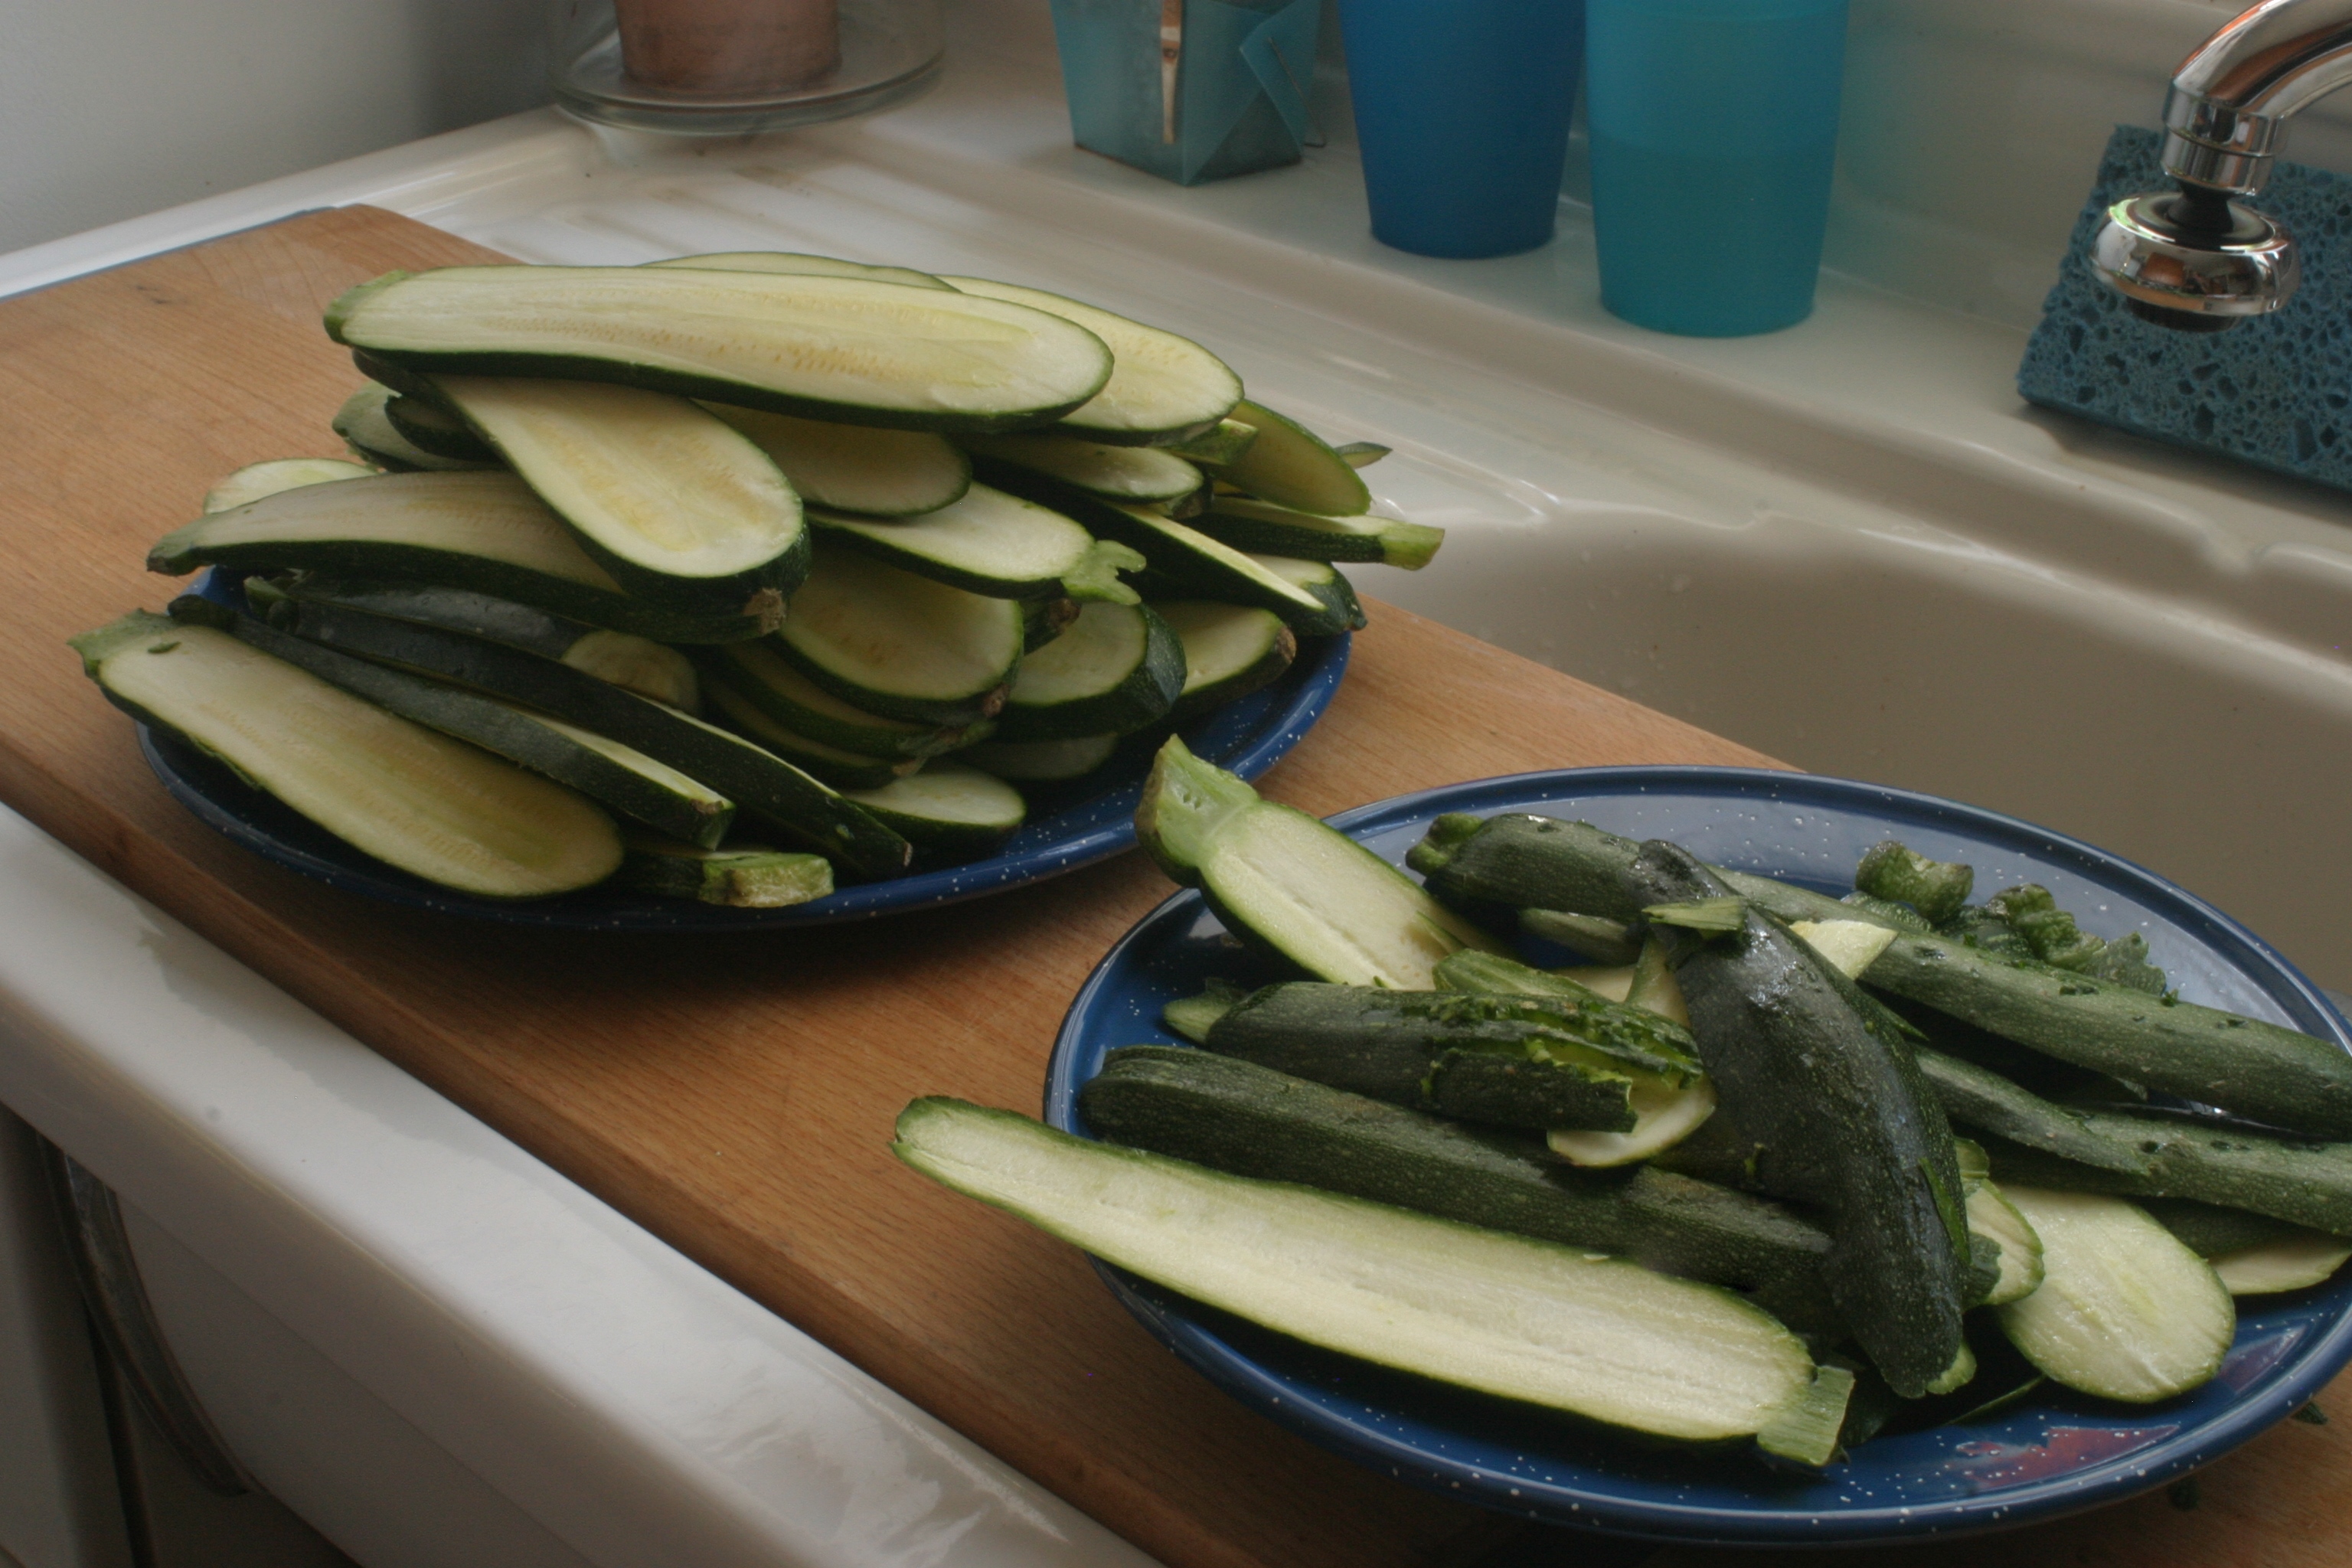
Sliced zucchini, ready to be dried in a slow oven.
One slice:
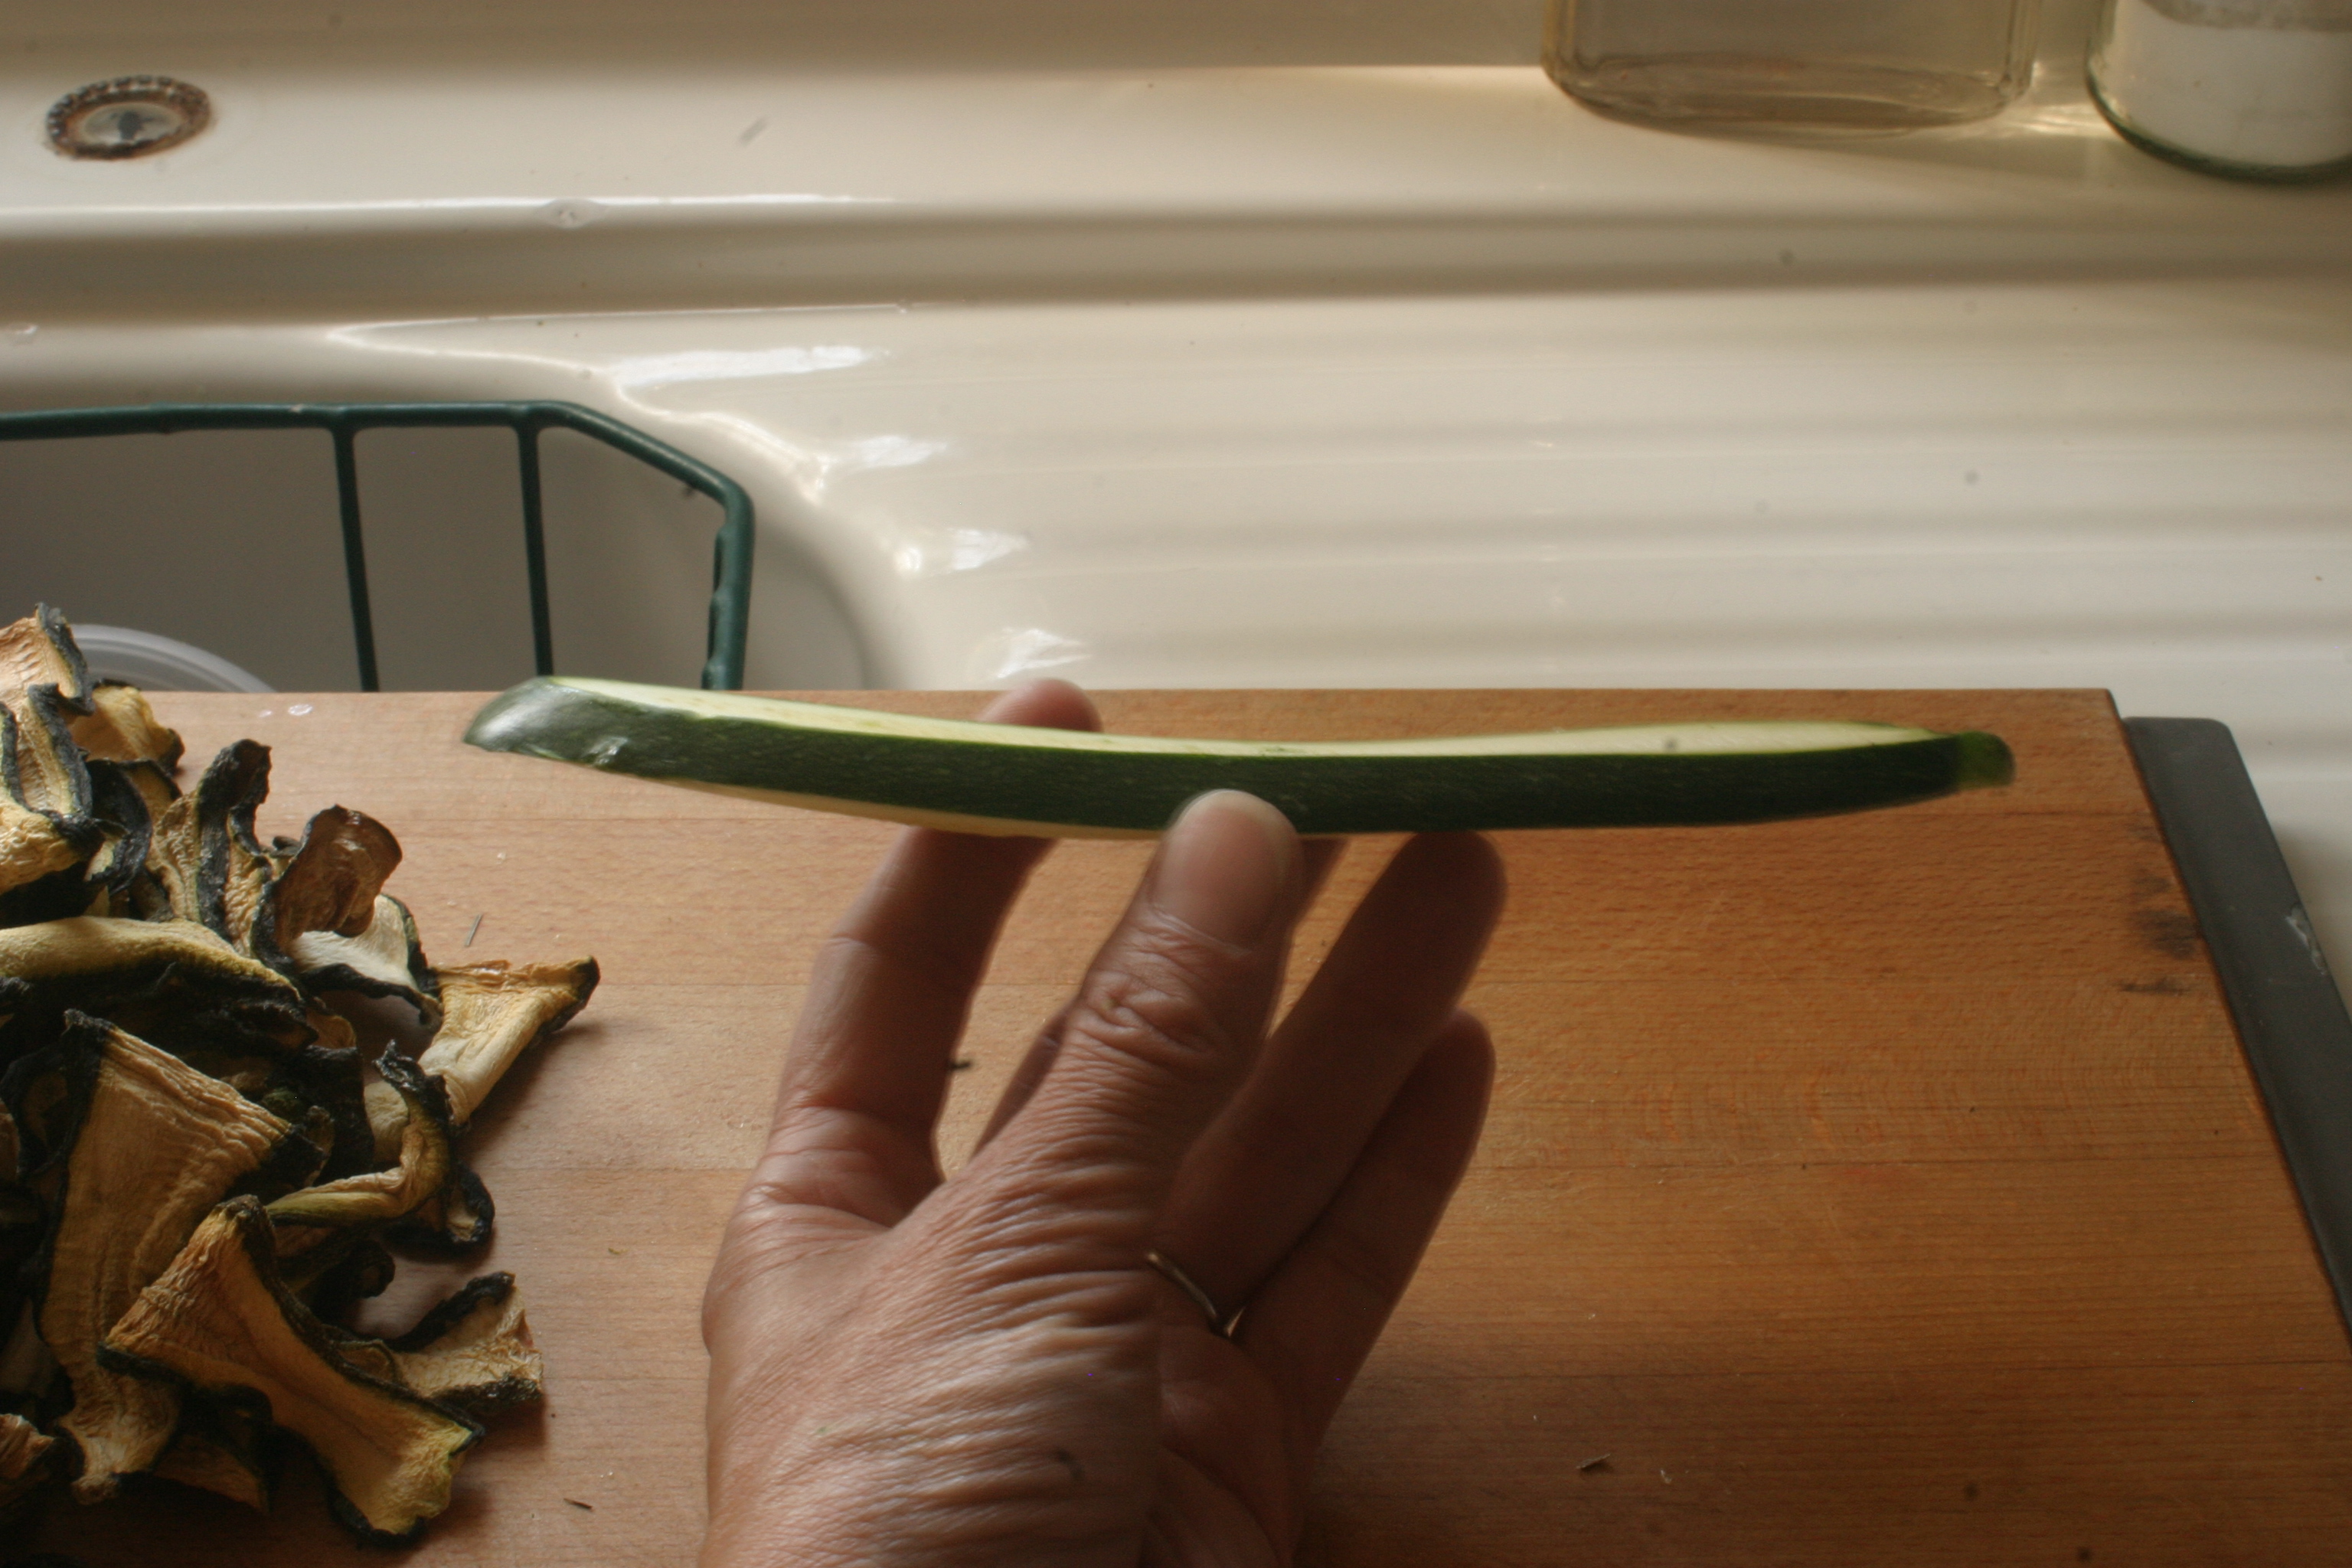
Slice the zucchini thickly with a mandoline.
Dried slices, ready to be removed from the oven:
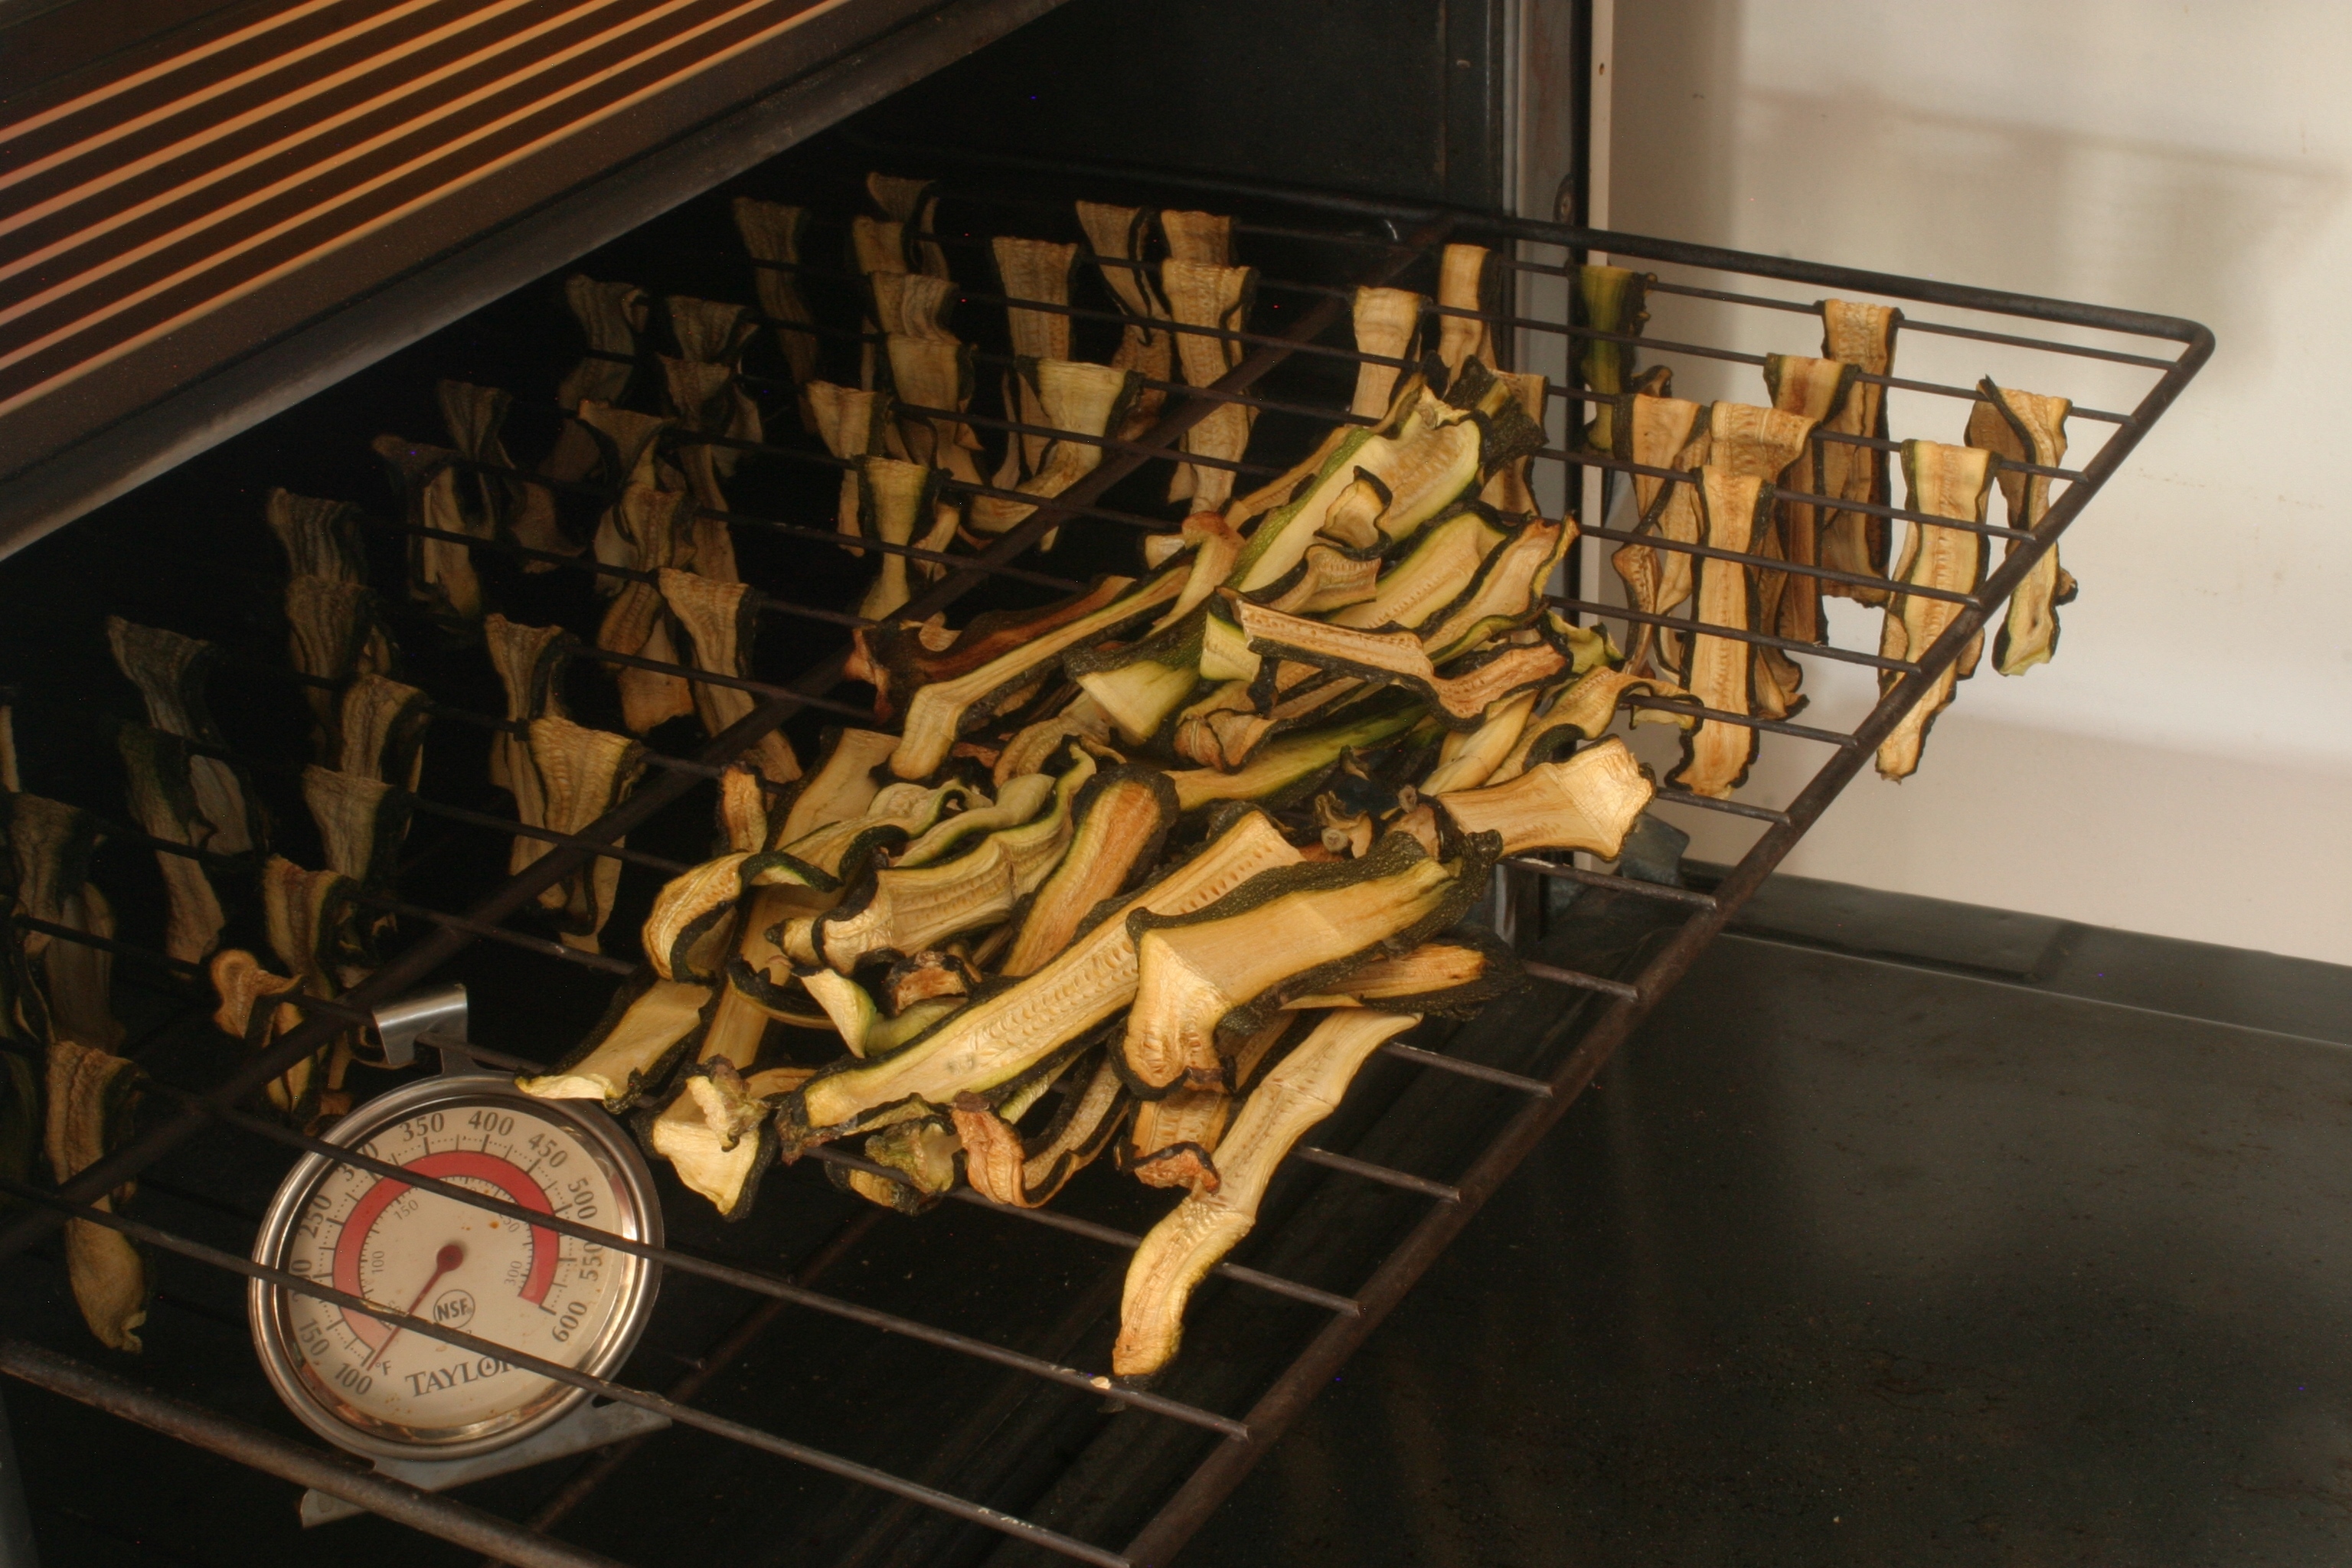
Slices of dried zucchini, on their way out of the oven.
I put the slices directly on the oven shelves (no seasoning or oil needed). Set the oven as low as you can (150 – 200 degrees), and slowly roast for two hours. Turn the oven off and leave the slices in the oven for a few more hours. Repeat the process of roasting / resting a few more times the first day, and then again the next day. After two days the slices will be dried and leathery. If you have time, you can keep the drying process going longer (the drier the slices, the more shelf-stable they will be). If you can’t and the slices aren’t bone dry, you can bag them up and put them in the freezer, where they will last for months and months.

Hot pepper infused vodka, ready for cocktails.
I rounded out my preservation binge by roasting hot peppers (a mixture of different types, from incredibly hot habanero to regular ol’ hot jalapano). I was going to pickle the peppers, but ran out of jars (!), so I tucked the hotter peppers into a bottle of viciously medicinal vodka. The peppers have smoothed out the taste of the vodka, greatly reducing its smell of rubbing alcohol. (Using a better brand of vodka would yield a better tasting infusion, but in the spirit of homesteaders everywhere, I used what I had at hand.) The heat of the peppered vodka is tongue-numbing, and I mean that in the best possible way. After a few more weeks, I’ll strain the peppers and start making some awesome Bloody Marys.
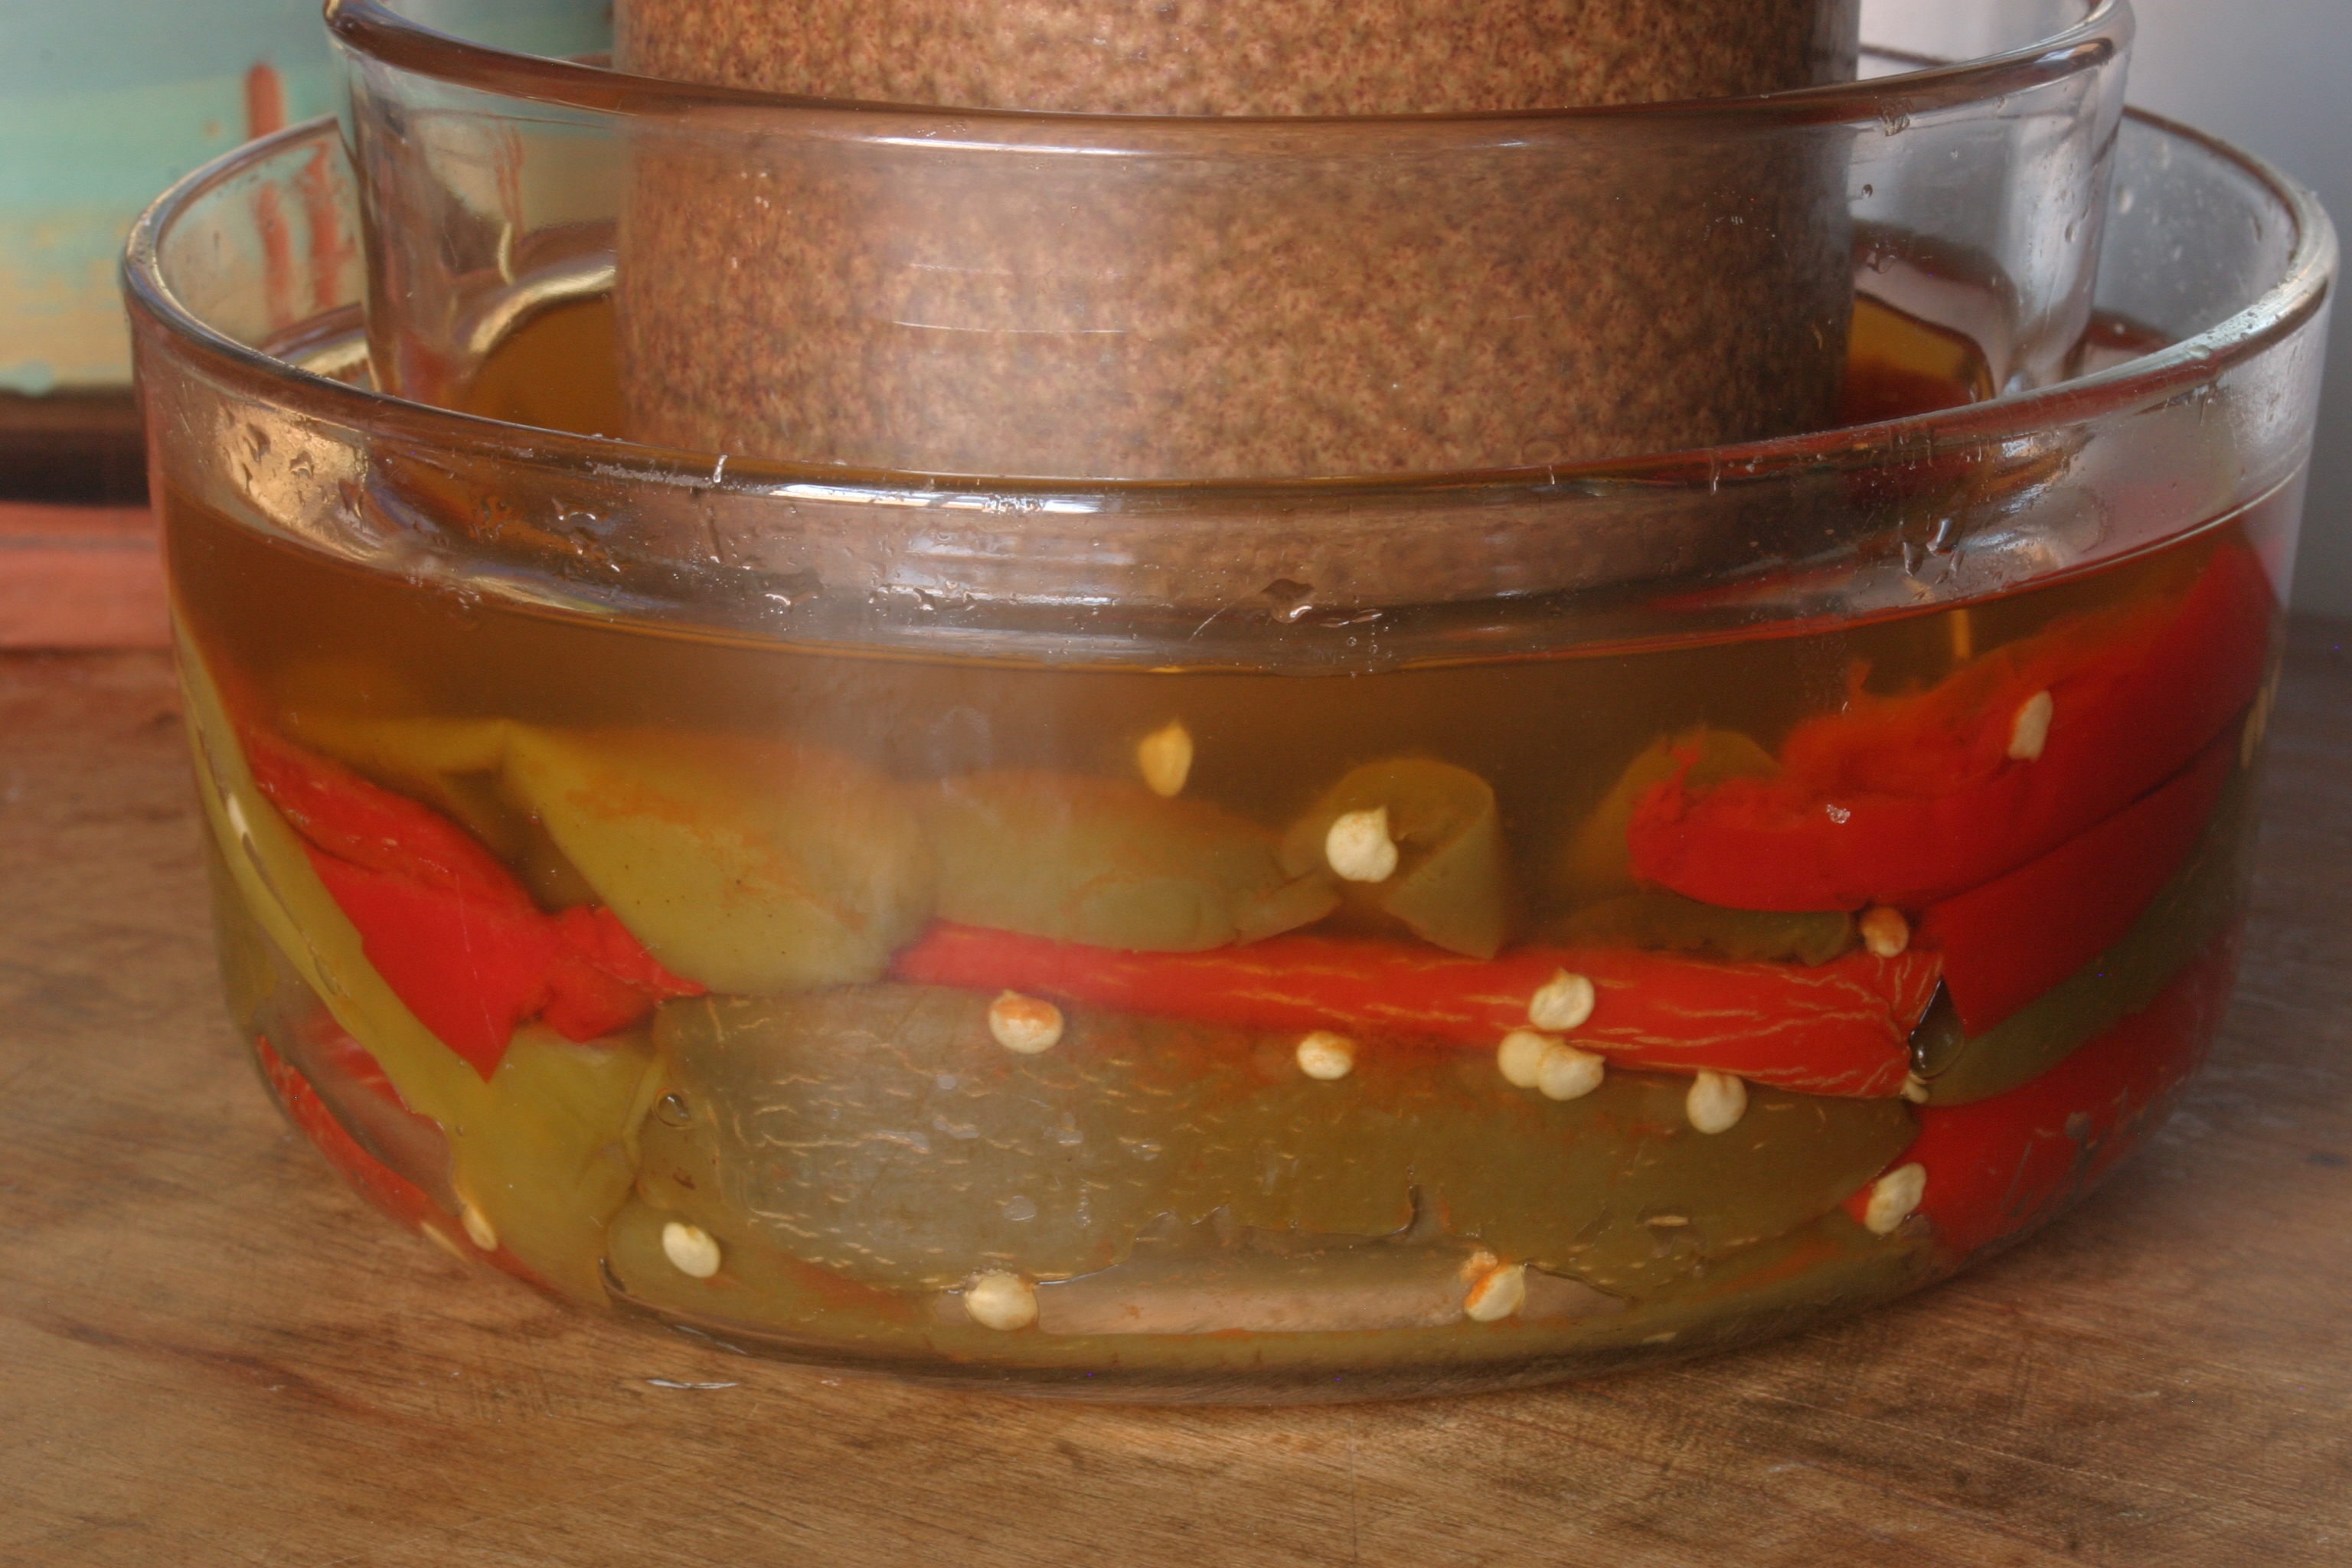
Hot peppers fermenting in a shallow bowl, capped with a smaller bowl and weighted with a heavy bottle.
Oh, and I will be able to garnish those Bloody Marys with fermented hot peppers! I’ve always wanted to try fermentation, especially after I read Sandor Katz’s “The Art of Fermentation“. If you, too, are interested in fermentation, then Katz’s book is the book for you. Our kitchen scale isn’t sensitive enough to measure things in ounces, so after some hilariously contradictory search results in Google for the question, “what is .25 oz in teaspoons?”, I resorted to sacrificing a .25 oz package of yeast to see how many teaspoons it held (the yeast was about the right granular size as the salt I was using – larger salt grains would have made that comparison wildly inaccurate). (Why .25 oz? That was the percentage of salt that I needed for the weight of my peeled-and-seeded roasted hot peppers. Read our Mr. Katz to know why I needed that much salt.) I carefully seeded, peeled and halved the roasted hot peppers, and layered the peppers with the salt in a bowl. As instructed, I weighted the bowl’s contents, but I fretted about the lack of resulting liquid. I figured I could always top it off with a brine, but that proved to be unnecessary. When I came back to the ferment it had produced the necessary brine all on its own, as Katz said it would. Magic! I’ve sampled a tiny bit of the brine over the last few days, and it is so good that now I’m plotting the purchase of a sauerkraut jar and the making of vats of sauerkraut.
But before I buy that sauerkraut kit, there are green beans that I want to pickle (dilly green beans, a la Montana), and also jalapano pickles, and some more canned tomatoes (I’d like to do up some small jars of really concentrated tomatoes, more paste than sauce). Thanks to a run to Pagano’s, I have enough empty Ball jars now, and winter is coming …
Mmm, tomatoes and fermented hot peppers and dried zucchini!
PS: I couldn’t waste that .25 oz package of yeast, so I used a little bit in a bread recipe I took from “My Calabria”. That’s the bowl of wild yeast starter that I mentioned earlier in the post, which you can see at the far right of the first photo in this post. Last winter I learned to make bread using a completely wild starter (no purchased yeast at all). Perhaps next week’s post will include bread, yes? Mmmmm, fresh bread!

Would be happy to be a taster if you ever need one!
I hope the jarred tomatoes are for Christmas (and Chanukah) gifts for your dear old friends. 🙂