
Houseproud homestead project – garland made from an upcycled map and a long crochet chain.
Oh, the last few days have just been heartbreakingly beautiful here in the Bay Area, really they have been. It’s been just the right balmy temperature, with clear skies and some dramatic gusts of wind to make things interesting. It’s the end of our summer here and the living’s easy, so with that in mind, I present to you two easy-to-make garlands to decorate your digs, and a lovely end-of-summer salad that will take you next to no time to make.
Let’s start with an easy garland, shall we? Take a look-see at that photo above. It took me longer to take, edit and post that picture than it to make the garland. (Really, it did. First I had to remove all of the curtains from the bedroom windows in order to get enough natural light to take the photos, and I also had to rig a camera set-up that wouldn’t shake when I took the photos in said natural light. This itself took a good amount of time. When you add the time it took to put the bedroom back into pre-photo shoot order, and then the time it took to select, edit and post the photo, the result is more time spent getting a picture of the garland into this post than in the making of the thing itself. Go figure.) All parentheticals aside, would you like to make a garland comme ca for your home? Sure you would, so let’s start! I made this garland before I started my mania for documenting projects with photos, so you’ll have to make do with written instructions this time around.
*****
Instructions for Making a Garland from Old Maps
Materials:
- an old map (or other scrap paper)
- a ruler and pencil
- a hole-punch
- some crochet thread and a crochet hook
Start by folding the map into long thin strips. The height of those strips will determine the height of your triangle-shaped flags. That is to say, the strip’s height determines the apex of your soon-to-be isosceles triangle. (Look at the photo below if you don’t believe me.) Heavily score the folds using anything: the dull edge of a butter knife, your thumb, or an official paper-scorer-thingie. Unfold and carefully tear the map into long strips. You’ll most likely need to tear two or three strips for your garland, but that depends upon the size of your map and that of your proposed garland.
Next, you will use the ruler to mark the two long edges of your strips every couple of inches lightly in pencil. Your marks will determine the width of the base of your isosceles triangle (remember, that’s your flag-in-the-making). The smaller you make the base of the triangle, the sharper the flag’s point will be. Mark the upper edge of your strip with your chosen base-width, and then do the same with the strip’s bottom edge starting half the distance of your chosen base-width from the far left bottom corner. By indenting the bottom marks, you are creating an angle, which will shape your triangles-to-be. (If this unexpected bit of geometry has you flummoxed, fear not. All will become clear as soon as you start marking your strips.)
Here’s a close-up of one of the flags on my garland, which makes its glorious true nature clear: it’s an isosceles triangle. The base of the triangle is the top of the flag and the apex of the triangle is the flag’s point. Tres simple, mais ouis?
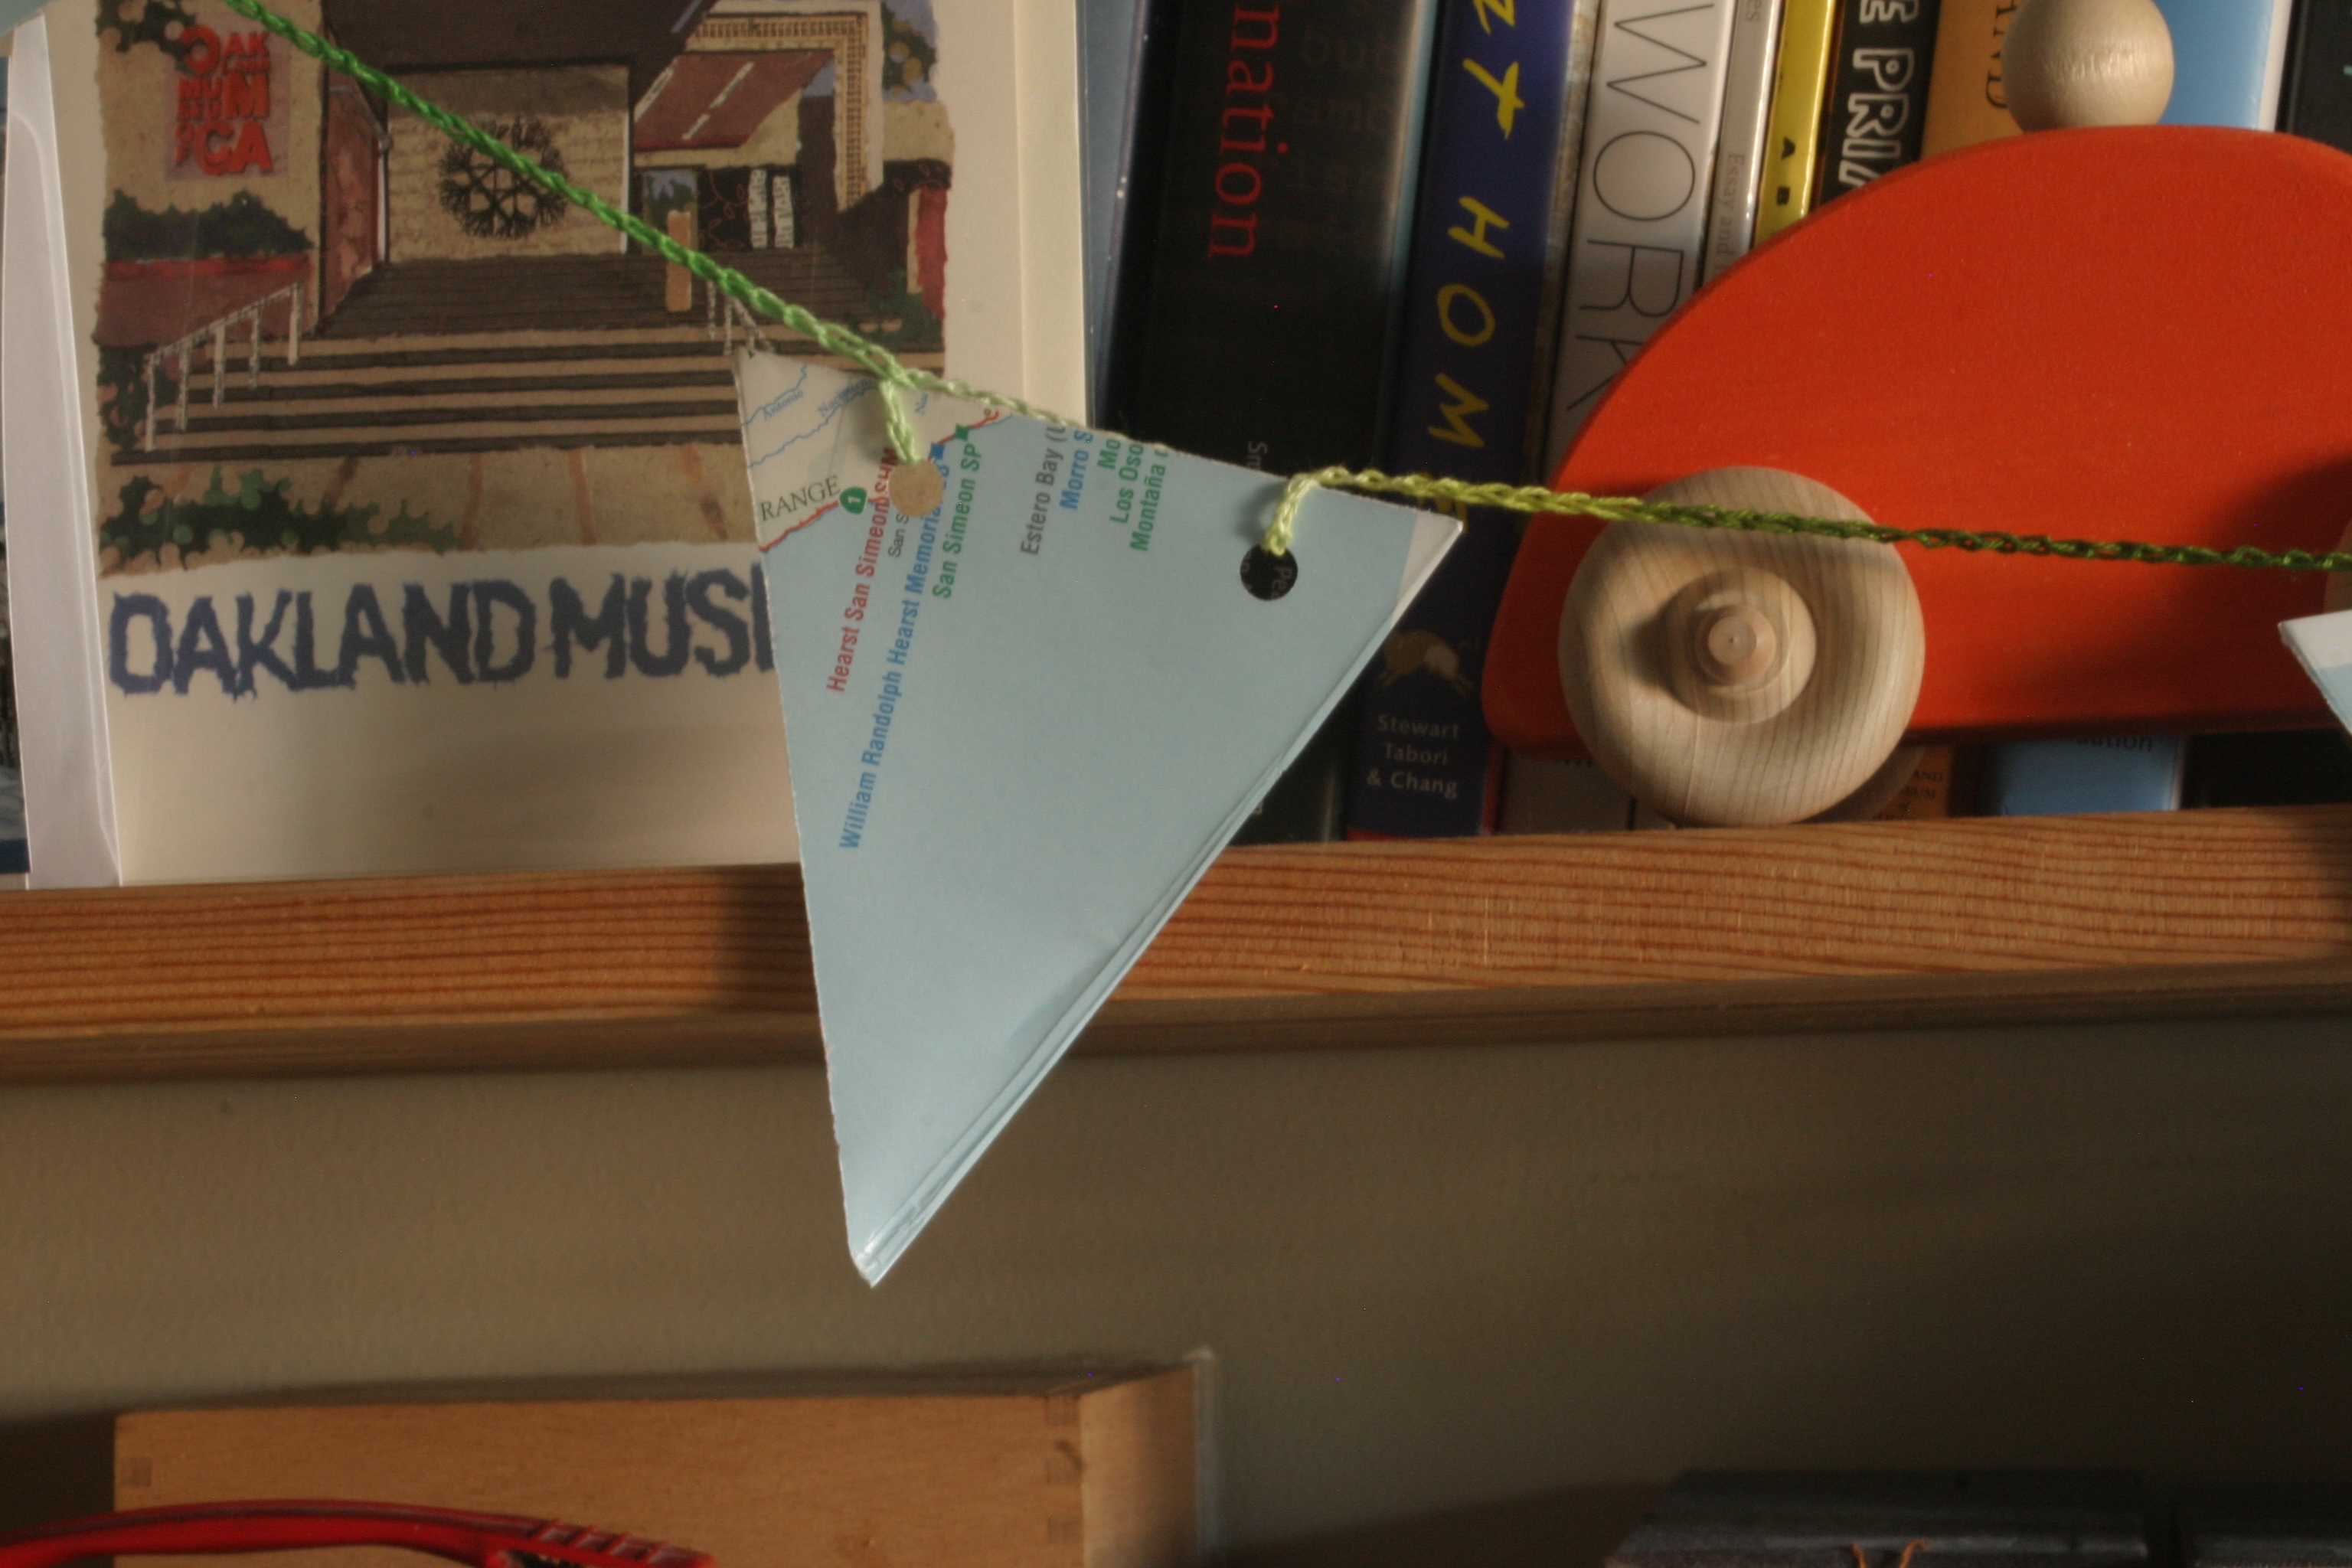
Houseproud homestead project – close-up of garland made from an old map and a long crochet chain.
After making some sample triangles, I found that I preferred a triangle that had a base an inch shorter than the triangle’s apex. As my map strips were four inches high, I knew that each triangle would have a four inch high apex. A base of three inches (one inch shorter than the four inch apex) would match my ideal flag proportions, so my marks should be spaced three inches apart on the top and bottom of the strips. Thusly and so forth, I marked the top of my strips every three inches, and along the bottom every three inches starting an inch and a half from the far left corner.
Your proportions chosen and marks made, tear the strips into triangles: put the top of the ruler on the far left corner of the top of your strip and on the first mark on the bottom of the strip, and carefully tear the map downwards along the ruler’s edge. I found it helpful to score the paper along the ruler’s edge before I started to tear. First tear completed, place the ruler over the bottom of your triangle-in-the-making and at the first mark on the top of the strip, and tear down. Et voici, you have a lovely isosceles triangle. The next triangle be made like the first, but with only one tear to make: with the ruler running from the top’s far left edge to the bottom’s next mark, tear down. (This sounds much more complicated than it really is, but leave a comment if you would like pictures of what this looks like, and I’ll update this post anon.) Make your way across the strip, and then repeat with the other strips until you have enough triangles, plus a few extras. I made more triangles than I needed, which made it possible to choose the nicest bits of map to use as the garland’s flags. Use the hole-punch to punch two evenly-spaced holes at the top of each triangle, and put your lovely new flags aside while you make the garland’s crochet chain.
Garlands usually look best if they are two to three times longer than the length of the area you want it to span. The longer the garland is in relation to the space where it will hang, the more it will drape. A long drape is lovely in an area that doesn’t get heavy use, but horridly impractical for a doorway or for shelves that are frequently accessed. Measure the area in which you will hang your garland, decide how much you want the garland to drape, and calculate the length of your garland accordingly.
Create a simple chain with the crochet hook and crochet thread (if you don’t know how to do this, mosey on over to YouTube and take a gander at one of the many wonderful tutorials that therein reside. I’d give you a link to one, but then I would fall into the great time-suck that is YouTube, and this post would NEVER get posted). Crochet away until you’ve reached the desired length of the garland, and then play around with the spacing of the triangles. I spaced my flags three inches apart. I threaded the entire chain through the first triangle’s hole until about a foot from the end of the chain, made a half-hitch, looped the rest of the chain through the next hole, fed the remaining chain out for an even distance (3.5 inches from flag top to flag top), and then repeated the process for the next triangle. Be careful not to thread the chain too roughly through the holes, or you’ll rip the paper. I left about a foot at the end of the garland to match the other end of the garland, and called it finished. Let you do the same: determine the spacing of your flags and have at it. When you are done hang up your new garland and admire your work!
*****
Wait – would that garland take too much effort for these last lovely days of warmth? Was the mere thought of it too much work for you? Hmm, how about a garland of spruce cones strung on crochet thread, instead? Here’s a rather bad shot of the spruce garland hung in our living room window, where I hung it last Christmas and liked so much that I never took it down:

Houseproud homestead projects – a view of the spruce garland and the red flannel garland that hang in our living room.
Instructions for Making a Garland of Spruce Cones
Materials:
- some spruce or small pine cones
- crochet thread or other sturdy thread, cut to the length of your garland
This one truly is simple to make – it only has two “ingredients” and takes about 15 minutes to make. On your next walk or hike, collect a number of spruce or pine cones. Perhaps you, like me, already have a collection of cones that you use for seasonal displays? Hmm, well, in any case, select a number of cones that take your fancy – all the same size, graduated sizes, alternating sizes, what-have-you. I choose to use alternating small and tiny cones. Determine the length of your garland (see above for my views on that subject) and cut your thread accordingly. Starting a few inches down your sturdy thread, twist it a few times around the top of a cone, move a few inches along and twist the thread around the next cone, and keep on going until you reach the end of your thread. I added tiny cones to the very ends of my garland, as it made the garland hang better, but follow your bliss. Here’s a close-up of one of the garland’s spruce cones:
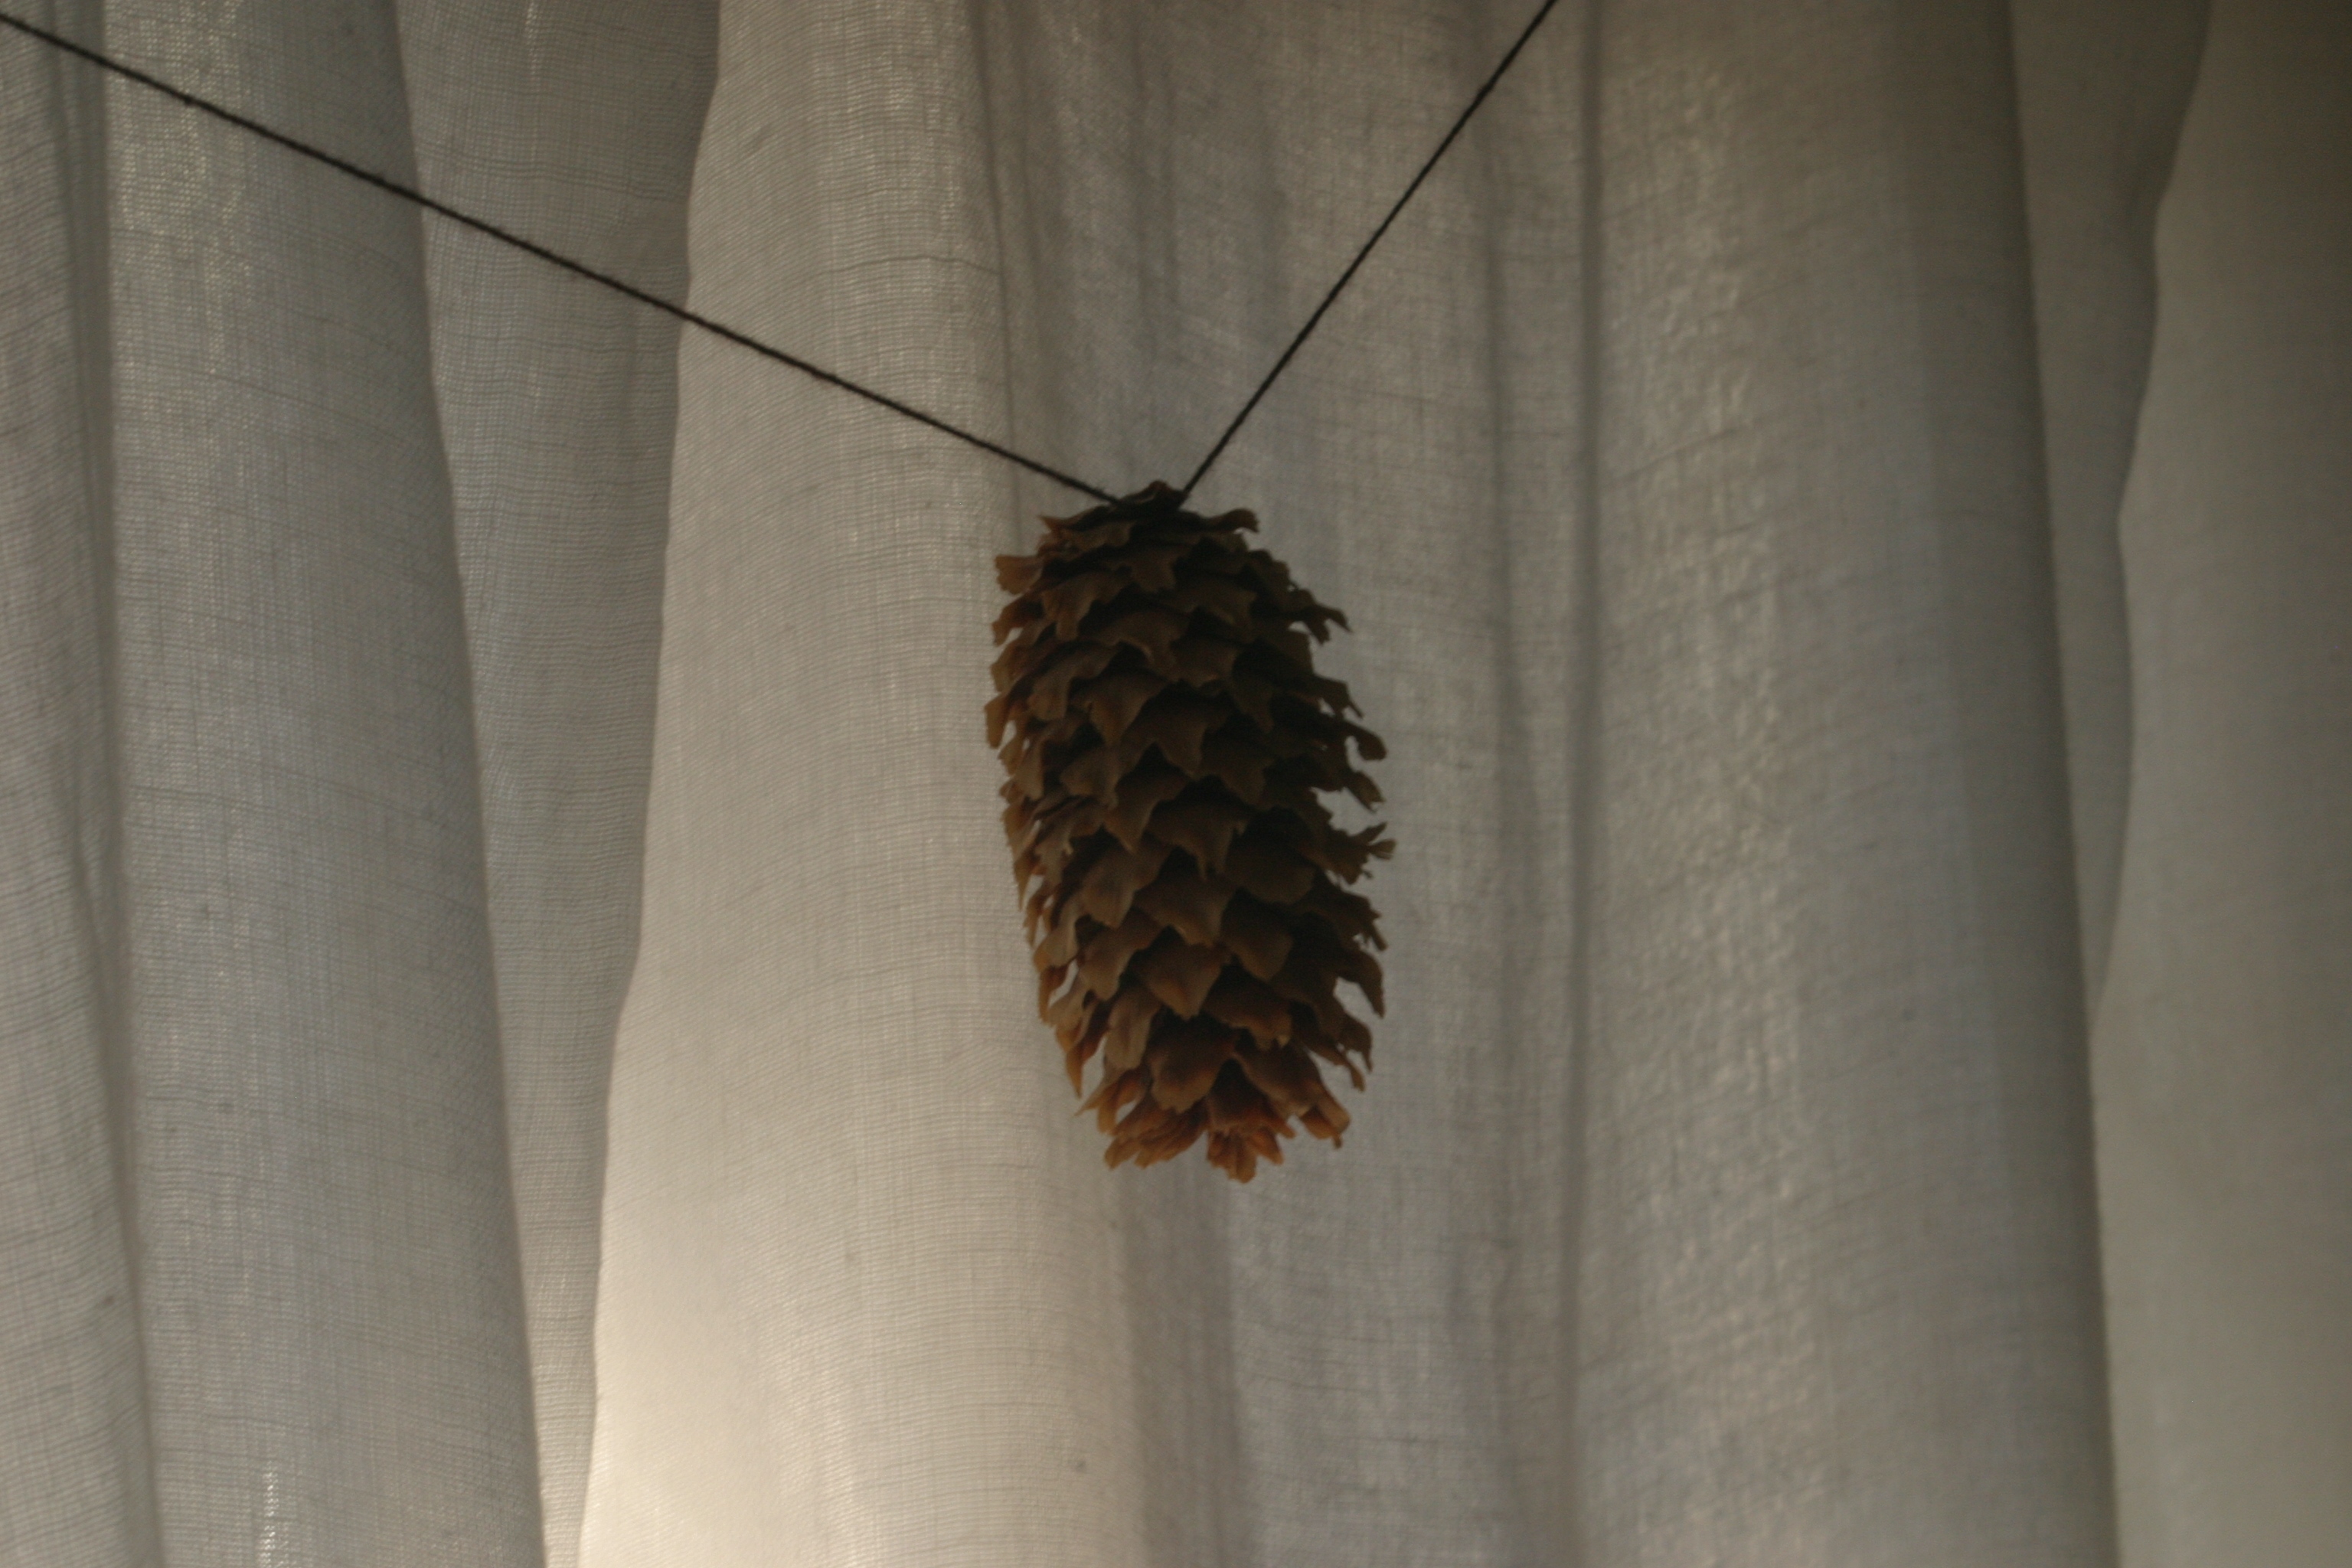
Houseproud homestead project – a close-up of a cone on the spruce cone garland that hangs in our living room window.
That’s it – you and your spruce cone garland are done. Hang it up, admire your craftiness, and you’ve still got plenty of time to go outside and enjoy the last days of summer. Here’s another view of the spruce garland that hangs in our living room:

Houseproud homestead project – another view of the spruce garland and red flannel garland that hang in our living room.
Both of the “long view” photos of the spruce cone garland also show a garland that I made on a beautiful late-summer day this week. It’s made from red flannel flags and red felt leaves (machine embroidered with light green veins) hung on a long wool crochet chain. Here are a few close-ups of that other garland. I’m rather pleased with the way it turned out:
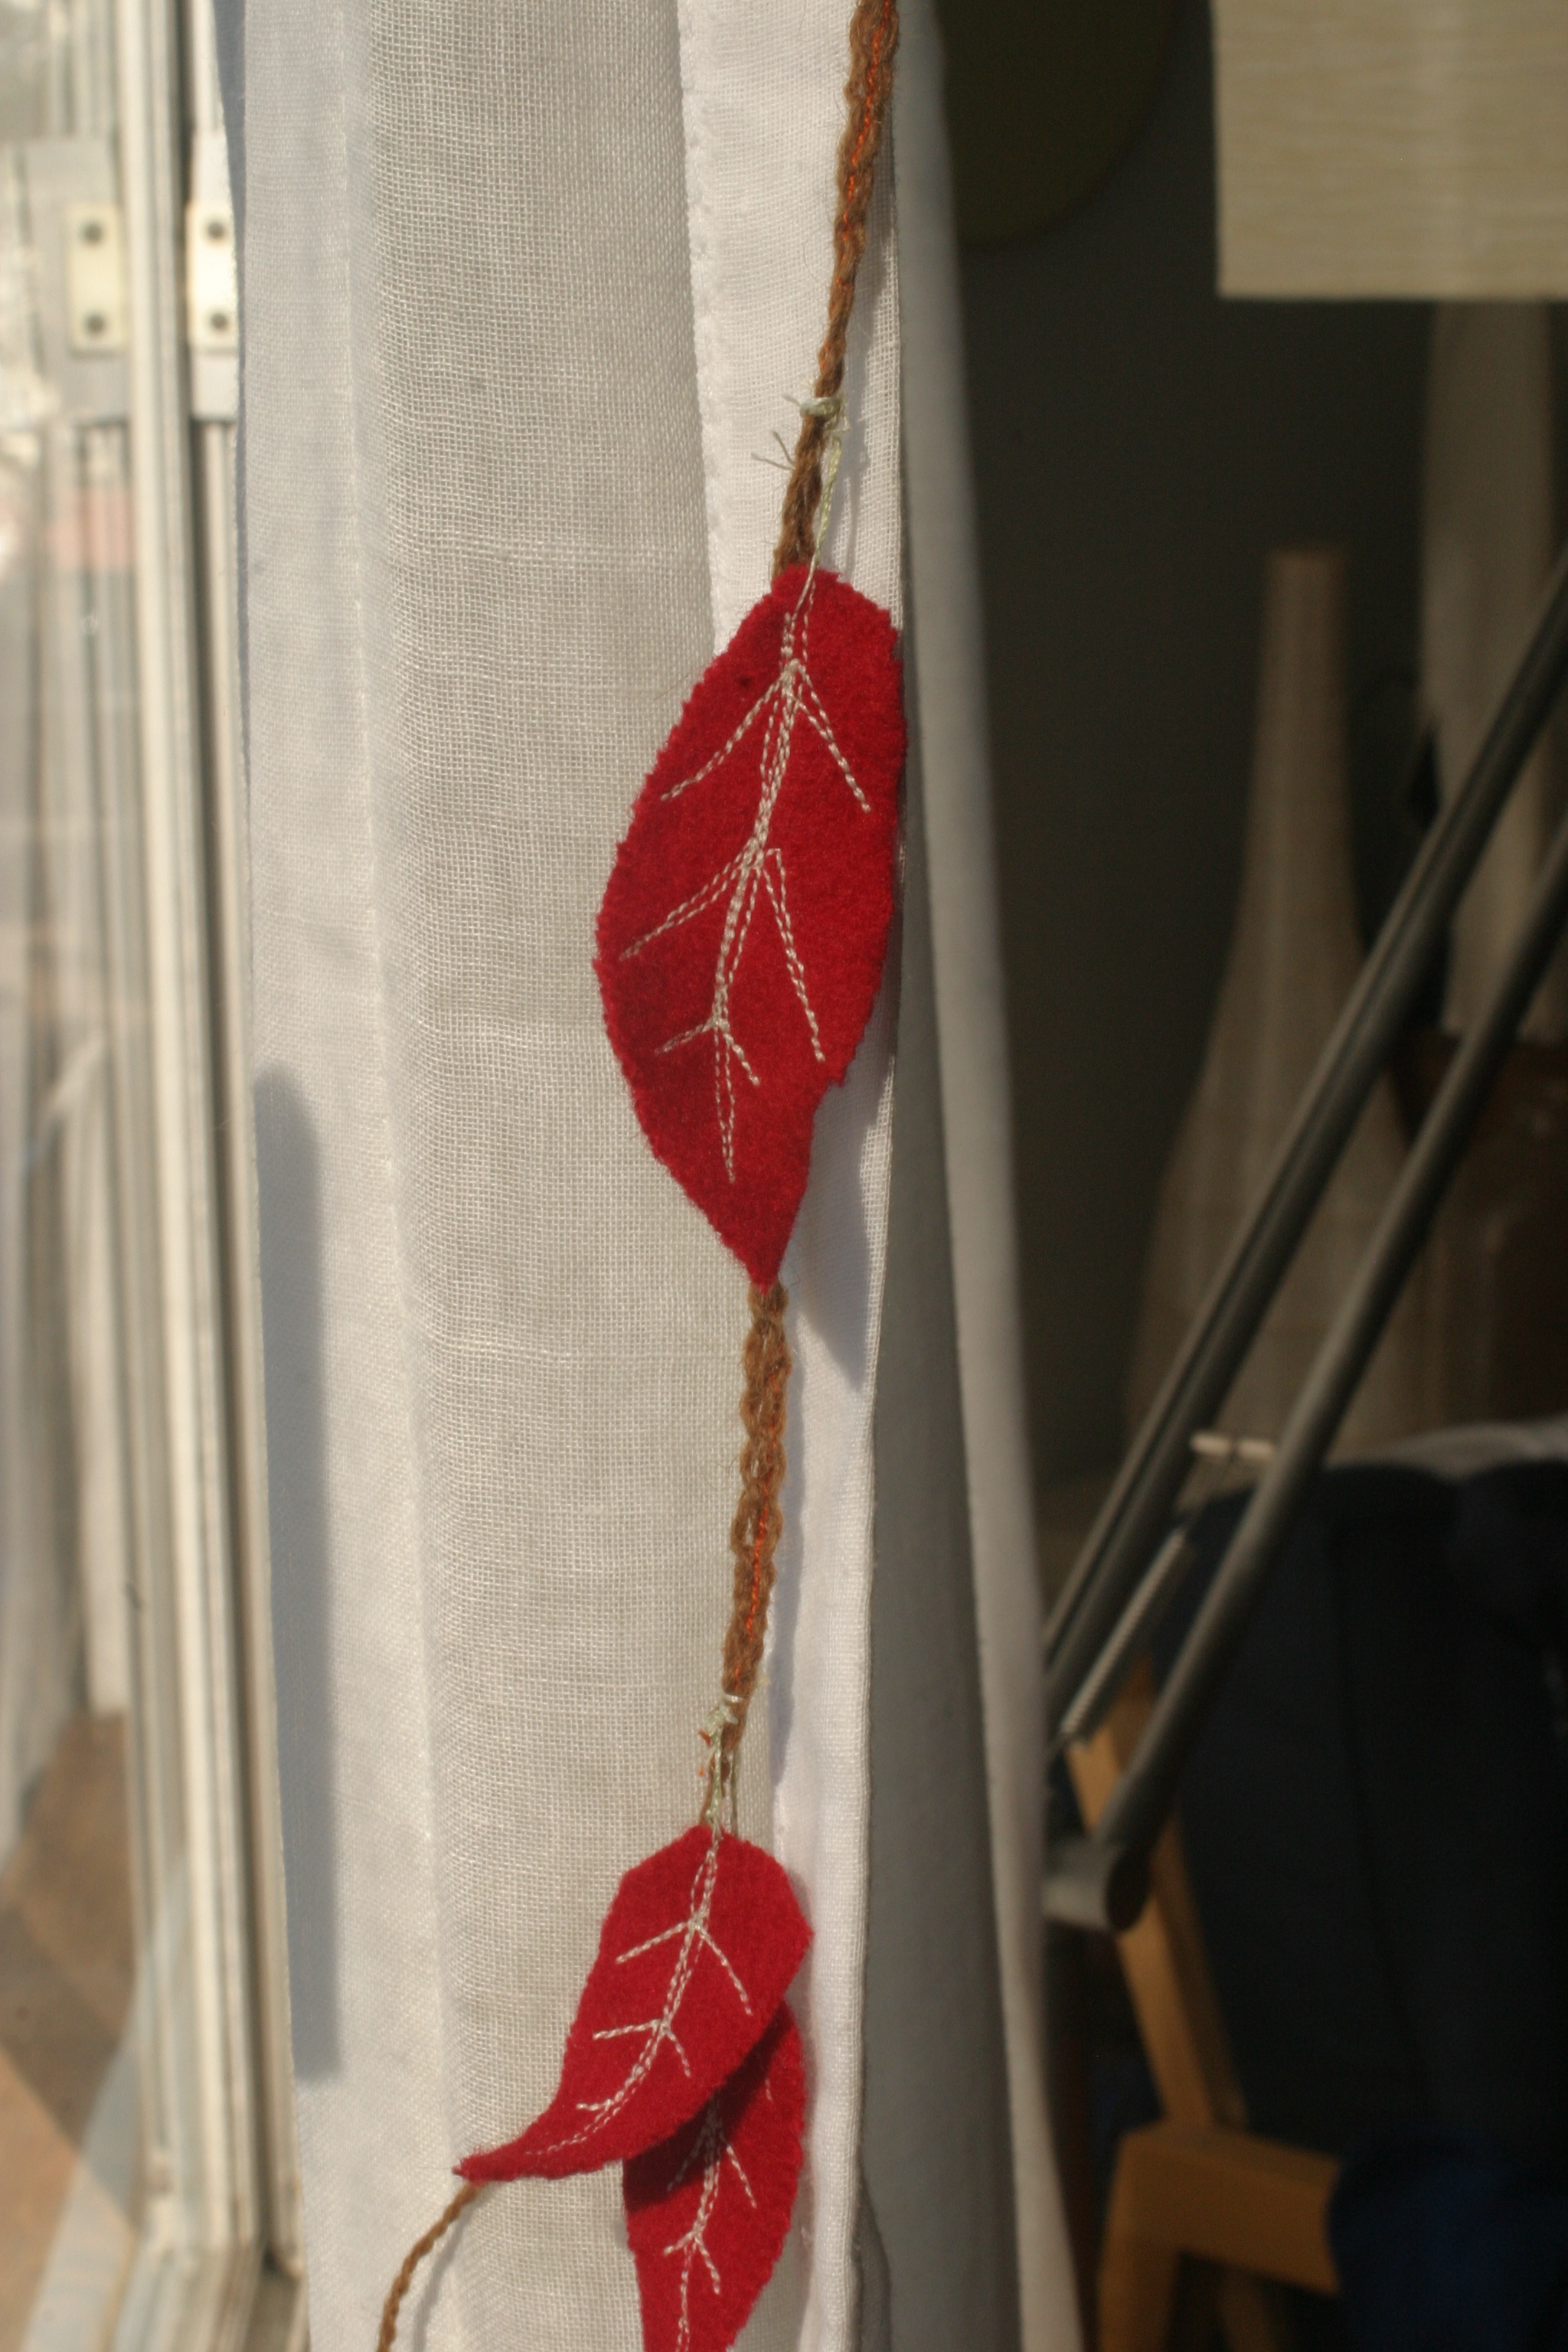
Houseproud homestead projects – close-up of leaves strung on a garland of red flannel flags and red felt leaves.
and

Houseproud homestead project – view of front of flag sewn onto red flannel flag garland.
and

Houseproud homestead project – close-up of back of a flag strung on the red flannel garland hanging in our living room window.
This garland was not easy to make. I was experimenting, you see: I wanted to make triangle-shaped flags from some squares of red flannel that I had cut out for another project ages ago. After some mild cursing and head-scratching I came up with a solution. Still and all, the garland took over four hours to make and was not, as I said, an easy project, nor will the backs of the flags withstand close scrutiny. The garland is made from red flannel triangles sewn to a long chain crocheted from sport-weight wool yarn, garnished with red wool felt leaves that I had cut out and machine-embroidered last year. The flannel was upcycled, the wool felt was thrifted, and the yarn I solar dyed with coffee this summer. (No, I’m not showing off, I’m just proving how daft I am.) After playing around with the spacing of the flags, I decided to add those red wool felt leaves. And as I was sewing the triangles on, I thought it might be interesting if I machine-stitched the crochet chain between each triangle as I went along, so that’s what I did. It made for some fussy machine-work (really, I had to cheat a bit, as the chain would stretch like the dickens as I approached the next triangle), but I like the way the orange thread looks stitched through the brown wool.
*****
However, as lovely as I found the finished red flannel garland to be, it was not an end-of-summer, light-and-breezy, carefree kind of project. No, it involved me spending a glorious day indoors, and that made me peevish. Peevish wives make poor date night companions, so I sat in the sun for a few minutes, drank some home-brewed kombucha and got over my cranky self. And as it was, indeed, Date Night, I needed an easy dish to make for supper with the Mister. So, in the spirit of easy, in the spirit of the fading days of summer, here’s a trio of salads to make from the last of the season’s summer squash:
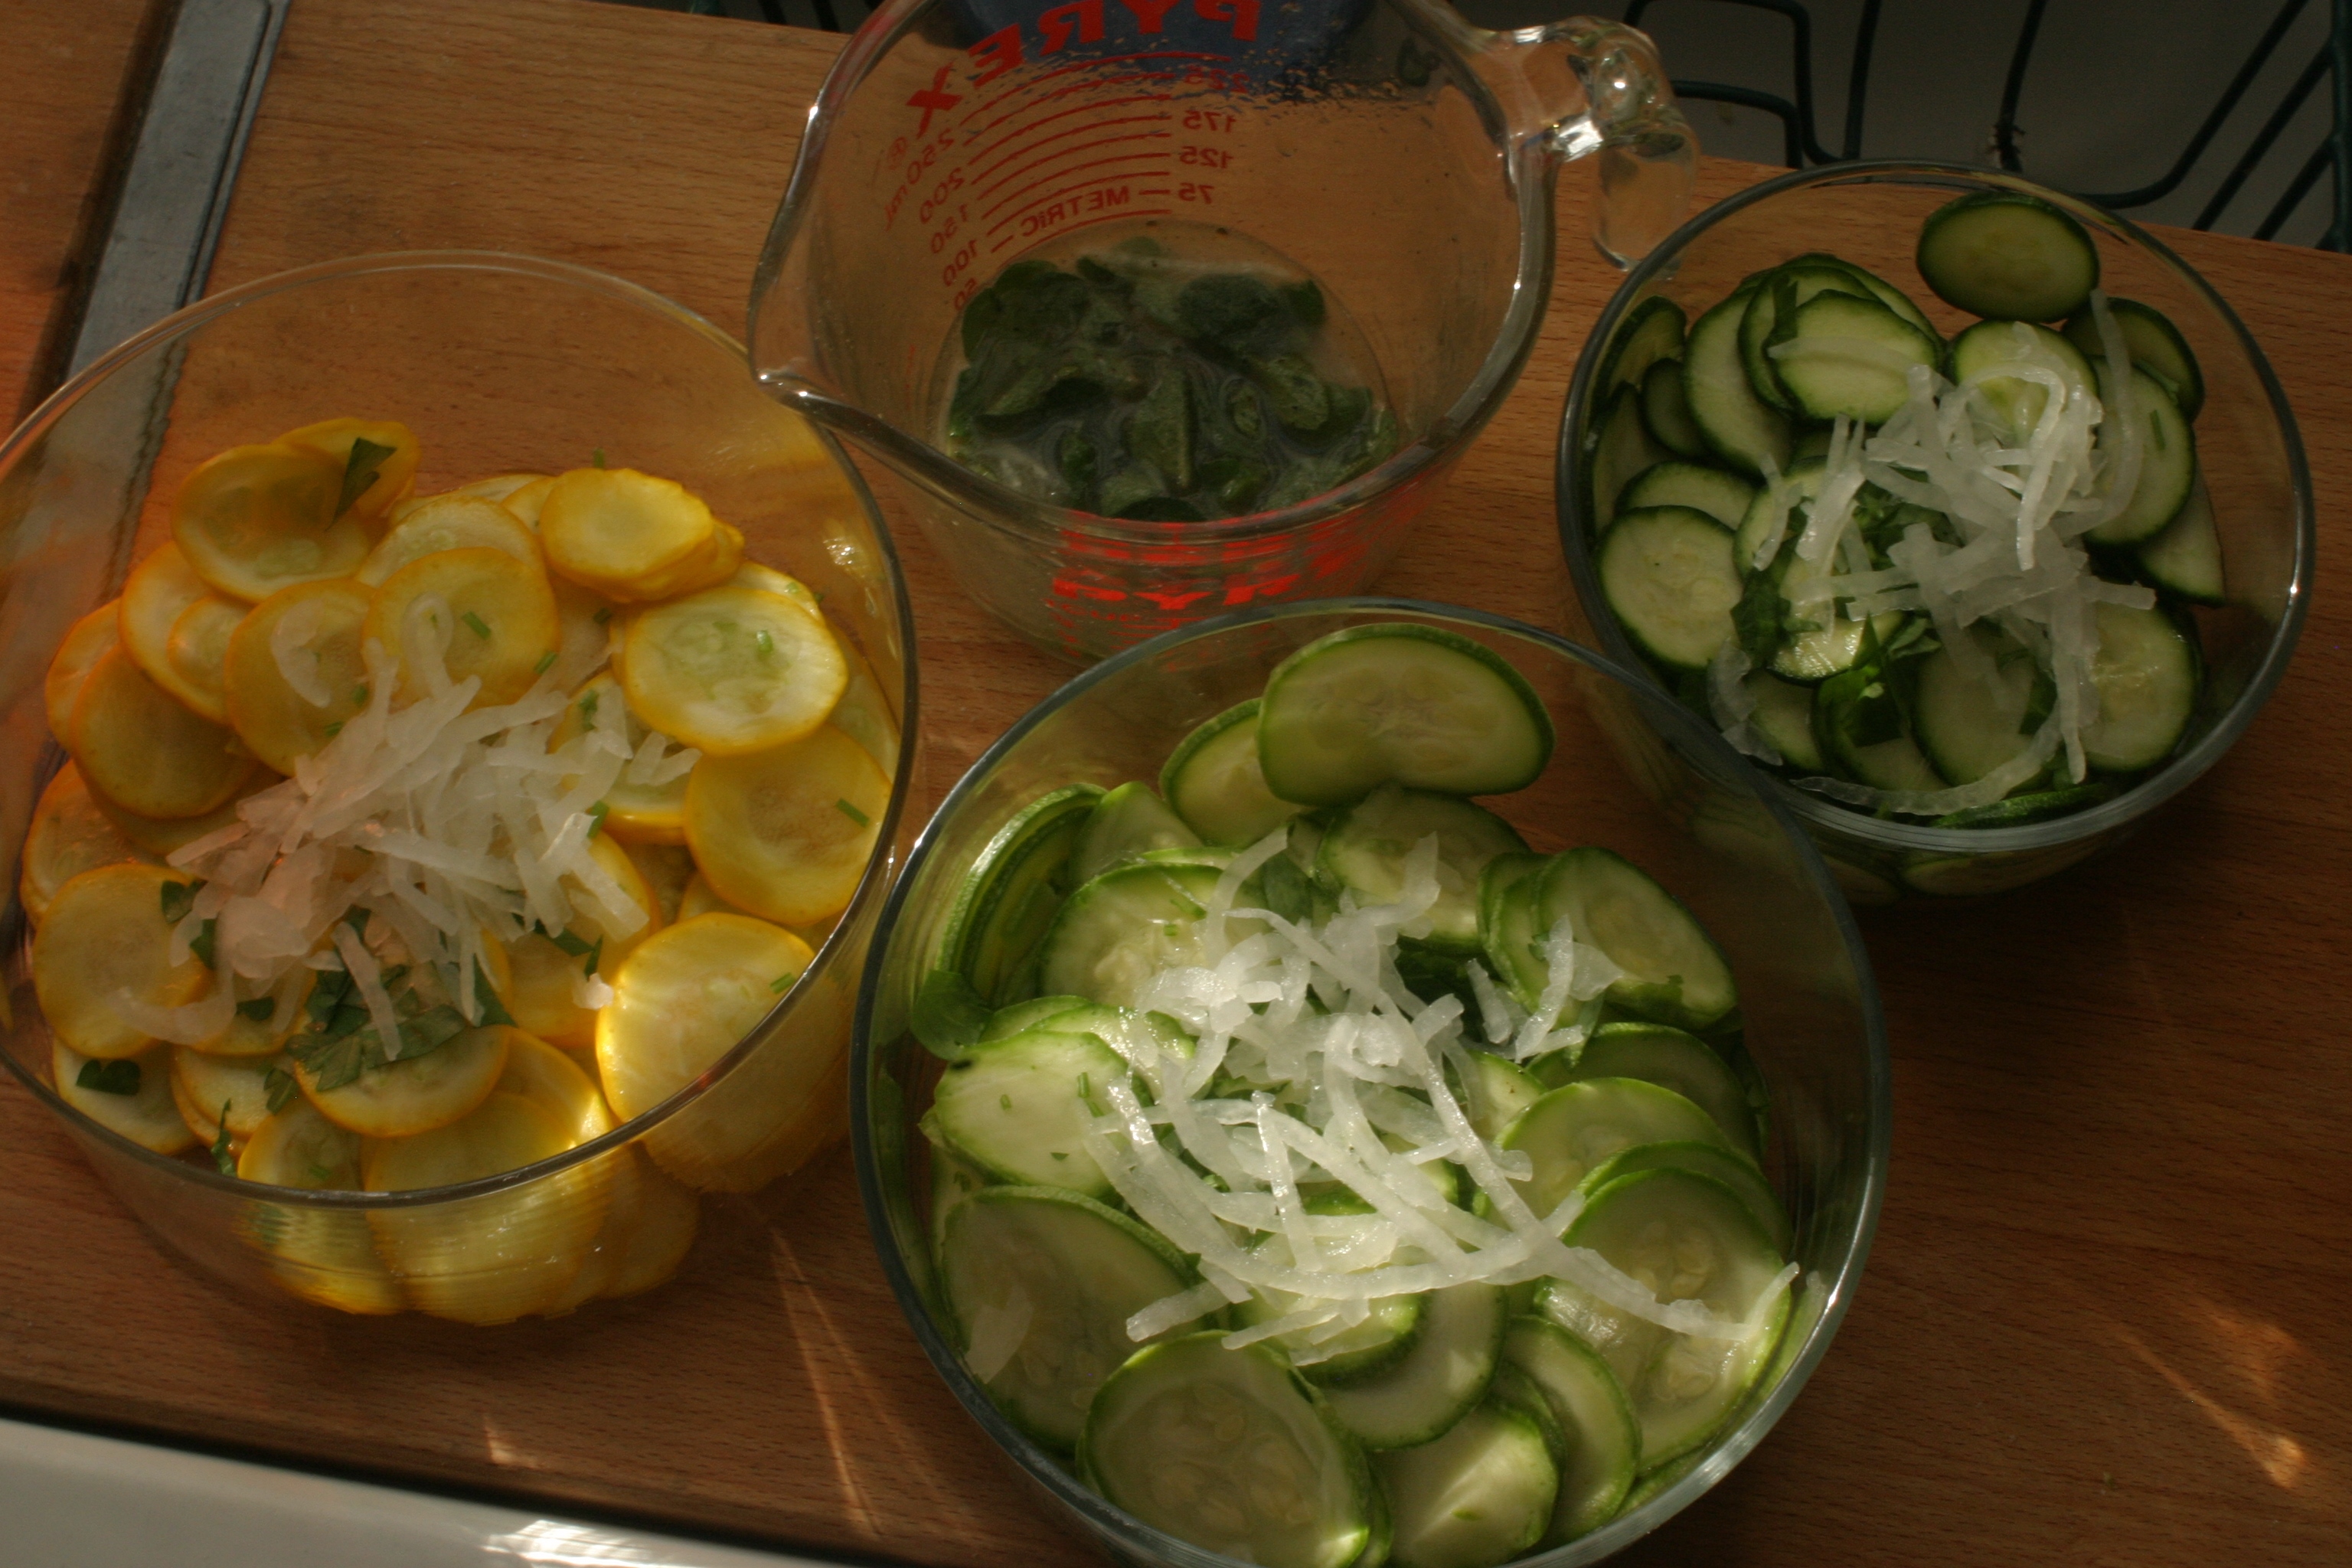
Houseproud homestead kitchen – a trio of salads made from summer squash, with a vinaigrette in the background.
The inspiration for this comes from a Mark Bittman recipe in the New York Time’s Sunday Magazine about a month ago, and it’s one of those perfectly simple salads whose ease in making is not proportional to how good the salad tastes. You’ll need about a pound (total) of summer squashes. I used three types of zucchini: the common dark green variety, the lesser known light green variety, and the yellow variety.
Summer Squash Salad:
1 lb summer squash, sliced thinly
About a third of an onion, sliced thinly
Salt to wilt sliced zucchini
About a quarter cup of white distilled vinegar (or other lightly acid liquid – lemon, lime, wine vinegar, etc)
Olive oil (a quarter cup or less, depending on the strength of your will and the strength of the vinegar)
A small handful of fresh herbs (your choice – any herb that goes well with cooked summer squash works well here)
Freshly ground black pepper
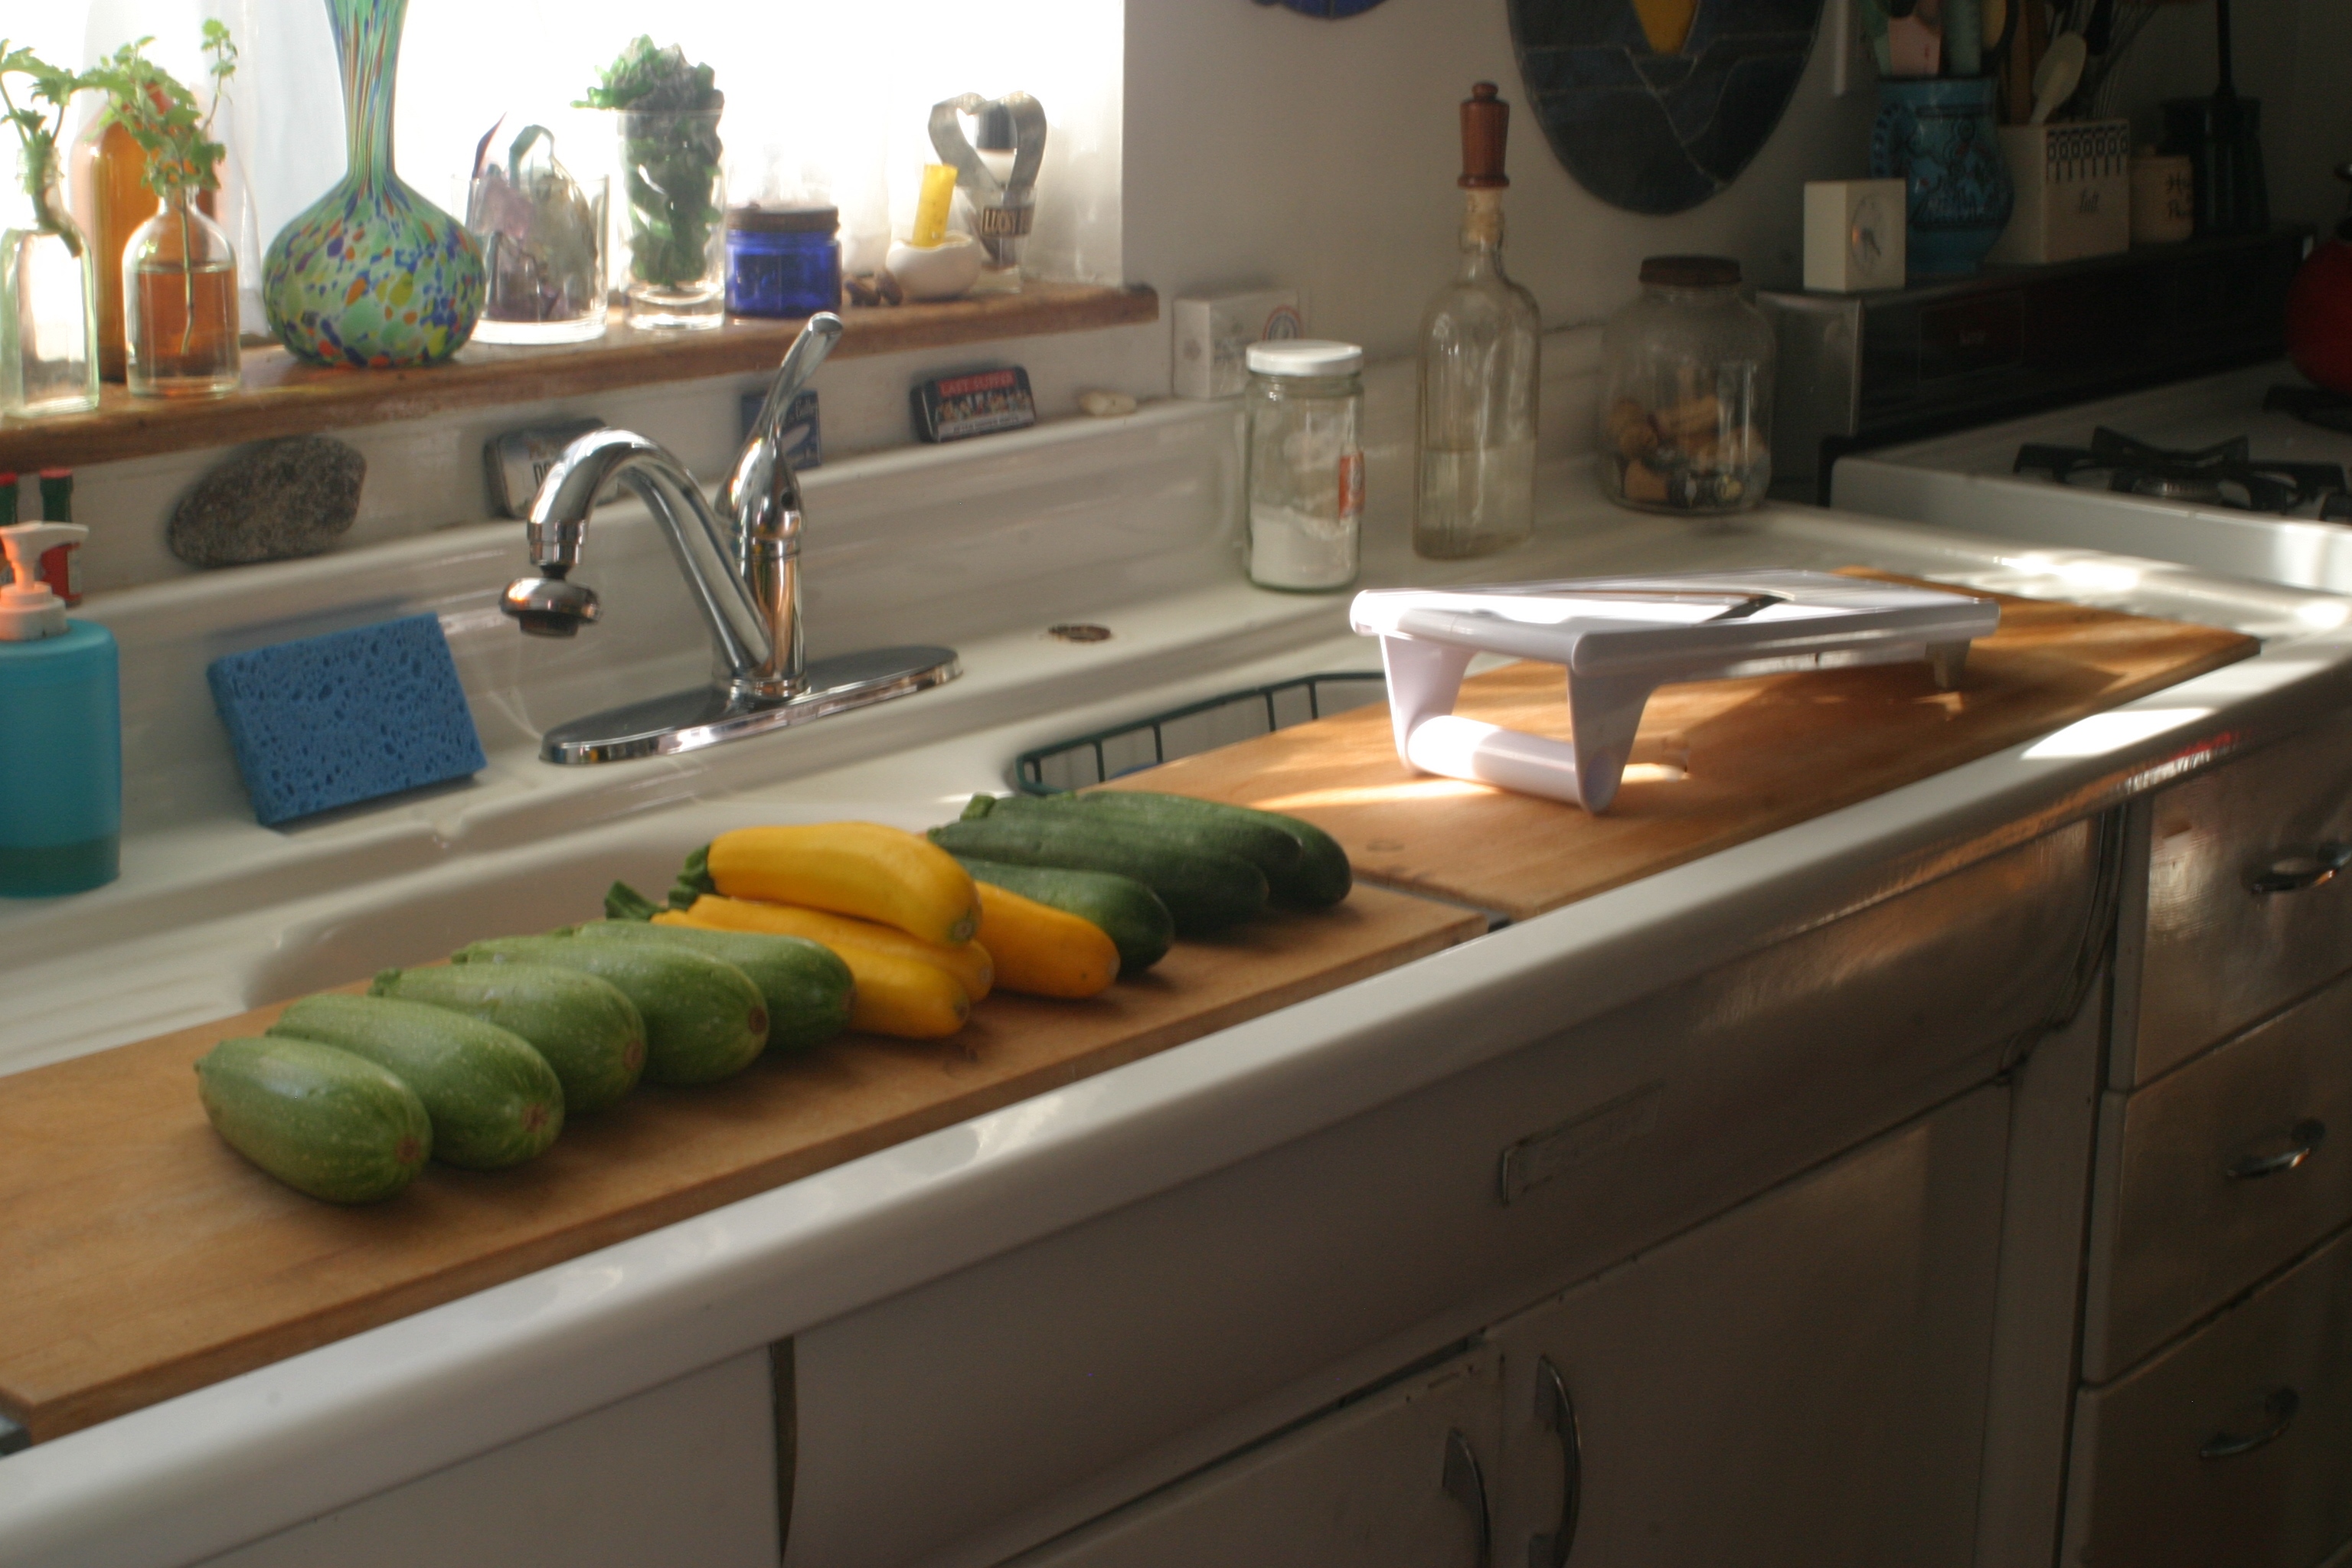
Houseproud homestead kitchen – summer squash ready to be sliced for simple salad.
Summer squash slices up in a jiffy if you use a madeline. I love my madeline, even though the blasted thing has left its mark on me (don’t get impatient when using a madeline, that’s my advice). You can make the salad easily enough by thinly slicing the squash by hand, but that takes longer and doesn’t have the same charge of danger that using a madeline does …
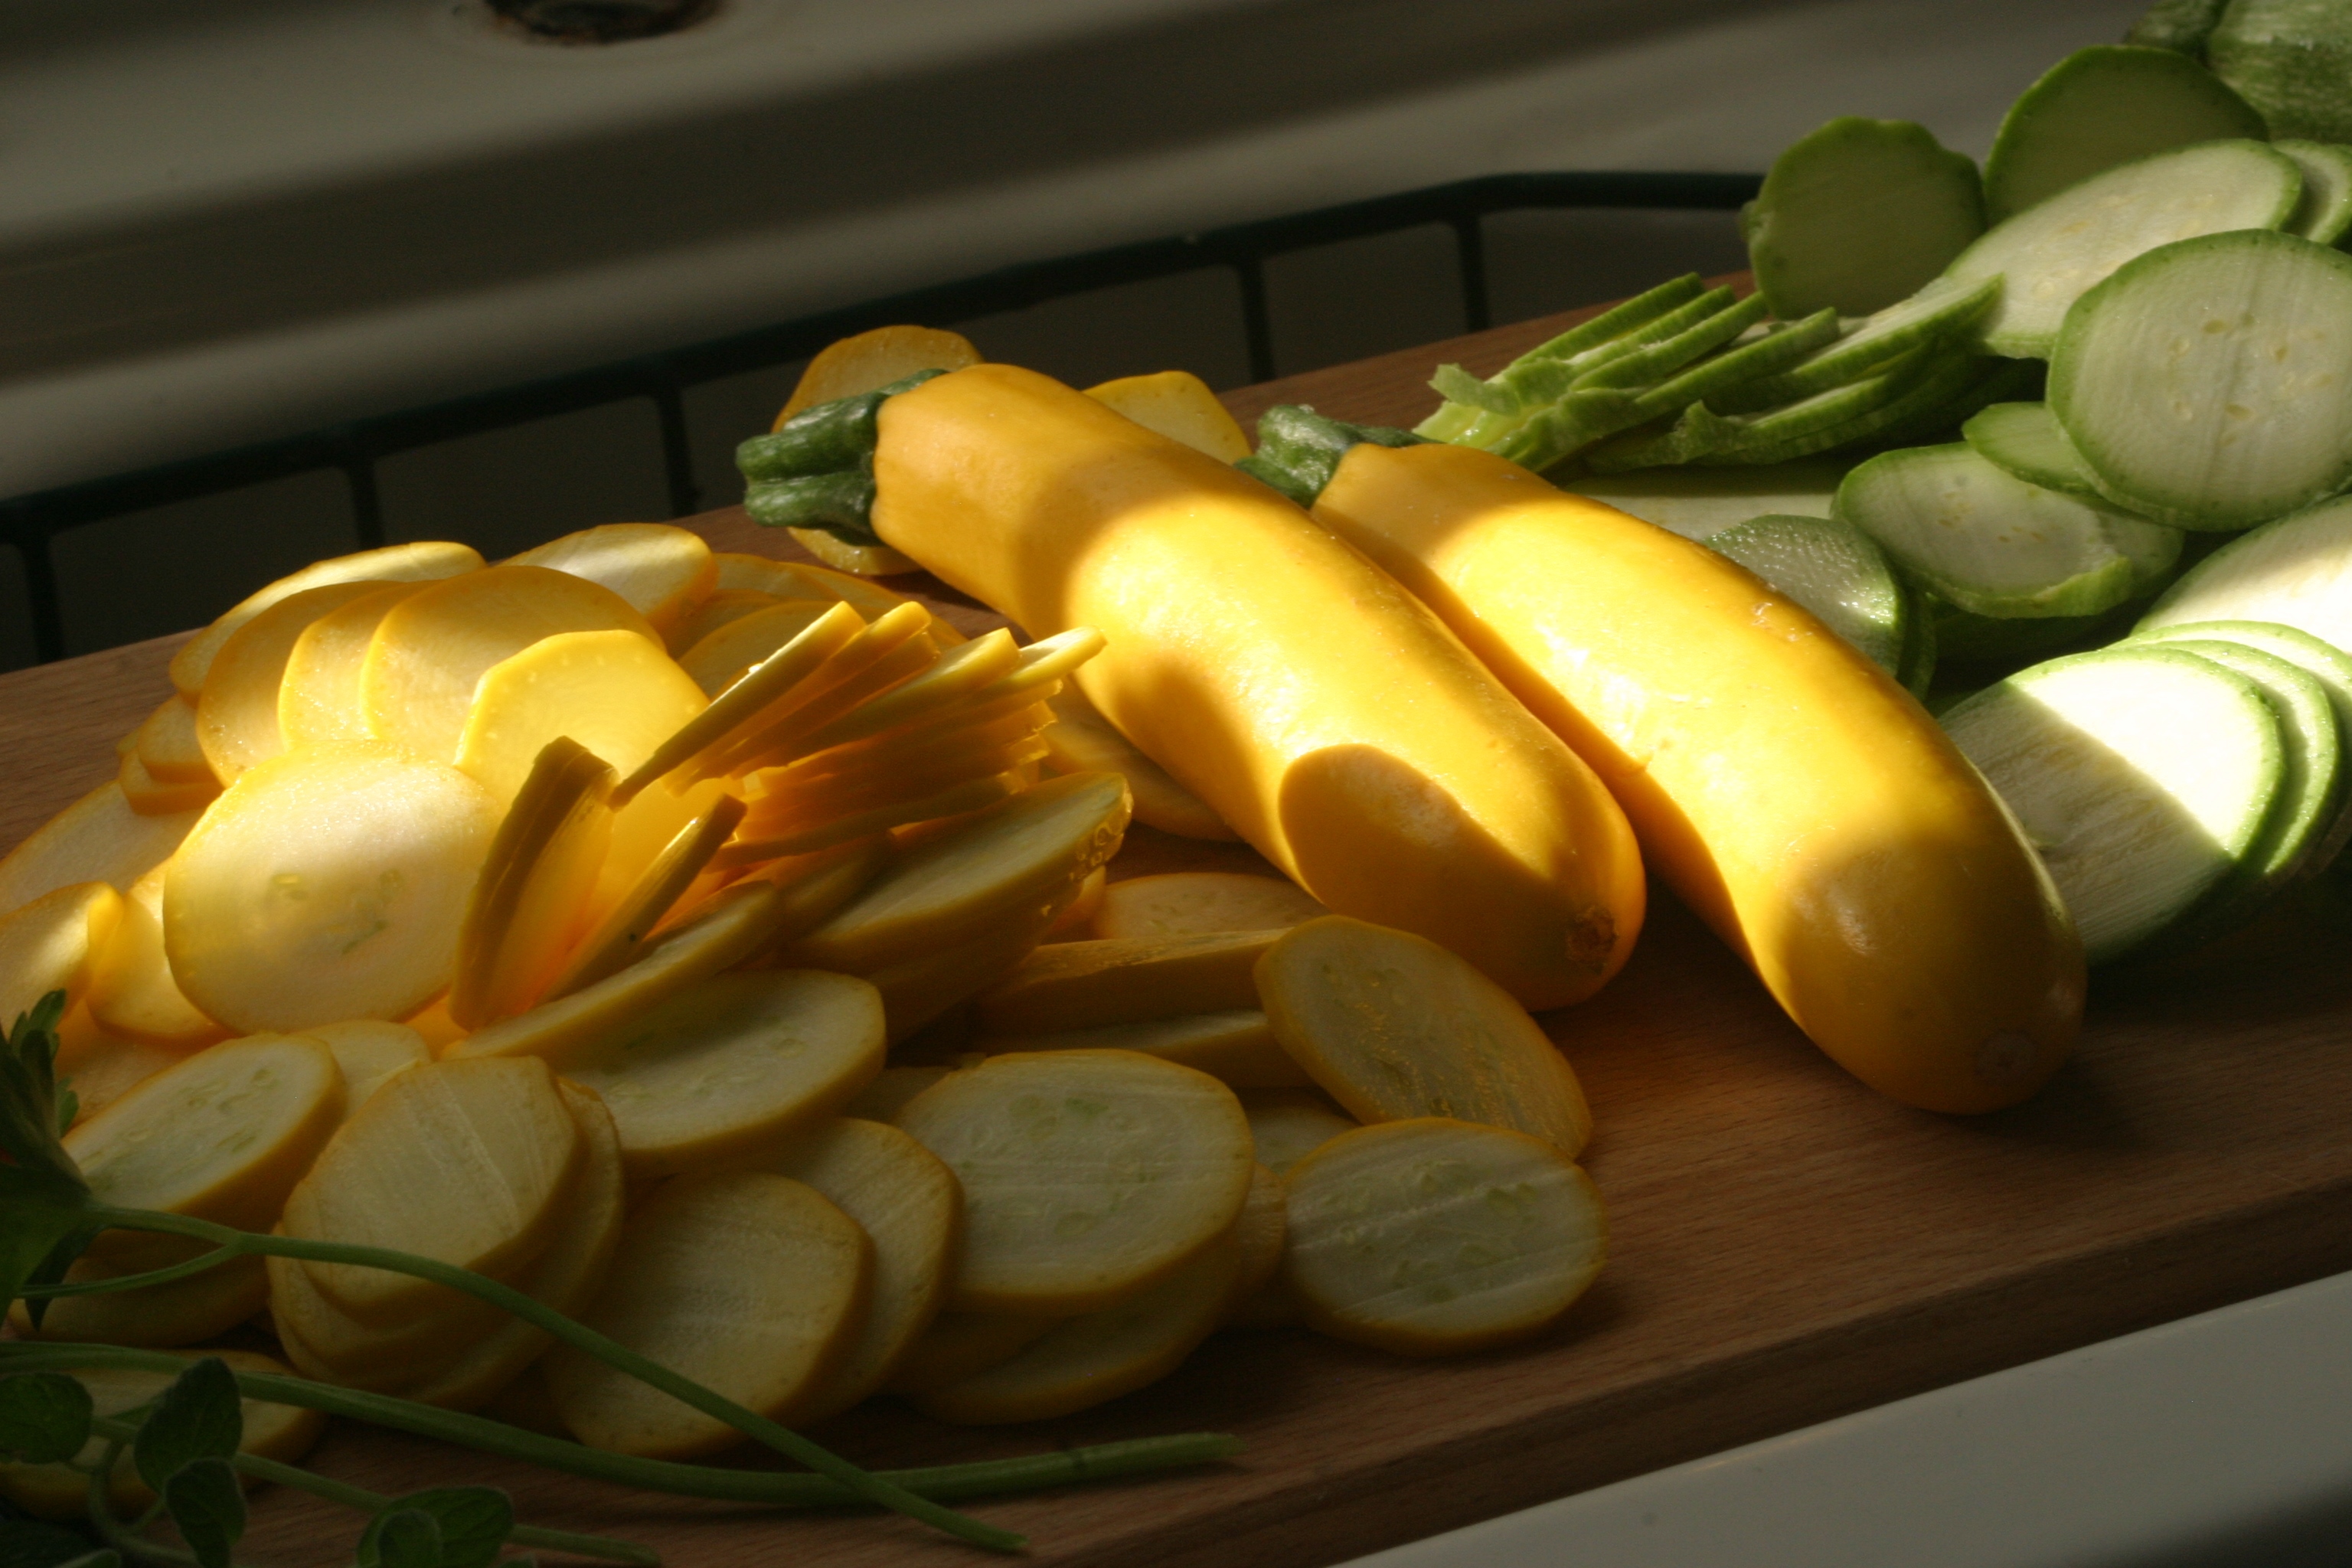
Houseproud homestead kitchen – piles of thinly sliced summer squash, ready to be salted and made into a salad.
Dust the sliced squash with a fine coat of salt (about a 1/2 teaspoon or so). You can do this either in a bowl, or directly on the cutting board, as I’ve done here:
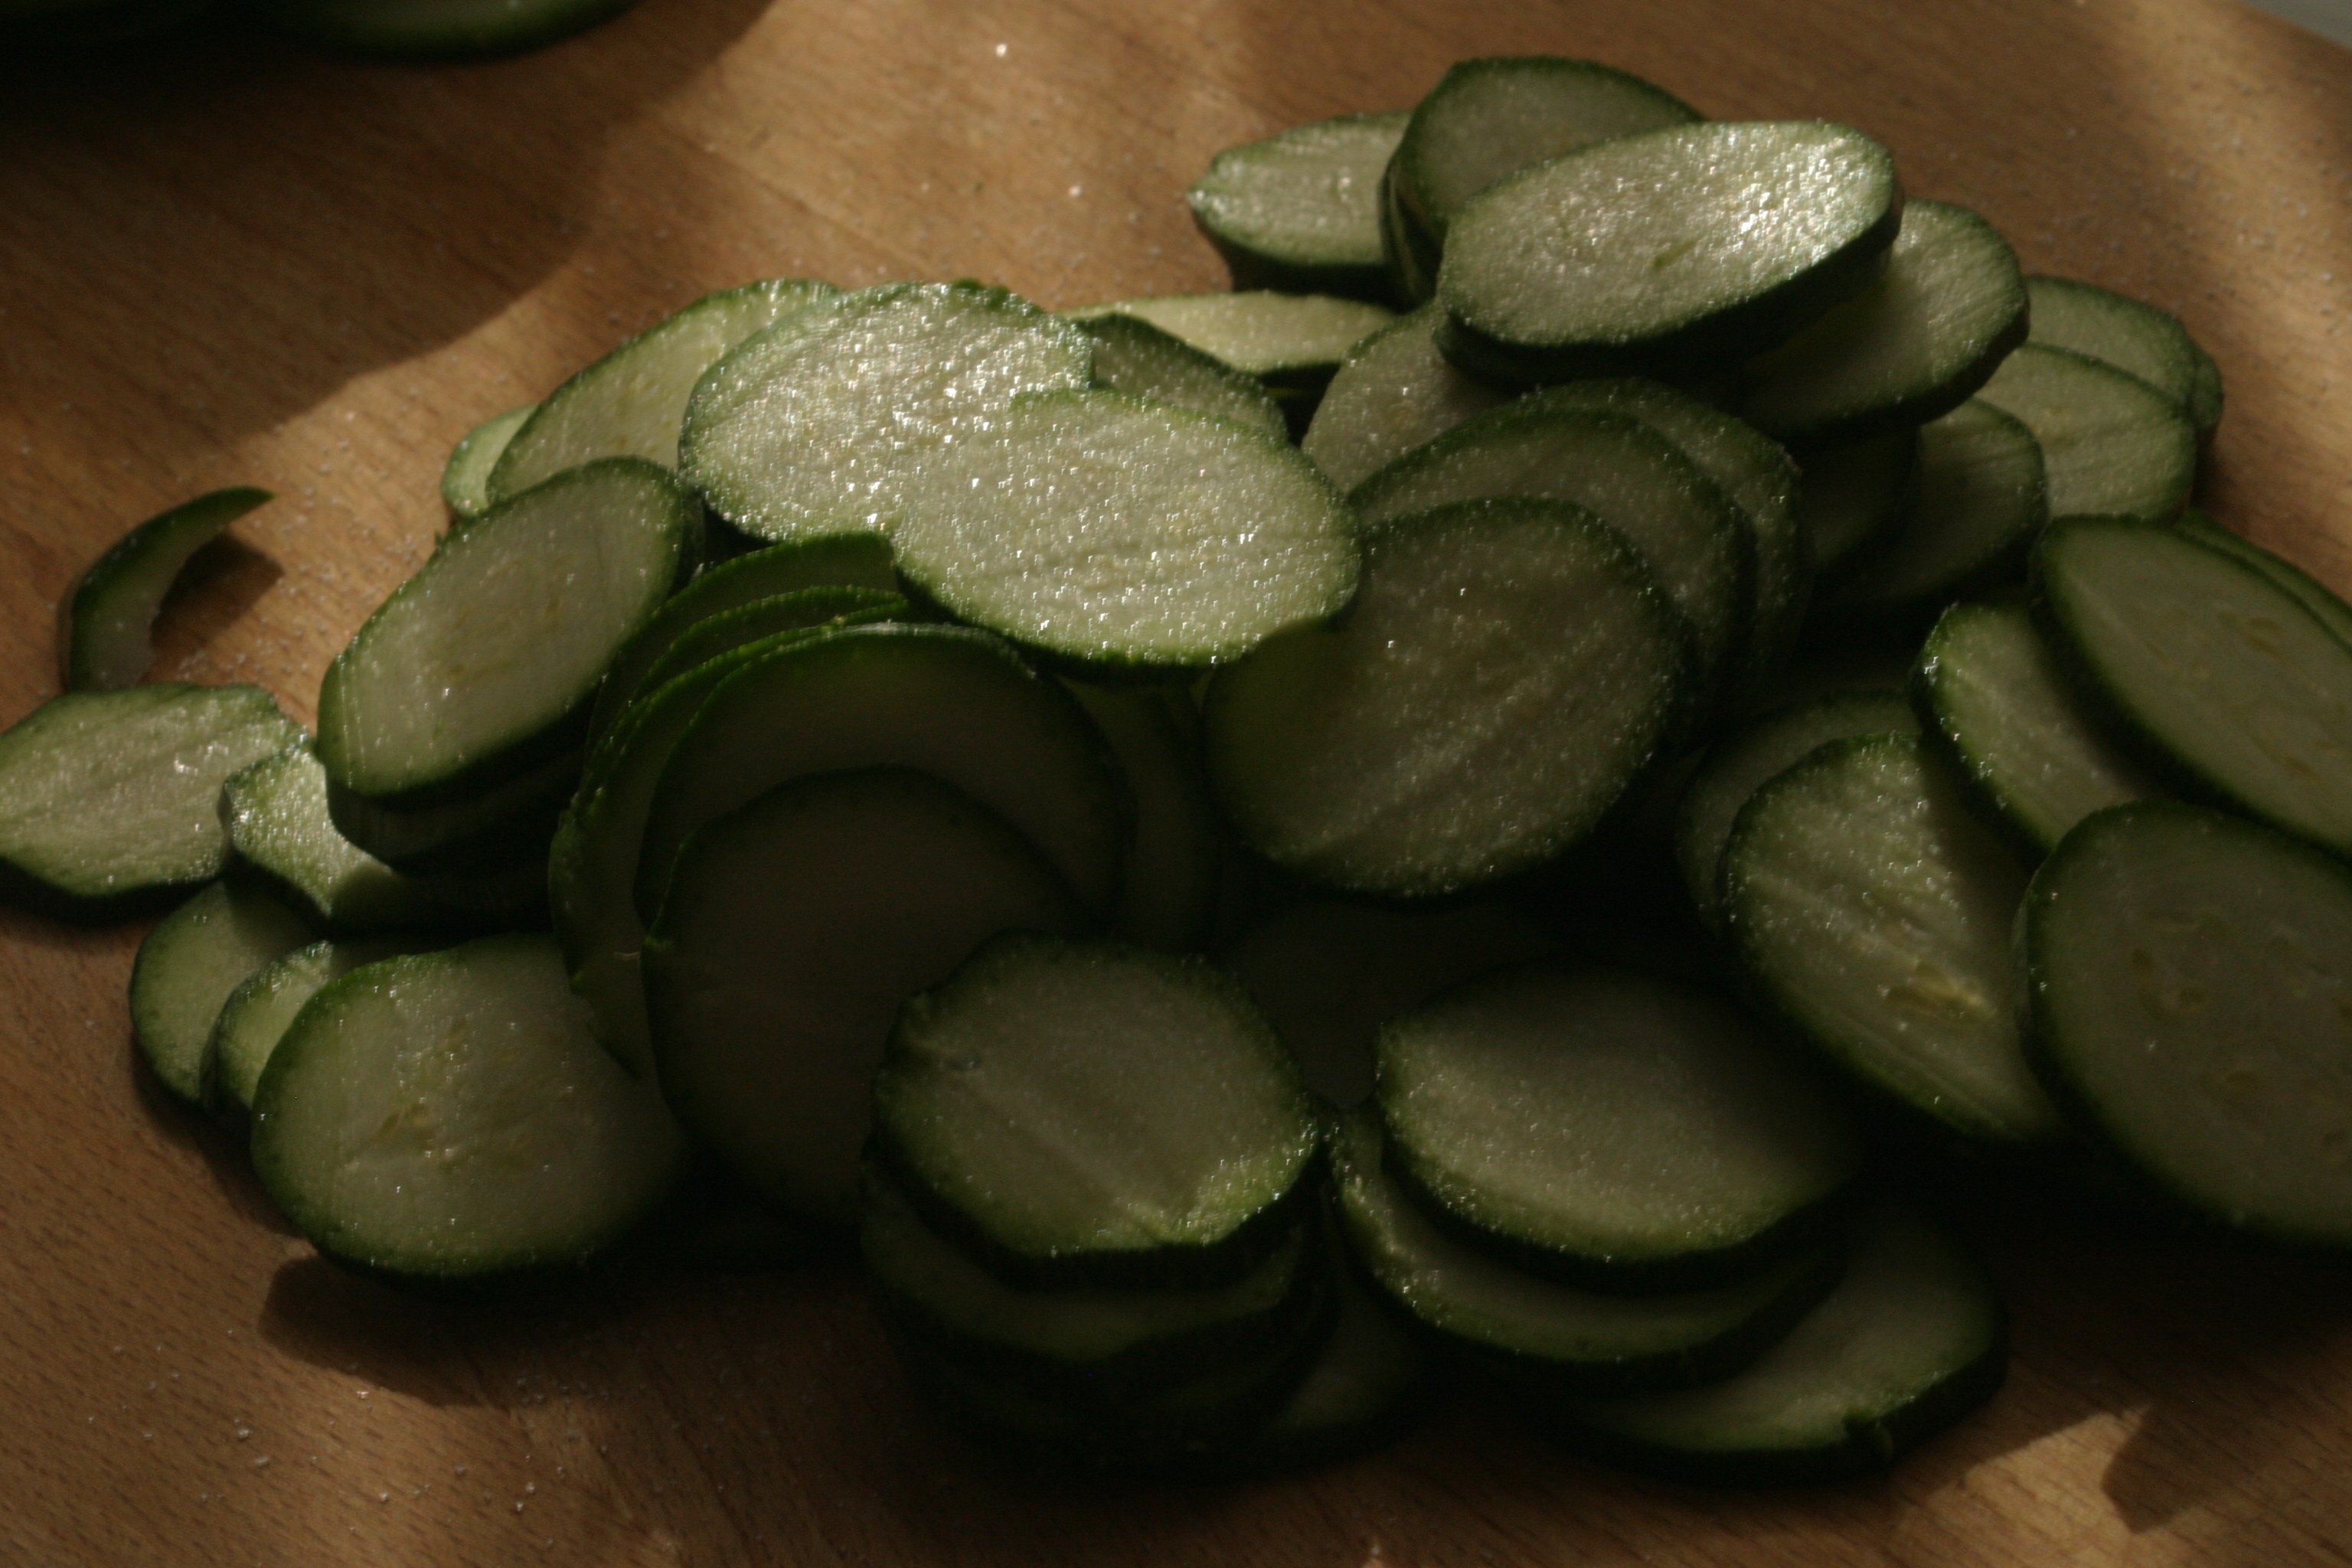
Houseproud homestead kitchen – pile of salted zucchini
Toss the salted slices thoroughly, pressing lightly as you go. Transfer the salted slices to a bowl (pressing lightly as you transfer each handful), and let the squash rest while you prepare the vinaigrette and the wilted onion.
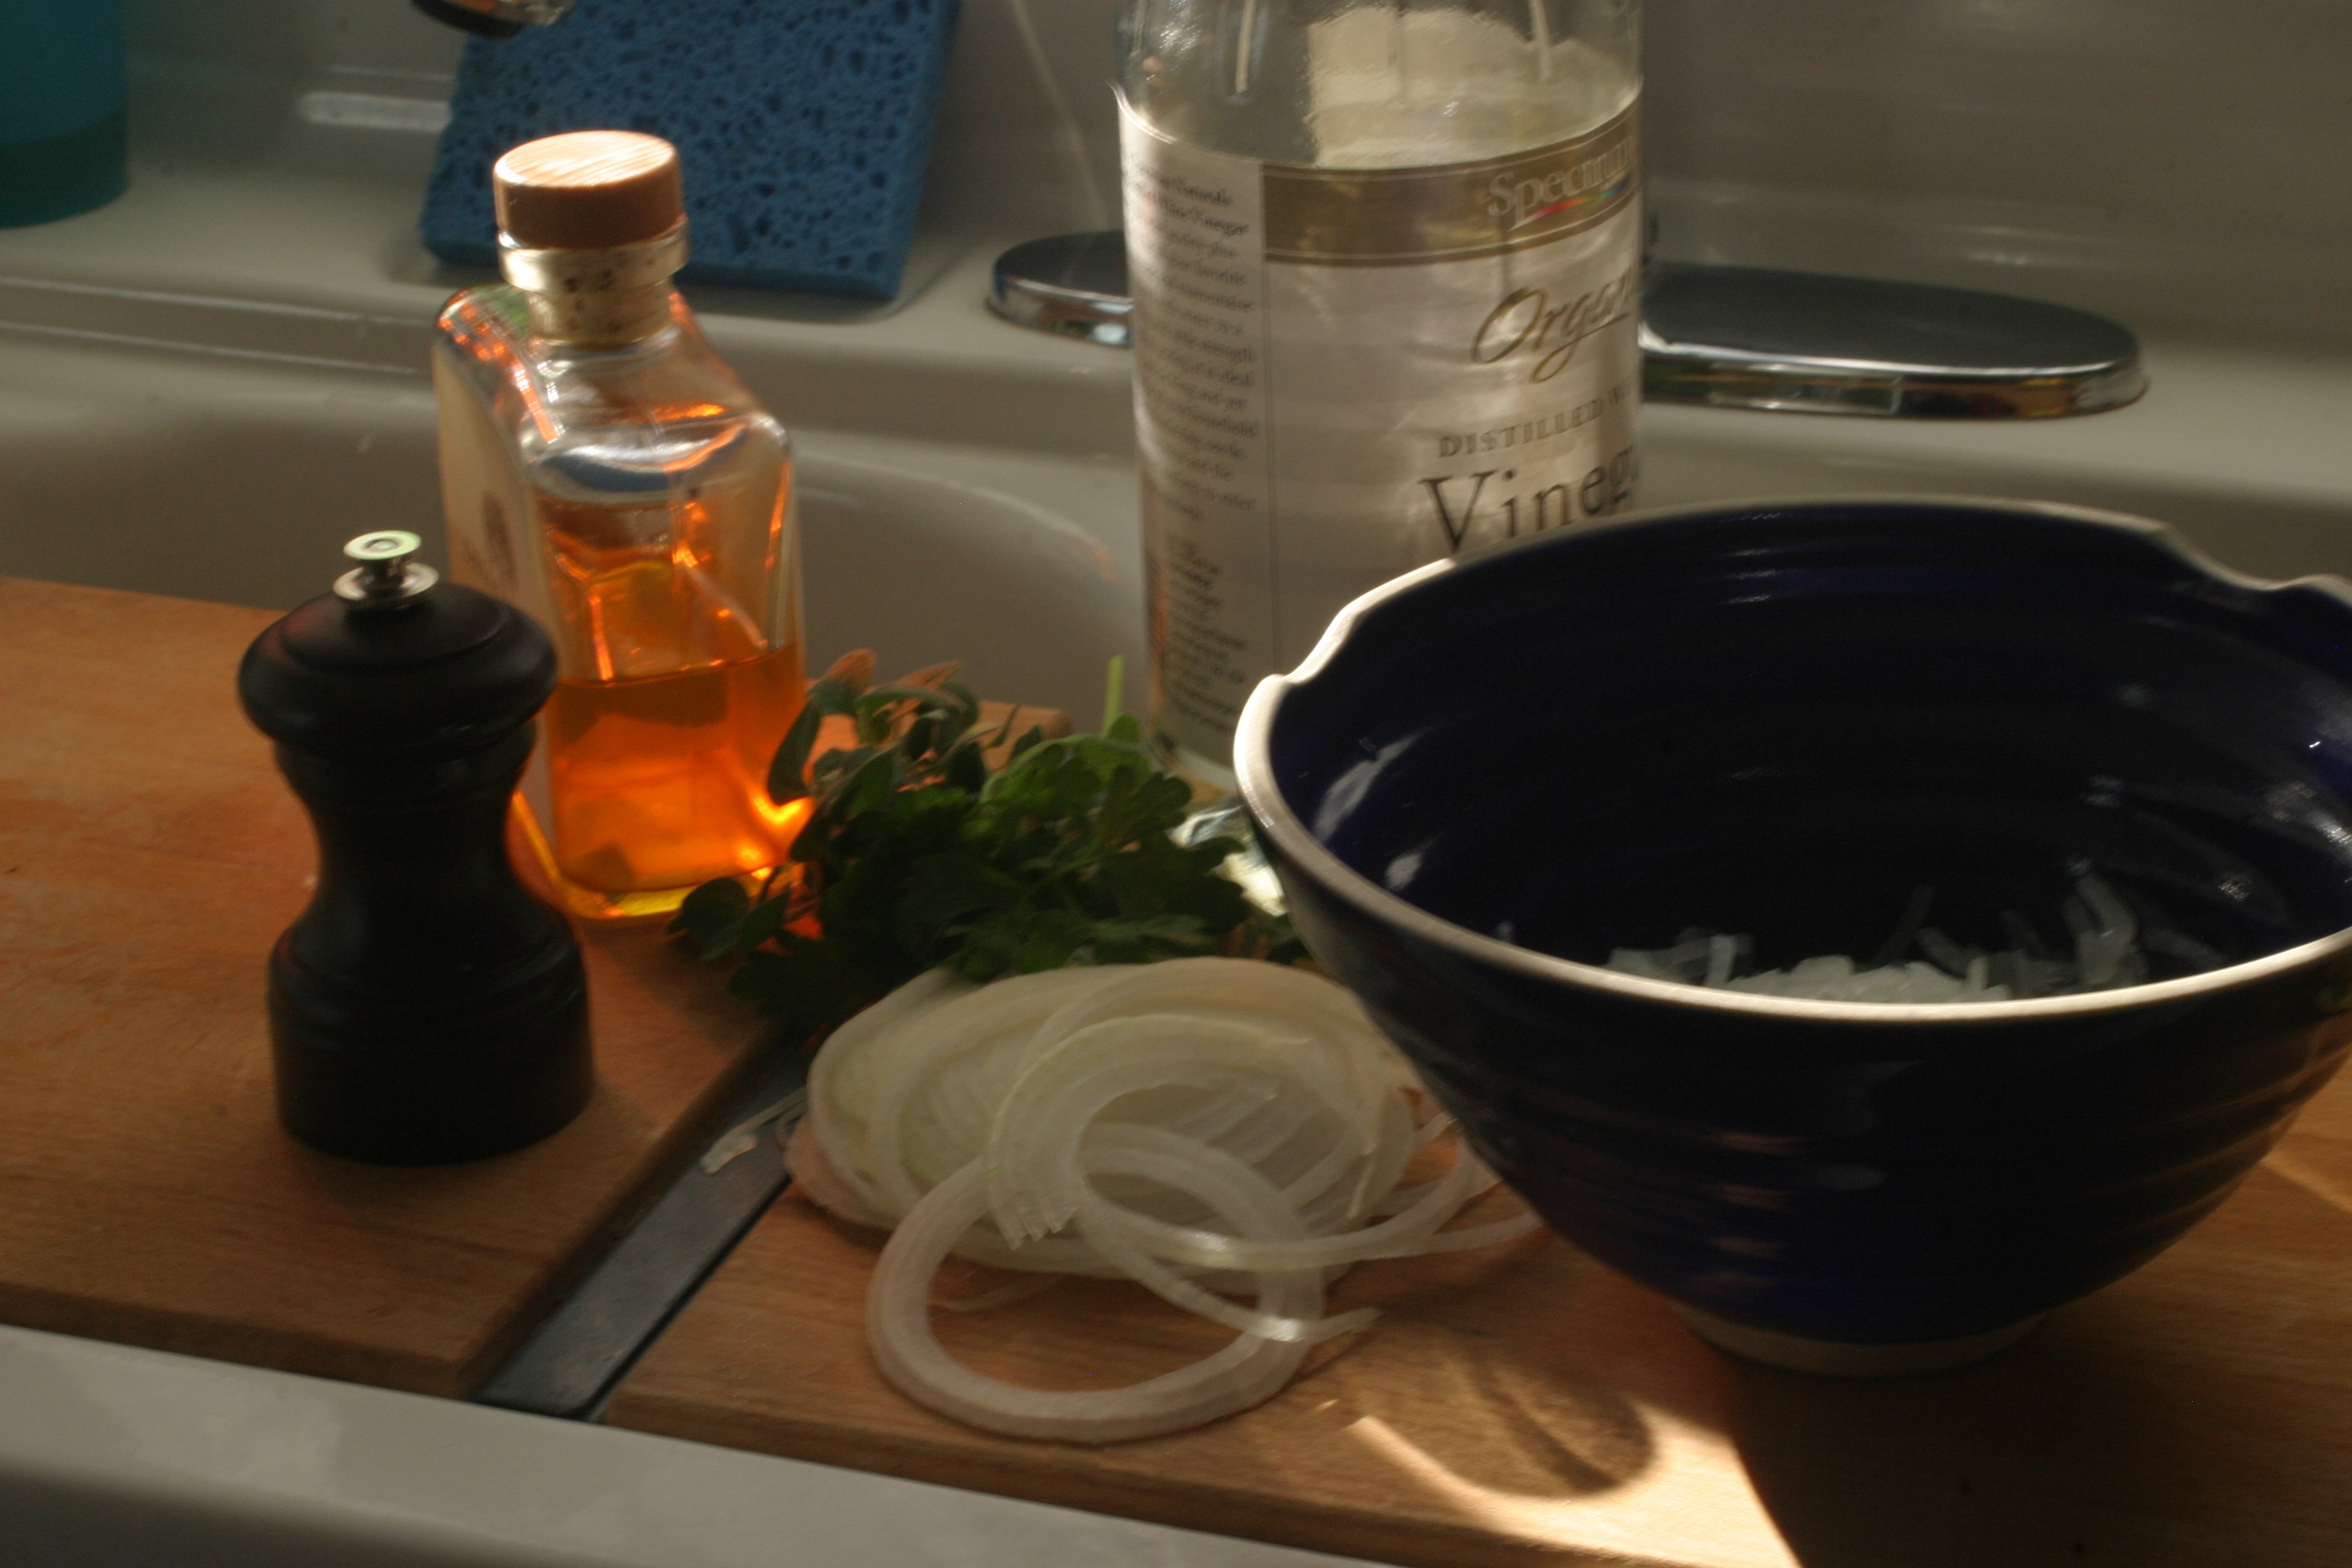
Houseproud homestead kitchen – ingredients for vinaigrette and for wilting the thinly-sliced onion.
Thinly slice the onion (on the madeline or by hand). Wilting onion slices is laughable simple: transfer the thinly sliced onion into a bowl and add about a quarter cup of vinegar. Using your hands, toss the onion in the vinegar, squeezing thoroughly as you go. The onion will break down and turn translucent in places. Let the onion vinegar mix sit for a few minutes while you prep your fresh herbs. I used a combination of parsley, and spicy oregano and marjoram, harvested minutes before from the pot of herbs that lives on our back steps:
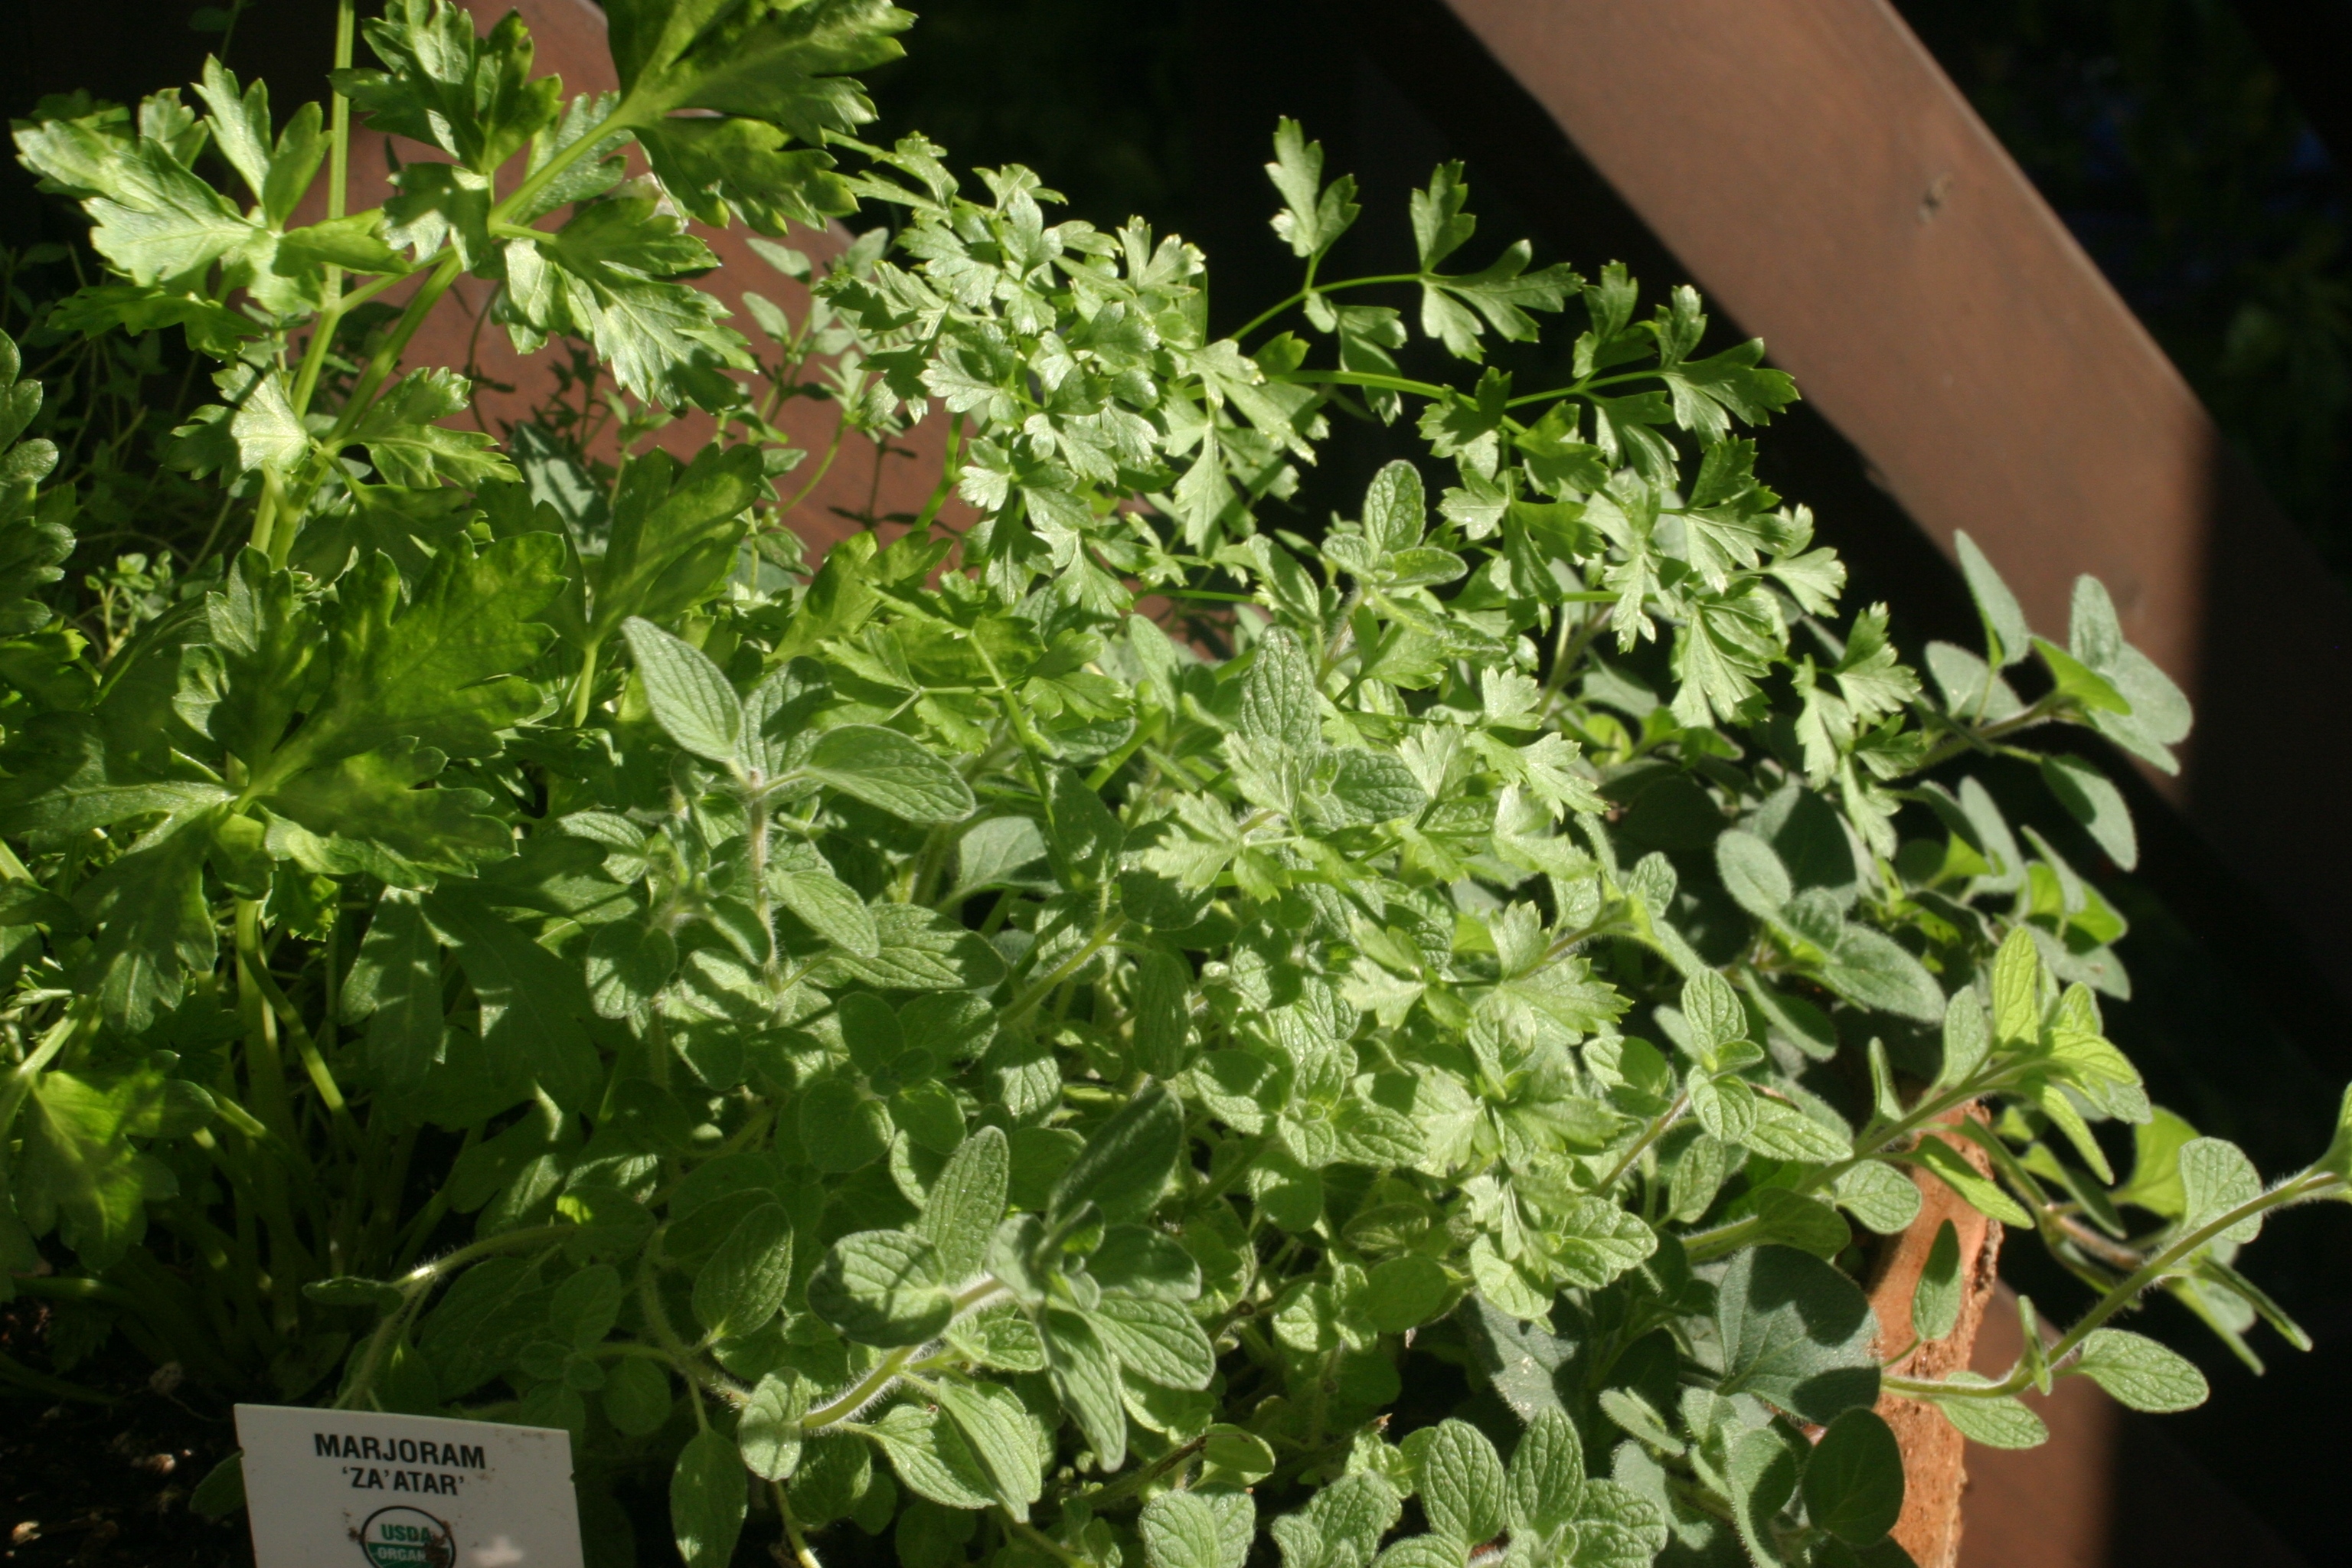
Houseproud homestead – pot o’ fresh herbs in the sun on our back porch.
Pick the leaves from the herbs (or chop them finely, stems and all) and put the herbs aside. Drain the vinegar from the onions into a measuring cup, squeezing the onions as you go.

Houseproud homestead kitchen – vinegar and herbs ready to become a vinaigrette
Add about a quarter cup of fruity olive oil to the vinegar and top with a few grinds of black pepper. Whisk the mixture together, add the herbs, and taste the resulting vinaigrette (don’t add salt to the vinaigrette until you’ve dressed the sliced squash – depending on how heavily you salted the squash, it’s unlikely you’ll need much or even any additional salt). Add the wilted onions to the bowls of salted sliced squash. The salt will have drawn out water from the squash, so you might need to drain the accumulated liquid (I drink the liquid, which tastes like summer). Distribute the vinaigrette between the bowls, taste to correct the seasoning, if necessary. Your salads are done! So easy! Here’s another look at those salads – aren’t they lovely?
Houseproud homestead kitchen – trio of salads made from summer squash.
This recipe is almost infinitely flexible. I served the squash as a trio of salads to see if there was a difference in the taste and texture of the different varieties (and there was a difference), but you could also serve the squashes mixed together. I used parsley, marjoram and oregano as my herbs, buy you could use just about any herb in this salad: basil, mint or cilantro (not all at once, mind you). You can use red or green onion instead of white onion, of course, and shallots might work (just a little bit, though). Browse Bittman’s recipe to see his tahini sauce variation – it is simply lovely.
*****
And there you have it, the making of banner days at the end of summer: simple garlands and easy salads. Now turn off your blasted computer and go out and get some fresh air. Winter is coming, you know.
